Showing posts with label Prima. Show all posts

Tuesday, July 2, 2019

Mini Junk Passport Book

Mini Junk Journal 

I have been collecting ephemera for making junk journals for years.

When I lived in Wisconsin I used to wander around the Antique stores looking for anything that could be used in a junk journal, even though I hadn't really started making them yet. 

In 2012 when I was visiting relatives in Kentucky we went to the Milton Flea Market in Milton, West Virginia. We had first gone there in 2007 and loved it! I picked up quite a few old books that I've kept stashed away in my craft room. I take pages out of the books every now and then to use in projects. My plan is to take all the pages out of each book and makes signatures to add inside and then embellish the books. I'm going to be visiting that Flea Market very soon!

When I moved back to Minnesota after my husband passed away in 2013, I went to Junk Bonanza. I found a dealer that was selling ephemera packs. I was thrilled! I picked up five of them. They've been sitting in a drawer patiently waiting to be used in junk journals.

I've also been collecting ephemera from Tim Holtz and I've got some in my stash from 7Gypsies. Actually I collect anything that looks like it will fit in my idea of what should go in a junk journal. 

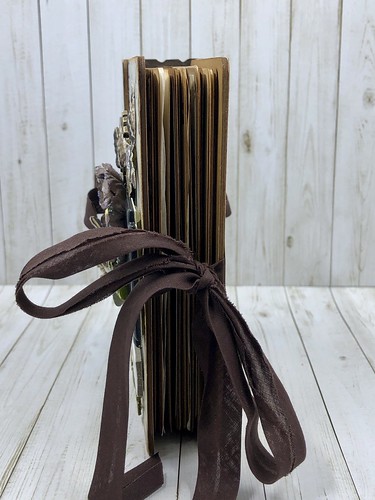
I started this book about a week and a half ago. I took a break from crafting for a few days and just finished it last night. For this little junk journal I used the Sizzix Scoreboards XL die by Eileen Hull called Passport Book. I have two other journal dies by Eileen that I'll be using soon. I've had these dies for awhile because I've been collecting! I did buy some Sizzix Little Sizzles Mat Board, but for this project I just used chipboard. 

I used the Engraver collection by Prima for this book. I have all the embellishments for the collection but I only have the 6x6 paper pad which means whatever I create has to be a small project. I didn't use much for this book so I have plenty of paper left to use. This collection has been retired but can easily be interchangeable with paper from Tim Holtz. You can tell I've had it for awhile since it's retired!

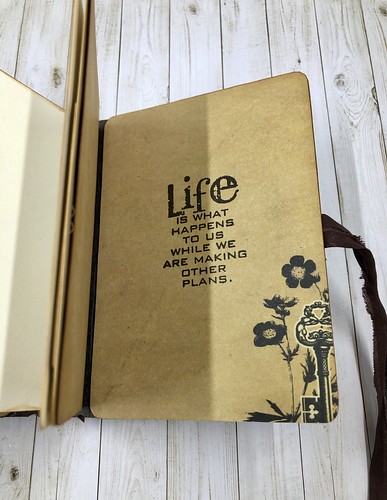
For my cover I used embellishments from the Prima collection and filled in with a quote chip from Tim Holtz, some steampunk buttons (not sure where they came from), and a key that I have a small bag filled full of. Inside the decorative frame, I used some of the package backing. I just cut out the part I wanted and adhered it to the back. 

Mini Junk Journal 

The charm on the spine of the book is one of the Vintage Trinkets from Prima.

The brown seam binding I used for the closure and on the spine came out of one of the ephemera  packs I have. 

Mini Junk Journal 

Mini Junk Journal 

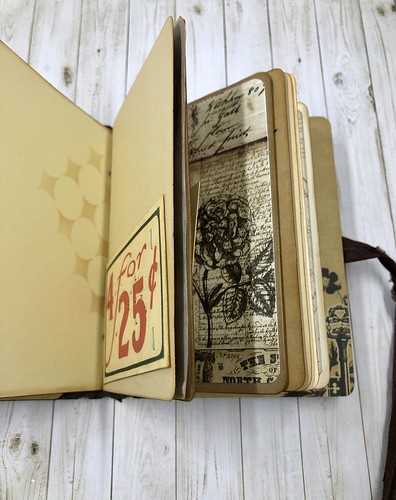
There are three signatures inside this book. 

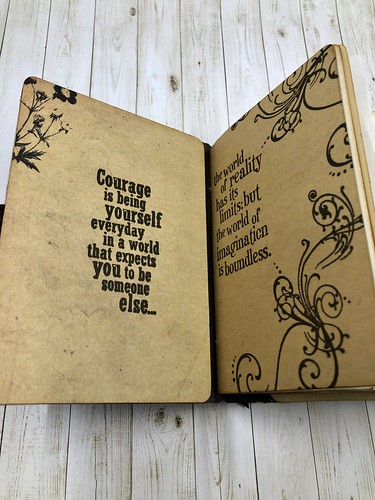
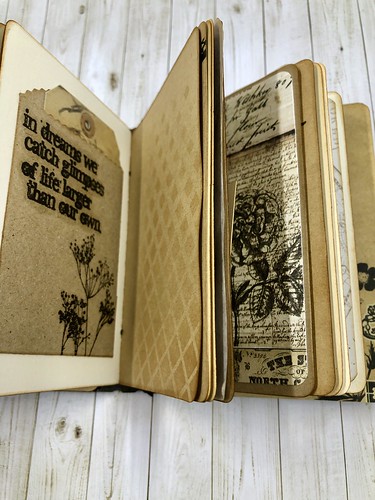
Inside each signature there are pages that I have covered with patterned paper and I've added papers from some of the ephemera packs. I've also added deli paper. Not all the pages have patterned paper added. I've added a pocked here and there using mini paper bags. I've stapled a few items to some of the pages. It's really pretty random. I also used some Tim Holtz washi tape to adhere some tickets to the pages. 

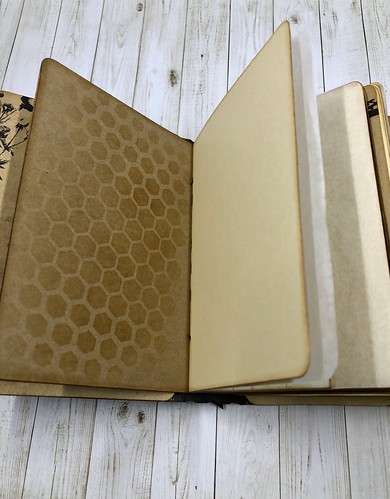
I used several layering stencils from the Stampers Anonymous Tim Holz collection throughout the book with Ranger vintage photo distress ink. I also inked all the edges with this ink. 

The signatures were attached using round electric cord.  

I used several clear and rubber stamp sets that I have in my stash from Stampers Anonymous/Tim Holtz. I stamped on several of the pages and on the covers of each of the signatures. 

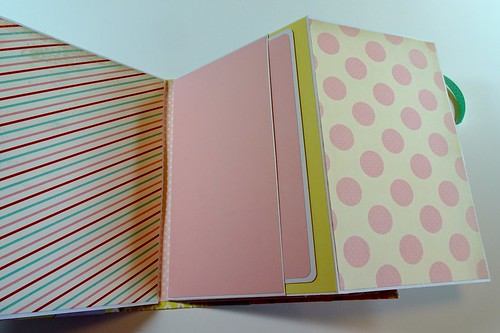
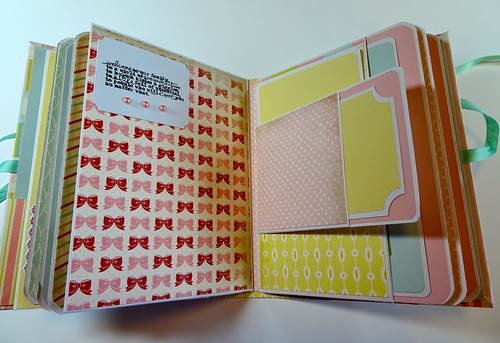
Because I couldn't get the pages to lay flat for photos, below I have added a few so that you have an idea of what the inside looks like. 

Mini Junk Journal 

Mini Junk Journal 

Mini Junk Journal 

Mini Junk Journal 

Mini Junk Journal 

Mini Junk Journal 

Mini Junk Journal

Mini Junk Journal

I just love little junkie books so much! 

If you're wondering what you would use these for, they can be used to add photos & journaling. You could also add bits and pieces of memorabilia. 

I have another one that I'm working on, but I haven't decided what I'm going to use for a closure so I've just set it aside for now. I've got about eight projects going on right now! I know that would make some people crazy, but I get bored or my creative process stops and it seems like if I have something else to work on it helps me when I go back to another project. I'm also in the process cutting all the cardstock for two gatefold books. I always get everything done! 

What I'm really enjoying is that I have TIME to finally do things that I enjoy and that's all that matters to me!

Thanks for stopping by!


Monday, September 4, 2017

Hello Friend

Hello Friend

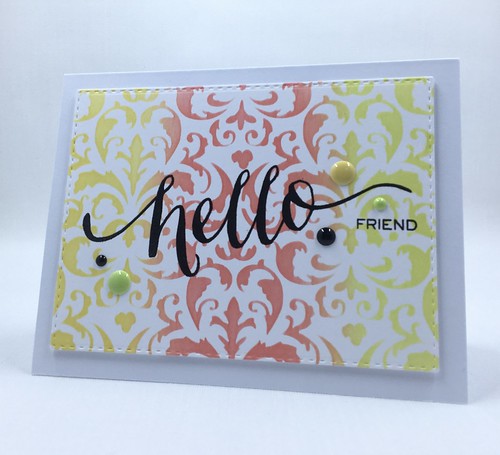
I have another card for some challenges today! I was actually planning to use this card for the Color Throwdown challenge. After I had published my post and linked to all the challenges I realized I hadn't linked to the one I was originally going to! I thought no big deal, I'll just create a new card since I still had some time.

I had a whole list of challenges to link to and you can only link so many to some of the challenges. Some are unlimited. I tend to try to only link to one or up to three per card. If I had unlimited crafting time I would create one card per challenge, but I don't always have that kind of time unfortunately.

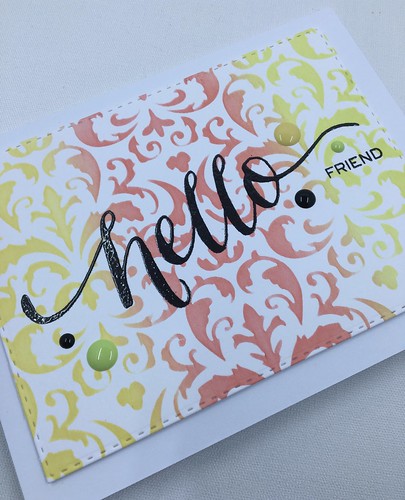
I used a Prima stencil with my Clarity brushes and some Distress Oxide ink to craft my background. I stamped the sentiment with Versafine onyx black ink heat embossed clear embossing powder. All supplies are listed below.


I've linked my card to the three challenges above. Please take time to check them out. There are some beautiful cards on each blog that their design teams have created. 

Hello Friend

Supplies:
Distress Oxide Inks: twisted citron, fossilized amber, candied apple
Prima: Flourish Stencil
Our Daily Bread Designs: double stitched rectangles
Plus 9: Hand Lettered Hello stamp set
Doodle Bug Designs Sprinkles: beetle black, limeade, bumblebee

Thanks for Stopping by!

Thursday, June 30, 2016

Baby Girl Mini Album

DSC00171

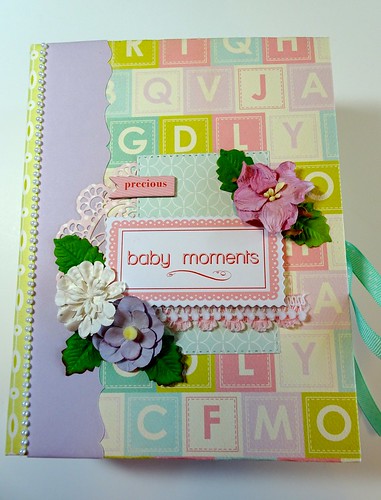
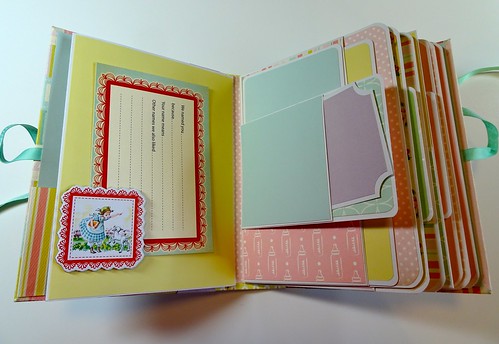
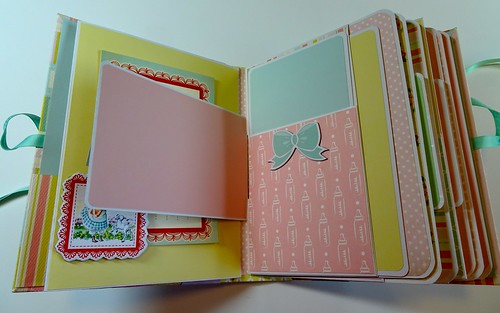
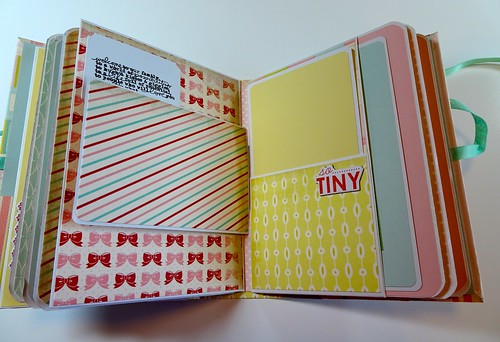
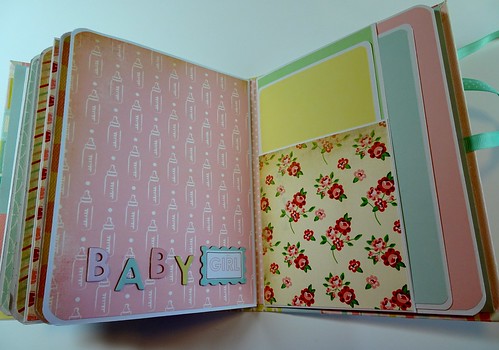
I thought it was time I made a mini album. Over the Memorial Day weekend while cleaning and purging my craft room I realized I have all these cute paper collections that I bought specifically for books. That's when I decided I better get busy. Many of the collections I have aren't newer ones, but that's okay. They'll still make cute books! The paper collection I used for this book is called Baby Mine from Carta Bella. The collection came with twelve double sided sheets of patterned cardstock. I also used some papers from the 6x6 paper pad. This collection had some chipboard accents that I also used. 

DSC00170

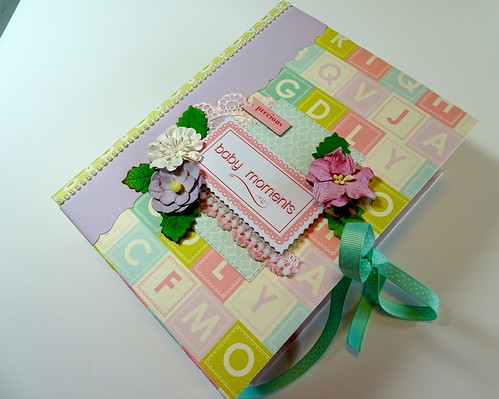
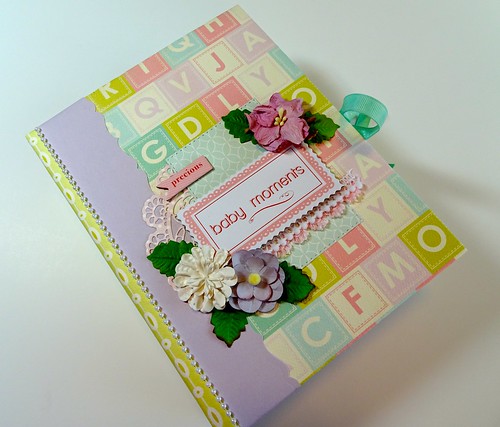
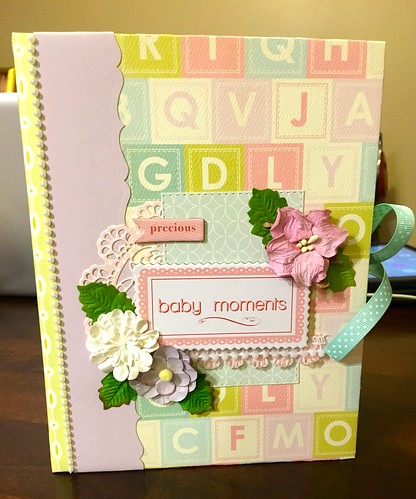
Before I started I had to figure out which pattern I wanted for the cover. I finally settled on the alphabet sheet and I'm glad I did. I used two different patterns from the 6x6 paper pad for the cover. One I die cut with a Prima die called doilies one. The other piece was cut using a double stitched rectangle from Our Daily Bread.

DSC00169

I used two of the chipboard accents on the cover. The flowers are from Recollections, Prima and Jolee's. The leaves are by Recollections. The beaded strip along the binding is a beaded ribbon from Celebrate It. The ribbons are called vintage blush rose antique also from Celebrate It.

DSC00172

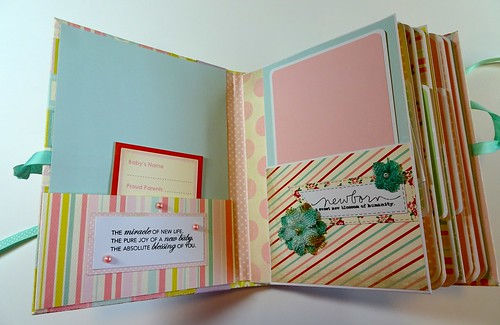
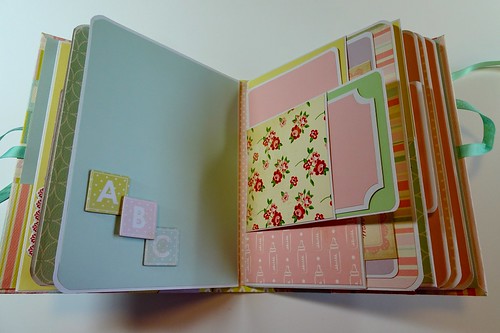
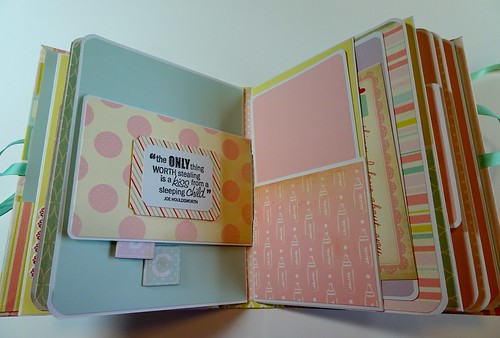
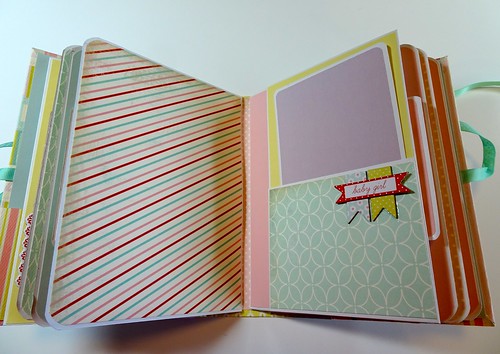
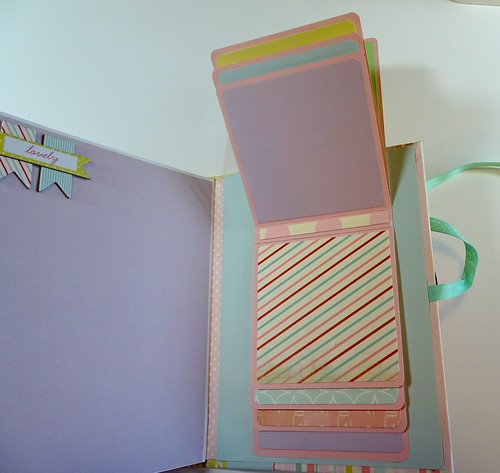
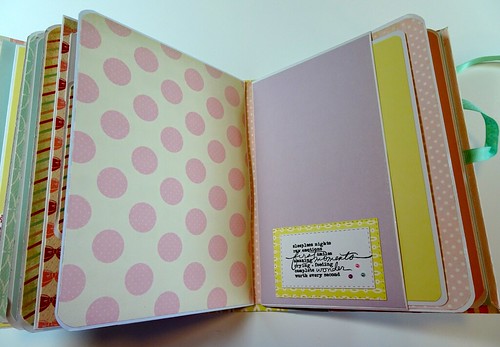
On the inside I didn't want to overwhelm the pages with embellishments. I tried to keep it as minimal as possible so that there is room for photos. I used stamps sets I had to add sentiments throughout the book. The sentiments above are from the Sweet Baby set by Technique Tuesday.

DSC00173

DSC00174

DSC00176

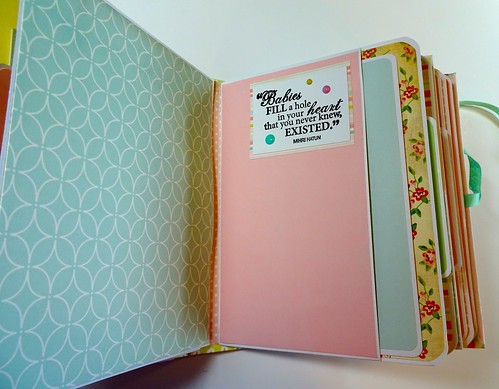
The sentiment on this page is from Fishers called Precious Baby Quotes. 

DSC00177

DSC00178

DSC00179

DSC00180

DSC00181

DSC00182

DSC00183

DSC00184

DSC00185

DSC00186

IMG_3124

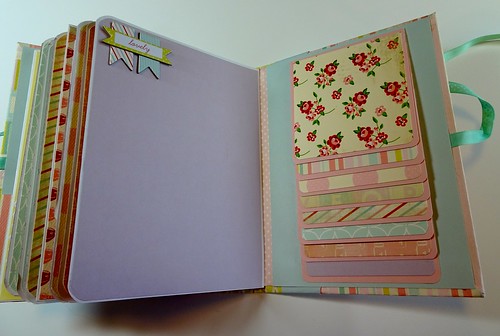
There's room for over 50 photos in this book. I love how it turned out! 

For my next book I think I'll finally break out the Graphic 45 Cats and Dogs collection. I've had it forever so I think it's time to use it! This book will be heading to Florida to my cousin. I hope they love it!

Thanks for stopping by!


Saturday, November 28, 2015

Saturday Morning Cards

Thanks

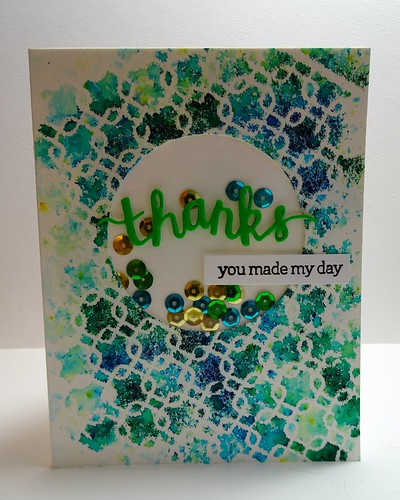
I created three cards this morning with two backgrounds I made earlier using some Brusho Crystal Colours. I really love playing with them!

For the first card I used a Heidi Swapp stencil for the background. I covered it with three different Brusho colors and then spritzed it with water. I saw a Hero Arts video awhile ago and used the tip to diecut a circle out and add some acetate. I actually added two pieces so that I could add some sequins in between. It's not a shaker card as the sequins don't move very easily. I just wanted them in the background. I diecut the word from fun foam and stamped the rest of the sentiment using Hero Arts Thanks Stamp & Cut set. 

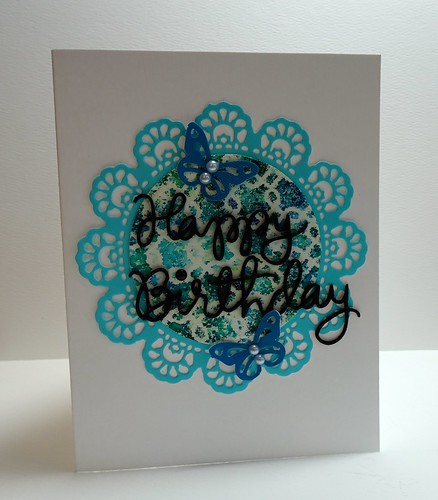
For the card below, not wanting to waste the circle I diecut I decided to adhere it to a doily I diecut using Prima's Doilies one die. I diecut the sentiment by Simon Says Stamp from fun foam. The butterflies are from a Martha Stewart punch. 

Happy Birthday

Happy Birthday

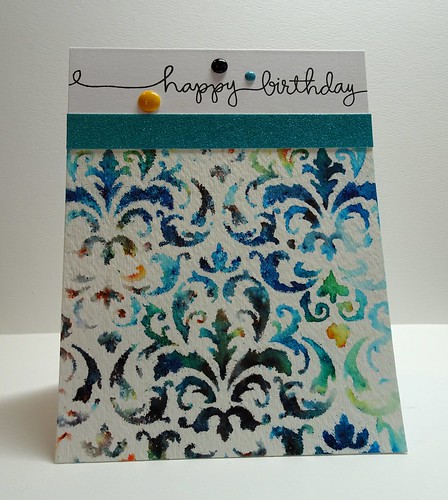
For my last card I used Prima stencil. Again I added Brusho colors over the top and spritzed with water. I added a strip of glitter paper and finished it off with a sentiment from the Handwritten Borders stamp set by Simon Says Stamp.

Thanks for stopping by!
Monday, January 12, 2015

Fusion One Year Anniversary Celebration Challenge

Fusion Card Challenge


This is my second post of the day. That usually doesn't happen, but I have been scrambling to get some cards finished for a few challenges. I have another one ready for tomorrow. 

For this card I just used the sketch for the Fusion Challenge. You can use either the sketch, the photo or both. My base is white cardstock from PaperTrey Ink and the patterned paper is Bohemian Bazaar from Graphic 45. I die cut doily using a Prima die, some foliage using a Spellbinders die and the sentiment was cut using a Fancy Die by Hero Arts and cardstock from Simon Says Stamp. The green leaves and the flowers are from Recollections. 

Be sure to stop by the Fusion Blog and check out all the beautiful cards!


Thanks for stopping by!
Sunday, December 7, 2014

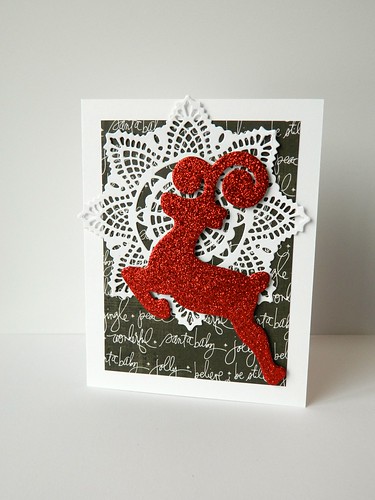
{CASE'd} Glittery Reindeer

Glittery Reindeer

I'm still working on my Christmas cards for this year. I really should have started earlier. I'm bound and determined to get them finished even if that means that they arrive after Christmas. 

Glittery Reindeer

When I received my newsletter from Right As Rain I was inspired by this card. So these are my CASE'd version! Both are identical with the exception of the doily. I used two different Prima Metal Dies to create each one. For my card base I used PaperTrey Ink cardstock in white. The patterned background paper is from Heidi Swapp. I used the Hero Arts Stamp & Cut Reindeer Pair that I used for this card. The glitter paper is from Recollections. 

Hoping to share some more of my cards in the few days! Thanks so much for stopping by!

Saturday, April 12, 2014

Unscripted Sketches 5th Blog-iversary + A Giveaway!


Unscripted Sketches is celebrating their 5th Blog-iversary! 

We've got some fun giveaway's planned. 

Head over to the Unscripted Sketches Blog to check out all the fun!!


Here's my take on this week's sketch:


I used some Golden Light Molding Paste with a Prima stencil for my design on black cardstock from PaperTrey Ink. The background paper peeking out from behind is called Everyday Kraft from the Paper Studio. I die cut the burlap flowers using the Tattered Flowers Die from Tim Holtz using the Burlap Stack from DCWV. Sentiment is from Hero Arts called "Thank You For Being My Friend".


For the Blog-iversary I'm giving away a Sympathy Stamp set from Hero Arts called Remember.


To be eligible to win here's what you need to do:

1. Become a follower on either my Blog or my Facebook page (or both!).

2. Leave a comment.

Winner will be chosen at random Friday, April 18th and announced on my blog on Saturday, April 19th. 


Hope you'll join us this week with your take on the sketch above. All the details are on the blog post over at Unscripted Sketches!

This post is also linked up to Virginia's View Challenge.


Thanks for stopping by!
Products Used For This Card:
Base Cardstock - PTI in True Black & White
Patterned Paper - the Paper Studio - Everyday Kraft, DCWV - Burlap Stack
Ink - Tim Holtz Distress - Black Soot, Ranger Archival Ink - Jet Black
Gems - DCWV Gem Stickers
Stamp - Hero Arts - Thank You For Being My Friend - CL487
Flowers - Tim Holtz Tattered Flower Die
Prima - Stencil
Golden Light Molding Paste

Monday, April 1, 2013

April Birthday Cards......And I'm Even Early!

Happy Birthday Using Washi Tape 

This will probably never happen again! I have my April birthday cards for the swap I'm in done early. One birthday is the 4th and one is the 9th and I mailed them today! I'm not sure if they read my blog or not, so I won't say who is getting which card. 

For the one above I used PTI for my base and the argyle embossing folder from Cuttlebug. The flower is from Prima (love their flowers!) and the gemstones are by Hero Arts. I used washi tape for the pattern on the strip and on the scalloped circle. Sorry, but I tossed all the packaging and I don't know who makes this tape. I used Nestabilities for the circles. The sentiment is from Hero Arts called Birthday Messages - CL139. I just ran my Black Soot Distress Ink around the edge to make the white "pop" a little.

Happy Birthday 

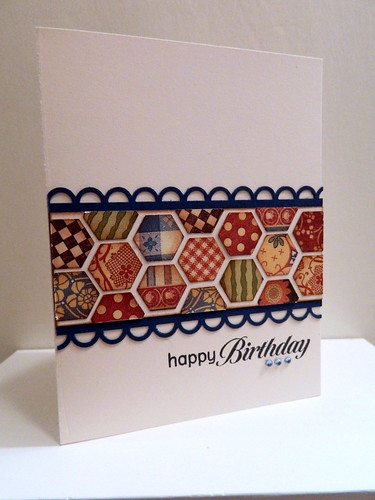
For this card I used one of my Creative Memories hexagon punches. The patterned paper is from Graphic 45's Domestic Goddess Collection. I After inking all the edges with Vintage Photo Distress Ink I placed them in a pattern and then trimmed the edges. I used the open scallop edge punch from EK Success on the blue cardstock. The blue gemstones are from Hero Arts as is the sentiment. The sentiment is from the stamp set Find Joy - CL497. The base is cardstock from PTI.

My plan is to try and stay one step ahead and get the May cards done ahead of time too. I'm not sure how that will work for me, but at least I have good intentions :)

Thanks for stopping by! This post is linked to these parties:
A Round Tuit
Made by you Monday
Crafty Showcase

Wednesday, June 20, 2012

Layout: Sunday Lunch


I didn't take many photos when I went to KY in May. I used my iPhone for all the ones I did take. Looking back I wish I would have used my camera and that I would have taken more.

My Aunt Wanda, daughter Hannah and I went to a Flea Market. After shopping we stopped at Cracker Barrel for lunch. I had Hannah take the photo of Wanda and me. A very nice woman and her husband came by and offered to take the one of all three of us. I was inspired to do a layout, in a style called shabby chic. Whenever something new looks old (shabby chic) I love it.

This layout is loosely based on the sketch below from Scrapbooks Etc. They have many more to choose from that you can see here.


I used the Mariposa stack from DCWV for the patterned paper and the Colorful Life stack for the lettering. I diecut the letters using Cat 'n Mouse from Sizzix.


I used up the scraps I had to make four flowers - two orangish-pink and two teal. I used Nestablilities scalloped circles and dictionary paper for the flowers. I had a package of pearlized white stamens in my stash so I added them to the centers. 

For the other flowers above I used the Art Flowers Vintage Collage from Hero Arts. The button in the center is from Favorite Findings. I had purchased the crotchet flowers from a shop in Etsy. The teal flowered center is a flower from Prima. I added a Vintage Black Pearl Trinket Pin from Maya Road. 


The green flower I picked up somewhere, but I'm not sure where or who the manufacturer is. The brad in the center of the Hero Arts flower is from Bazzill. You can also see a small portion of the faux pearls I used from Recollections.


Here's one of the teal flowers I made and a white one from Prima. Other products used on this layout include   a calendar card from Jenni Bowlin, Canvas Fringe from Canvas Corp, and a small rose from My Moments. I used Vintage Photo Distress Ink from Tim Holtz for all the inking on the edges of the flowers and patterned paper. Spellbinders Grand Nestabilities Labels Four and Grand Squares were used to diecut some of the patterned paper.

This post is linked to these parties: What I Whipped Up Wednesday, Inspiring Creativity, Delightfully Inspiring Thursday, 

Thanks for stopping by!
09 10