Showing posts with label Sizzix. Show all posts

Tuesday, August 13, 2019

Breathe

Breathe


I'm back again with another card for three different card challenges!

I'm adding this card to the No Patterned Paper challenge for Dragonfly Dreams, the Anything Goes challenge for Dare 2B Artzy and I'm going to add a second card to The Flower Challenge

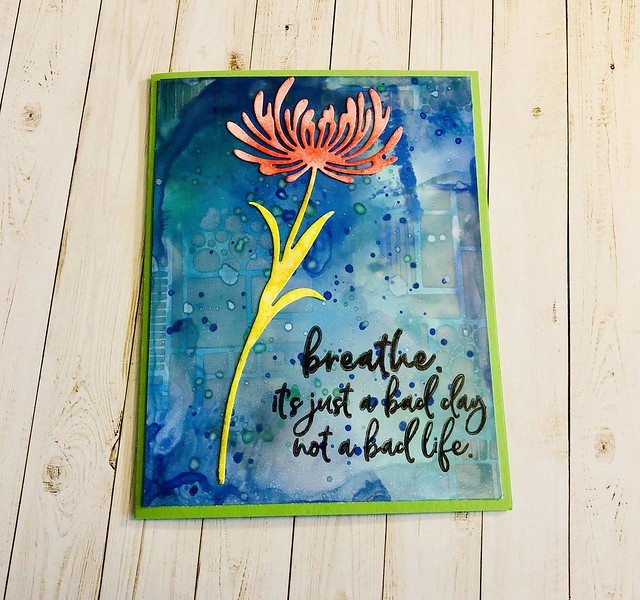
For my background I used four distress oxide inks. I used evergreen bough, hickory smoke, mermaid lagoon and blueprint sketch. I added the ink to my Tim Holtz glass mat and spritzed water over the ink. I took my alcohol ink cardstock and kept swiping into the ink. I used my heat tool to dry in between layers and proceeded until I was happy with the background. 

After the background was dry, I used the Wacky Boxes stencil from Dare 2B Artzy randomly on the background with hickory smoke distress ink. I splattered evergreen bough and blueprint sketch inks over the background with a paint brush. Once I made sure the ink was dry, I went over the background with Distress Micro Glaze. Because I had used oxide inks on alcohol ink cardstock the background looked a little milky. Using the Distress Micro Glaze makes the color more vibrant. It also seals the background. 

The flower is from the Sizzix Tim Holtz Wildflowers dies. To color the flower I used distress ink in these colors: crushed olive, peeled paint, mustard seed, worn lipstick and barn door. 

The sentiment is from Picket Fence called It's Going To Be Okay. I stamped it using my MISTI with Ranger archival ink in black soot. Instead of using a white card base like I normally do, I used a base from Papertrey Ink called new leaf. 


Thanks for stopping by!

Saturday, June 8, 2019

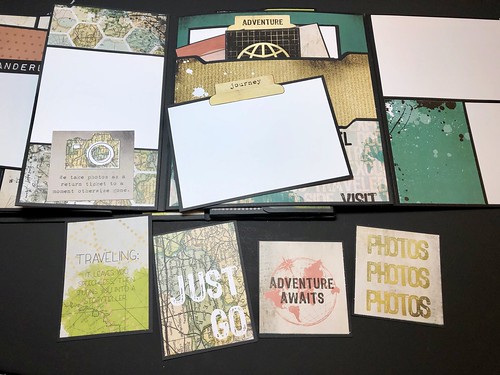
Travel Gatefold Folio

fullsizeoutput_2ada

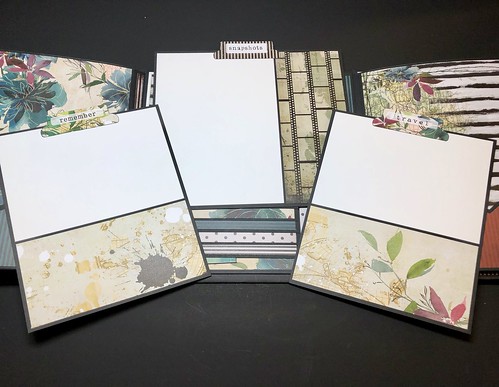
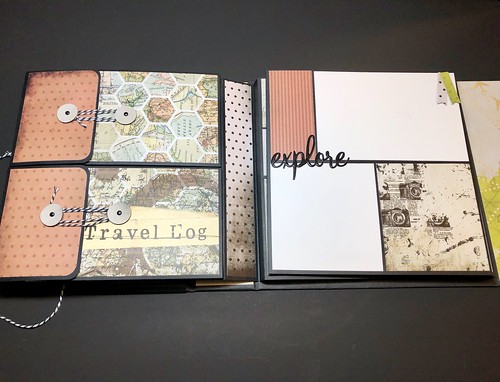
I've finally finished this Gatefold Folio that I started working on the end of April.

I'm so happy with how it turned out! This book for my daughter. I told her I would make a book for her and had planned to make it as Christmas gift. Well, that didn't work out. I knew what paper collection I wanted to use, but I didn't know what type of book I wanted to create. 

I purchased this paper collection from Paper Phenomenon called Flight 2715 quite a while before I decided on a project. I finally settled on the Gatefold Folio that Frances Long from Your Book of Memories created. 

It probably wouldn't take a normal crafter as long to finish it as it did for me. Working full-time and only maybe getting an hour or so each evening if that to craft isn't much time. I try to get as much done on the weekends as I can, but that doesn't always pan out either. The good news is that I'm not working anymore so hopefully I will have more time for crafting!

I followed the tutorial pretty much exactly as Frances created it, but there were a few things I did a little differently. After making this, I know that next time I may change up a few other things. That's the beauty of her tutorials. You're mind is always thinking of different ways to either add or take away something. 

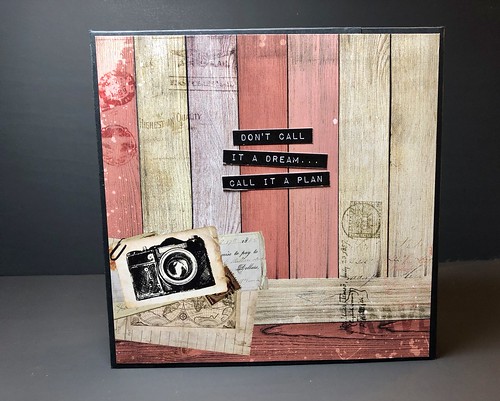
I decided to add a collaged piece to the front. I added magnets so that the whole piece just lifts off. 

fullsizeoutput_2adc

This is the patterned paper I used of both sides of the spine.

fullsizeoutput_2ade

On the back cover I adhered some words I cut apart from the collection.

fullsizeoutput_2ae0

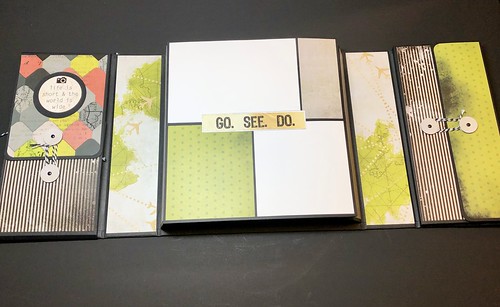
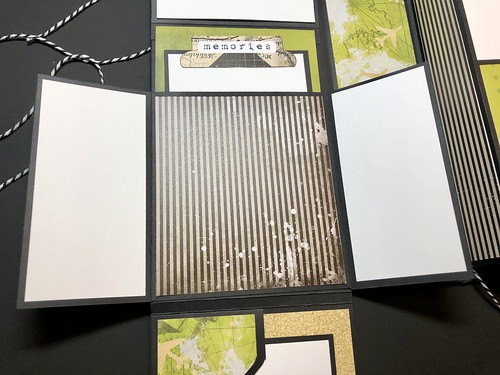
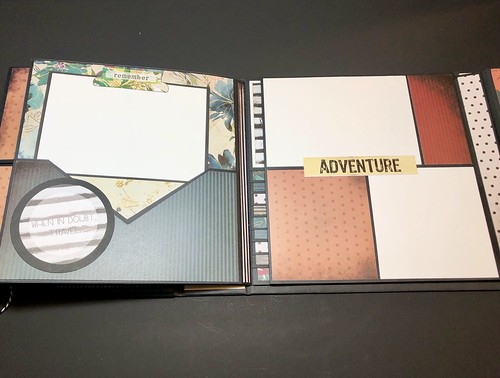
When you open the folio you see each side and the center.

fullsizeoutput_2ae2

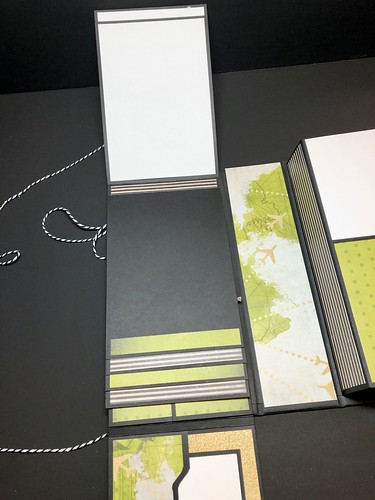
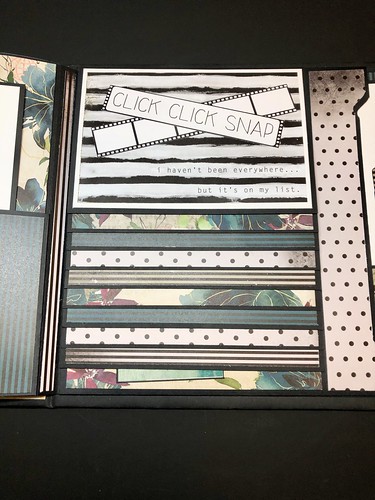
The left side opens to show a vertical waterfall with a pocket on each side that holds a photo mat.

fullsizeoutput_2ae4

fullsizeoutput_2b0a

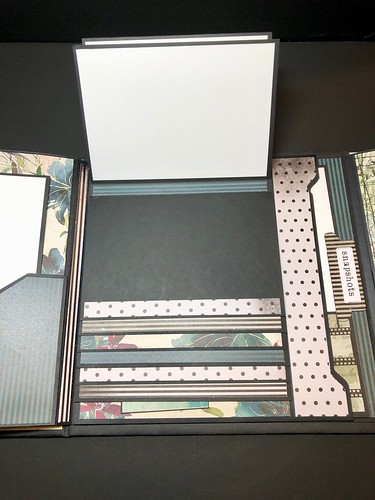
There are two flaps that open to reveal another pocket with a mat and places for journaling. 

fullsizeoutput_2b0c

fullsizeoutput_2ae6

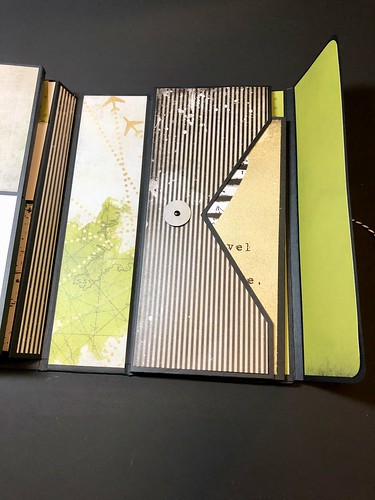
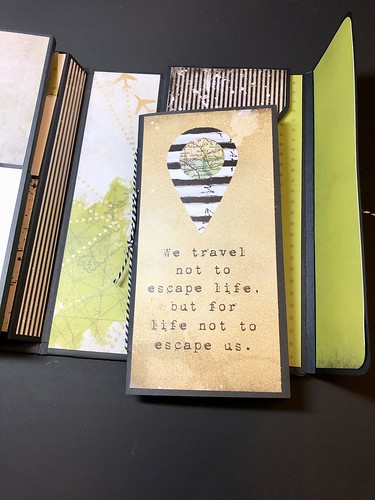
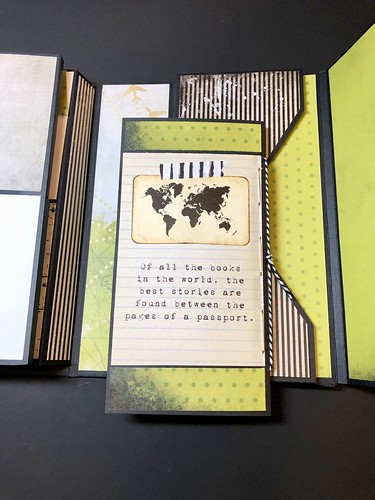
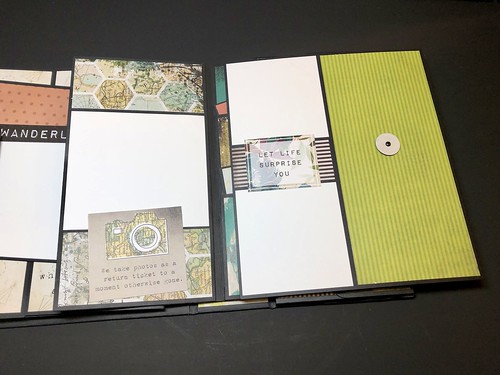
On the right side there's a pocket that opens to reveal a booklet for journaling. 

fullsizeoutput_2ae8

fullsizeoutput_2aea

fullsizeoutput_2aec

fullsizeoutput_2aee

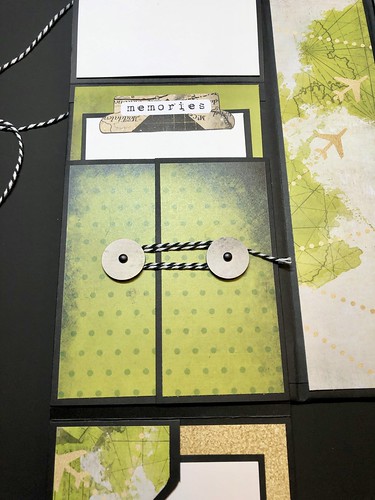
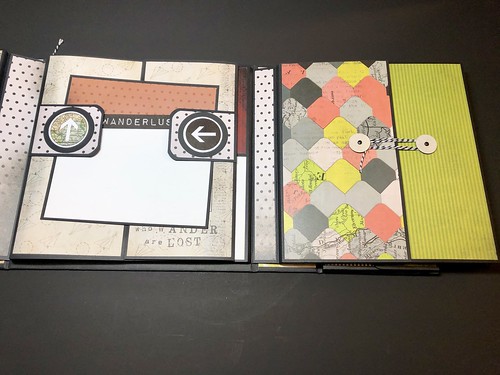
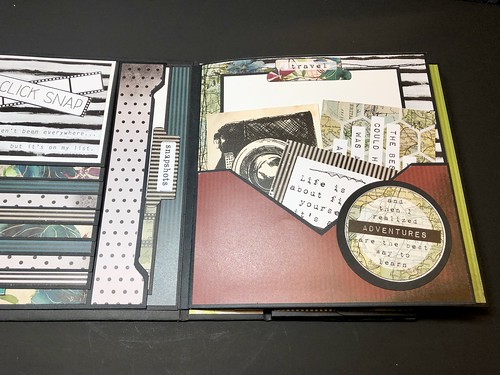
The first flap opens to the right and reveals two expandable pockets that will hold photos or memorabilia.

fullsizeoutput_2af0

The next flap opens to reveal a page that opens to hold more photos.

The flaps with the arrows hold the photo mat in place to keep the page closed.

fullsizeoutput_2af2

fullsizeoutput_2af4

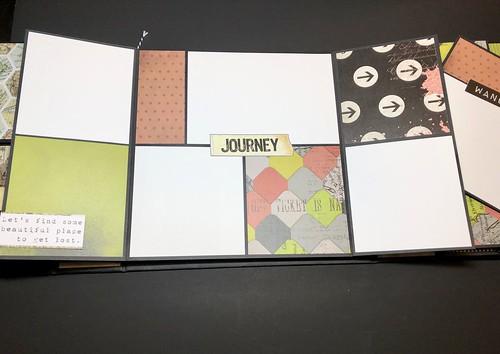
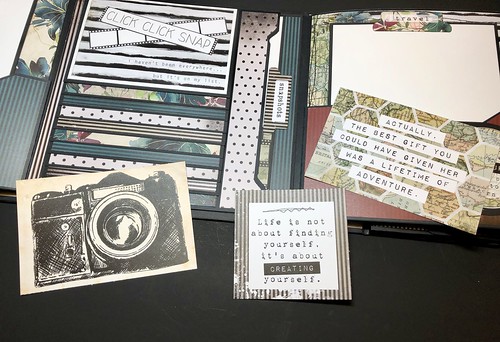
The next flap opens up to reveal more photo spaces.

There are also two stacked pockets with photo mats inside.

fullsizeoutput_2af6

fullsizeoutput_2af8

fullsizeoutput_2afa

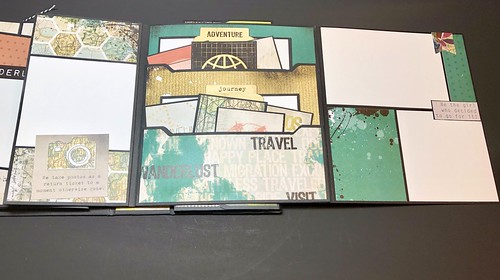
The next flap opens to the right and another one to the left. There is a pocket on each side.

Each pocket holds more photo mats. 

fullsizeoutput_2afc

fullsizeoutput_2afe

fullsizeoutput_2b00

fullsizeoutput_2b02

The final page holds a horizontal waterfall.

There's also another pocket to the side that holds a photo mat.

fullsizeoutput_2b04

fullsizeoutput_2b06

I cut apart one of the sentences on one of the ephemera sheets and adhered it to the back of the waterfall. 

I loved making this Gatefold Folio and will definitely make another one. I love Frances Long's tutorials!

I didn't have a lot of ephemera to decorate with. I spent time looking for stickers and other items prior to and while I was working on this. The paper collection didn't come with any stickers or chipboard pieces. I used the few items I fussy cut out of the paper sheets. The rest of the items I used dies that I had in my stash and a few odds and ends that I picked up either at Michaels or Hobby Lobby. Once may daughter adds photos more stickers and ephemera can be added. 

I know this post was a little photo heavy but it's the only way to show each page in detail.

Thanks for taking the time to stop by!

Monday, August 27, 2018

Crafty Creations Challenges Challenge #373 - Anything Goes

Crafty Creations Challenge #373

I'm linking my card up to the Anything Goes challenge over at Crafty Creations Challenges. 


Crafty Creations Challenge #373 

I've been picking up sassy sentiment stamps for coffee for awhile. 

I thought I'd better start using them!

This sentiment is from Rubbernecker Stamps. I love it!

Crafty Creations Challenge #373 

The background was created using a few stamps from the Stampin' Up Timeless Textures stamp set.

The coffee cup die and stamp is from the Sizzix Coffee set by Stephanie Bernard.

Crafty Creations Challenge #373

I used a Spellbinders circle die for the sentiment.

Inks used were Memento rich cocoa, Distress Oxide inks in vintage photo & walnut stain.

I'll be posting more coffee cards in the near future. I need to use my stamps!

Sunday, August 12, 2018

CAS(E) this Sketch #284

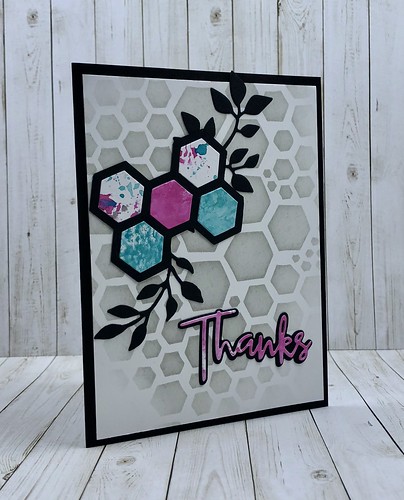
Thanks 

I'm on a roll! I'm sharing this card that I made for the CAS(E) this Sketch #284 Challenge.


I've been hustling last night and today trying to get cards made for some challenges that are ending. 

I love participating in challenges but sometimes time is tight. 

Thanks 

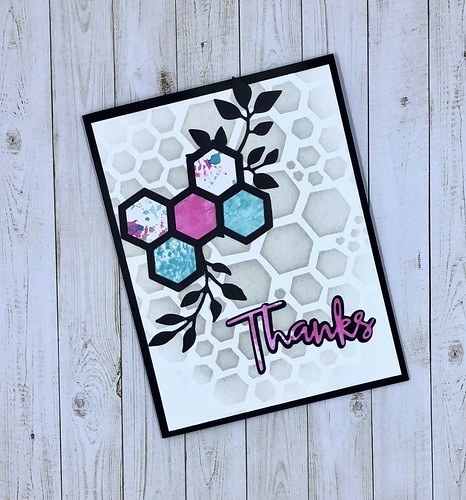
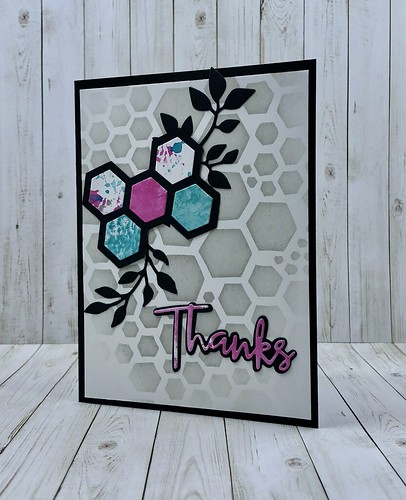
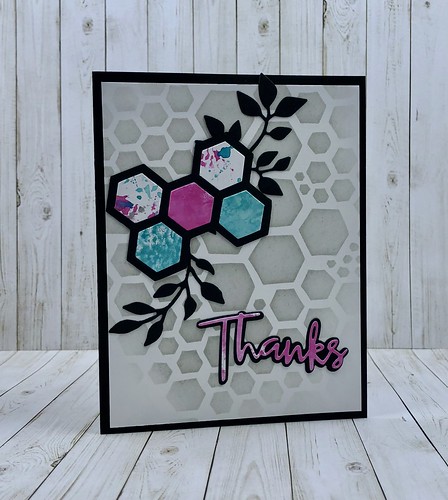
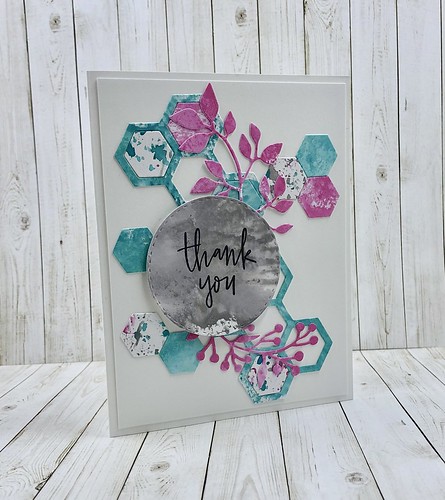
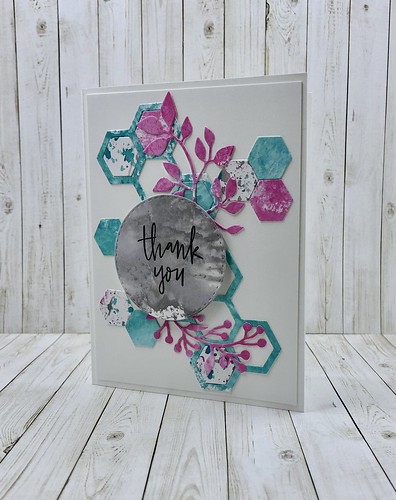
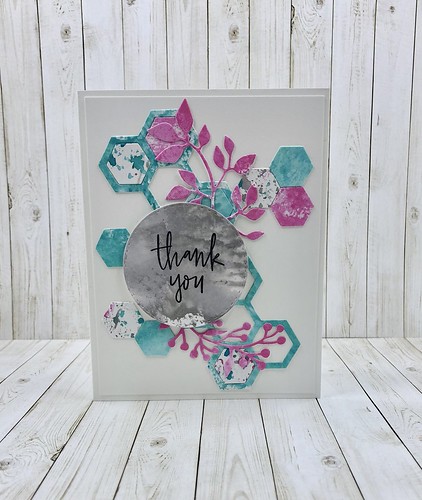
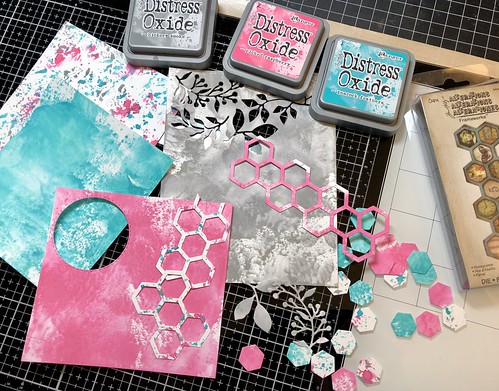
I have lots of leftover pieces of cardstock that I watercolored with distress oxide inks and some die cuts to use up. I used the Honeycomb Small stencil by Dylusions for my background with hickory smoke ink.

Other products used on this card were: Sizzix Tim Holtz Garden Greens dies, Sizzix Tim Holtz Frameworks Honeycomb die and Simon Says Stamp Script Thanks Die.

Thanks 

I think this card might be one of my favorites. I know not everyone is a fan of black but I think it makes the colors pop on this card. 

Thanks

This card is linked to this challenge:

CAS(E) this Sketch #284


Thanks for stopping by!

Color Throwdown Challenge CTD505

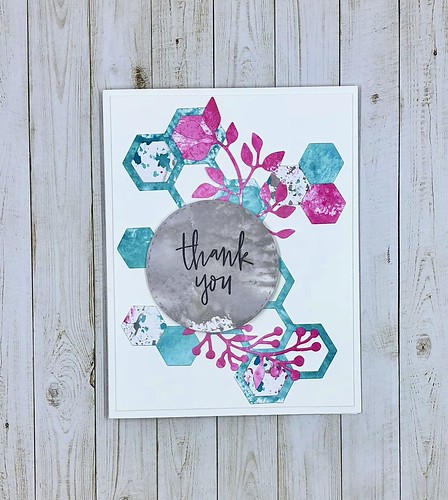
Thank You 

I'm participating in the Color Throwdown Challenge this week!

I do like this color combination.


Thank You 

The sentiment on the card is from the Flower Turnabout Stamp Set from Concord & 9th.

I used the Double Stitched Circle die on this card and the one below from Our Daily Bread Designs

Thank You 

Thank You 

fullsizeoutput_2472 

Distress oxide inks were used to watercolor some mixed media paper.

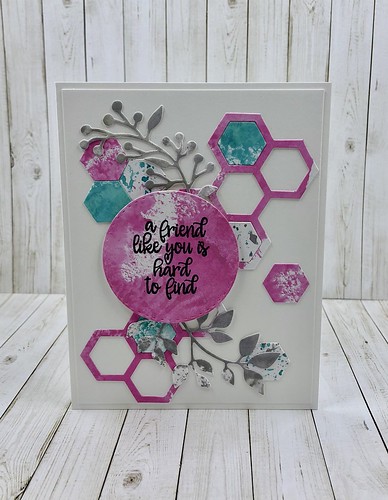
I pulled out an older Sizzix Tim Holtz Alterations Frameworks die for my background.

The greenery was die cut using Sizzix Tim Holtz Garden Greens

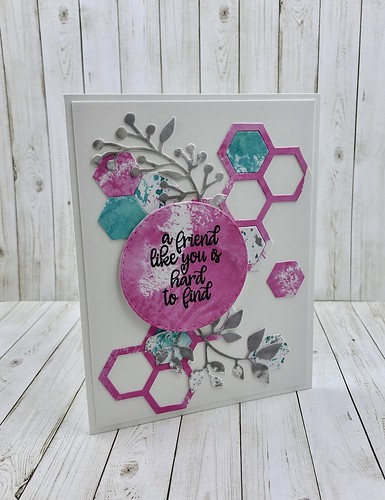
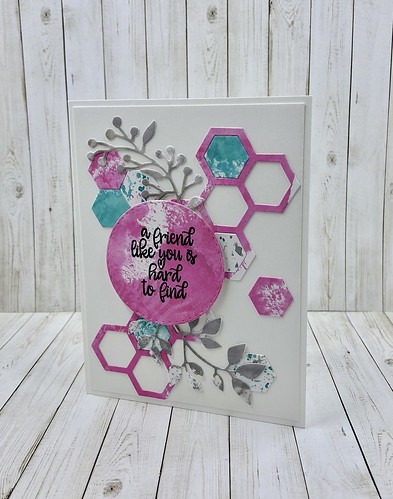
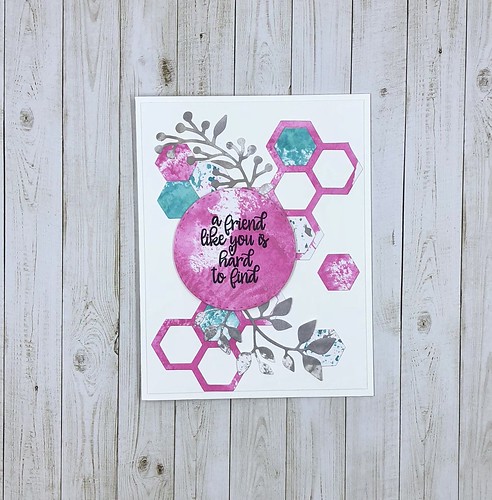
Friend Like You 

Since I have extra die cut pieces and greenery I decided to make a second card.

I set aside the rest of my pieces to create more cards later. 

Friend Like You 

The sentiment on this card is from the Wreath Builder Set from Gina K Designs.

Friend Like You 

Friend Like You

Be sure to stop by the Color Throwdown Blog to check out all the cards that their Design Team created and all the entries from the challenge!

Thanks for stopping by!

Wednesday, August 8, 2018

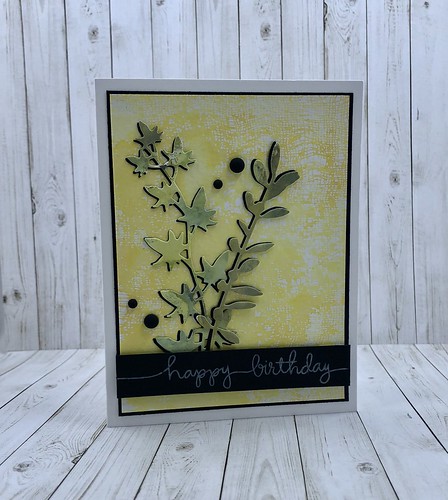
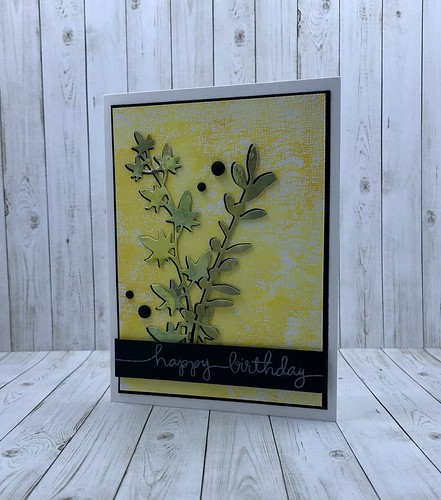
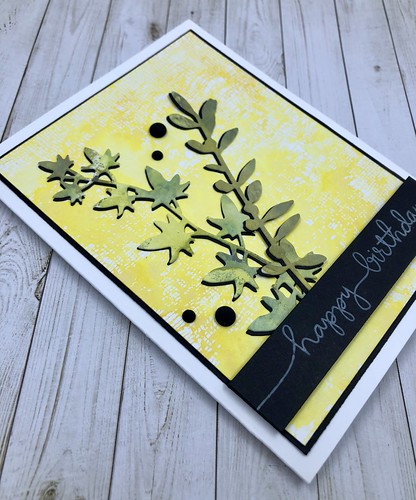
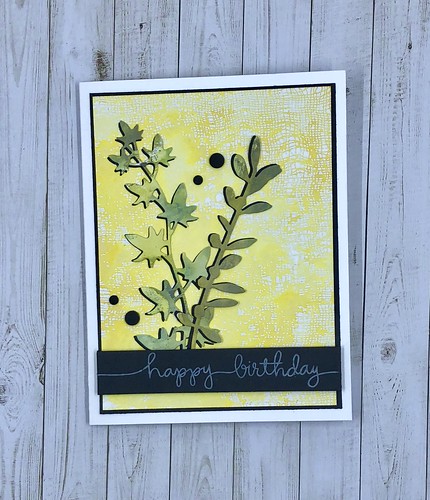
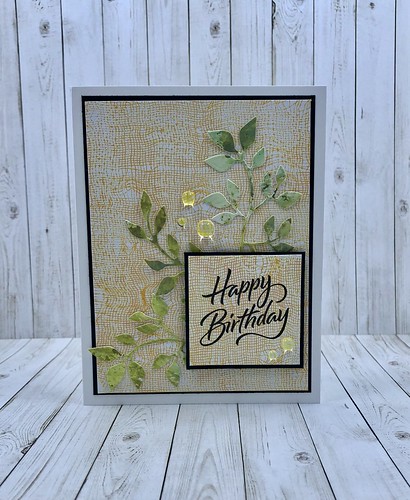
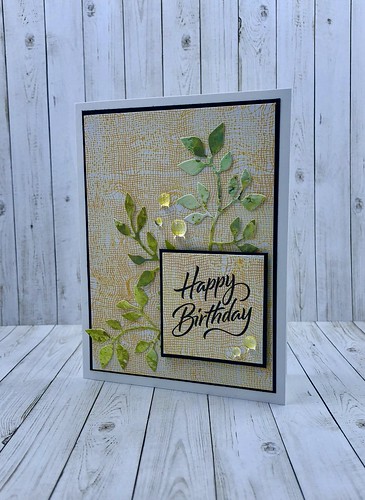
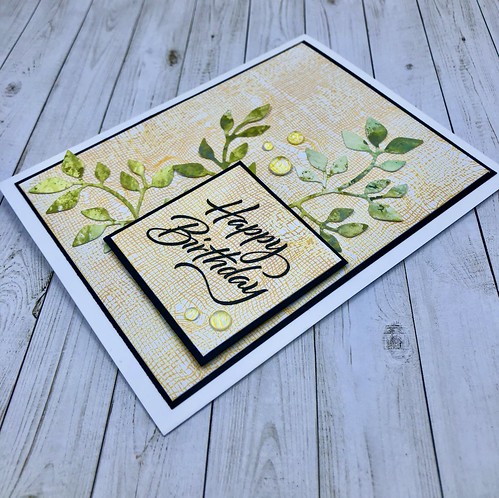
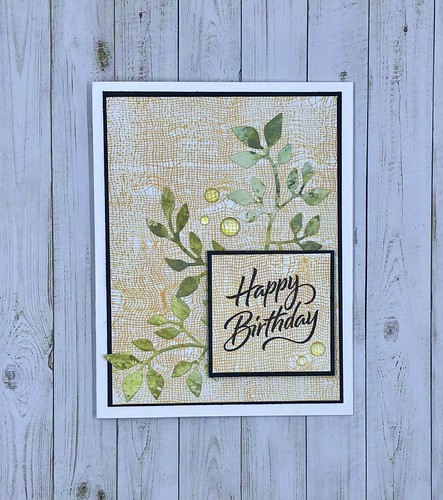
Happy Birthday

Happy Birthday 

My plan was to participate in some card challenges this week.

That didn't pan out for me.

I haven't done any crafting in the evenings this week after work. I've been recuperating because I managed to fall again! I fell two weeks ago Sunday and I haven't fully recovered from that fall yet. 

Sunday evening I was attempting to take photos of the cards I had made and I fell off of a chair backwards, LOL. Needless to say, I really did a number on my right arm (my right hand hasn't healed yet from my first fall!) and the right side of my back. Crafting can be dangerous!

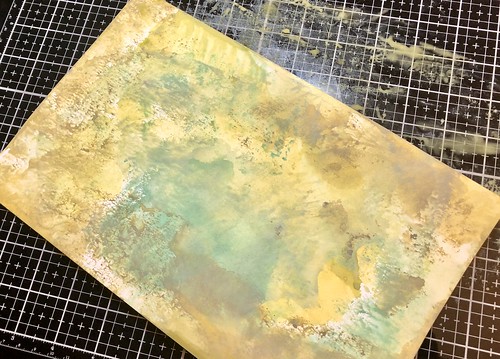
On to the cards that I did get made. I watercolored a piece of Strathmore Mixed Media paper (my favorite!) with distress oxides. I used peeled paint, evergreen bough and bundled sage. I like to let my  paper dry naturally.

Happy Birthday 

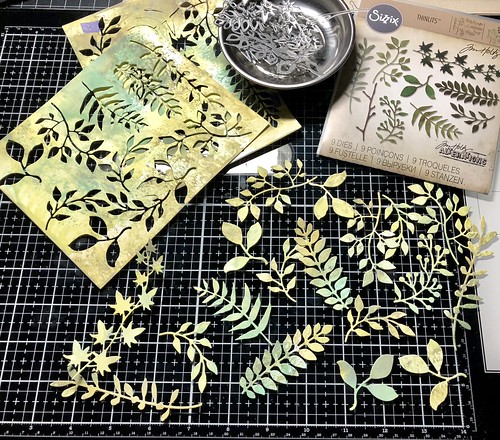
After the paper was dry, I die cut all the leaves out using the Sizzix Tim Holtz Garden Greens die.

Happy Birthday 

That little magnetic bowl has saved my life!

I put my dies in there when working with them so they don't get lost.

I have one flower die I'm trying to find that has fallen on the floor and I haven't been able to locate.

I'm sure it's stuck behind something

Happy Birthday

For the background on this card I used the Cheesecloth background stamp from Rubbernecker Stamps. After adding my ink I spritzed water in the stamp and then layed my paper on stamp. 

I used distress oxide inks for both cards. 

For this one I used fossilized amber. 

Happy Birthday

The stamp is from Simon Says Stamp called Handwritten Borders.

Happy Birthday

Happy Birthday

For this card I used wild honey distress oxide ink.

I just stamped the background on this card. I didn't spritz it with any water.

Happy Birthday

The sentiment for this card is from Close To My Heart called Joyful Birthday Occasions.

Happy Birthday

I really love how the leaves turned out.

I still have some left to use with a few other cards. I'll probably make some more to keep on hand.

Happy Birthday

Now I'm off to see what card challenges catch my interest for this week.

Thanks for stopping by!

09 10