Showing posts with label Momenta. Show all posts

Friday, July 5, 2019

Find Joy Mixed Media Canvas

Find Joy Mixed Media Canvas 

Right from the start I'm going to mention that I'm not a huge pink and purple fan. I have nothing against the two colors, they just aren't ones that I'm drawn to naturally. 

The background on this canvas was made probably well over a year ago. I've had this canvas and another one just waiting to have something done with them. At the time I was playing around with distress inks (I don't remember what the colors are that I used) and they turned out a little different than I expected. I just set them both aside knowing that someday I would get back to them and create something. 

I used a stencil called mini bricks by The Crafters Workshop with some Golden light molding paste on both corners of this canvas. The paste picked up the color on the canvas. 

I stamped randomly around the canvas with a Tim Holtz stamp. I don't have the name of the stamp as I don't have the packaging anymore. I then splattered black soot Distress ink over the canvas.

Find Joy Mixed Media Canvas 

Find Joy Mixed Media Canvas 

The flowers are from Little Birdie. I believe I picked them up at Tuesday Morning. 

The metal frame I've had in my stash for awhile. It's from Momenta.

I used Tim Holtz Quote Chips for the sentiments. I cut two sentiments apart. 

The photo is from an ephemera packet that I picked up back in 2013 when I went to a show called Junk Bonanza that is held twice a year here is the Twin Cities area. 

Find Joy Mixed Media Canvas 

I thought the quote fit the photo. The two women look like friends having a good time!

Find Joy Mixed Media Canvas

Now I have one more project off my list! 

I have another canvas that is almost finished. I have everything ready to go to finalize it, but I have to wait for the molding paste to dry. I will share it once I'm done with it. 

Thanks for stopping by!

Saturday, June 8, 2019

Travel Gatefold Folio

fullsizeoutput_2ada

I've finally finished this Gatefold Folio that I started working on the end of April.

I'm so happy with how it turned out! This book for my daughter. I told her I would make a book for her and had planned to make it as Christmas gift. Well, that didn't work out. I knew what paper collection I wanted to use, but I didn't know what type of book I wanted to create. 

I purchased this paper collection from Paper Phenomenon called Flight 2715 quite a while before I decided on a project. I finally settled on the Gatefold Folio that Frances Long from Your Book of Memories created. 

It probably wouldn't take a normal crafter as long to finish it as it did for me. Working full-time and only maybe getting an hour or so each evening if that to craft isn't much time. I try to get as much done on the weekends as I can, but that doesn't always pan out either. The good news is that I'm not working anymore so hopefully I will have more time for crafting!

I followed the tutorial pretty much exactly as Frances created it, but there were a few things I did a little differently. After making this, I know that next time I may change up a few other things. That's the beauty of her tutorials. You're mind is always thinking of different ways to either add or take away something. 

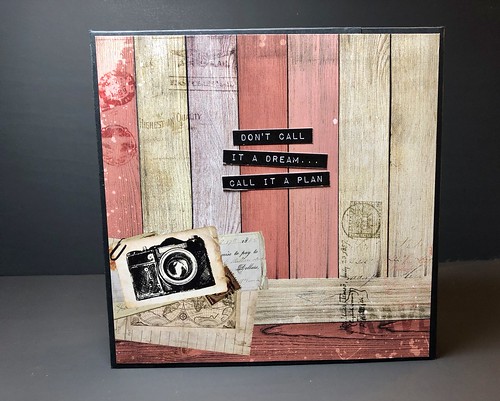
I decided to add a collaged piece to the front. I added magnets so that the whole piece just lifts off. 

fullsizeoutput_2adc

This is the patterned paper I used of both sides of the spine.

fullsizeoutput_2ade

On the back cover I adhered some words I cut apart from the collection.

fullsizeoutput_2ae0

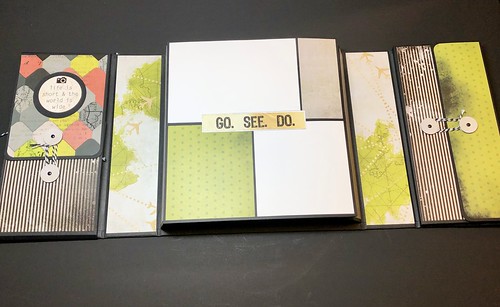
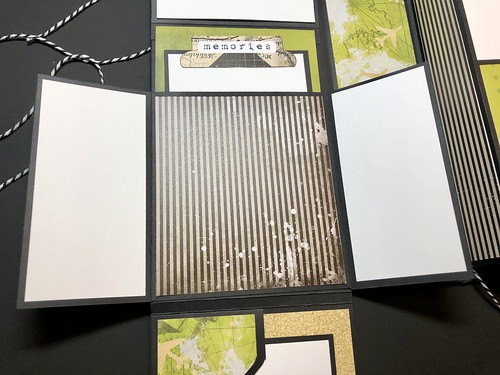
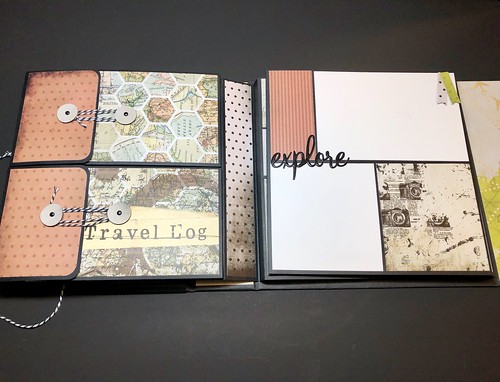
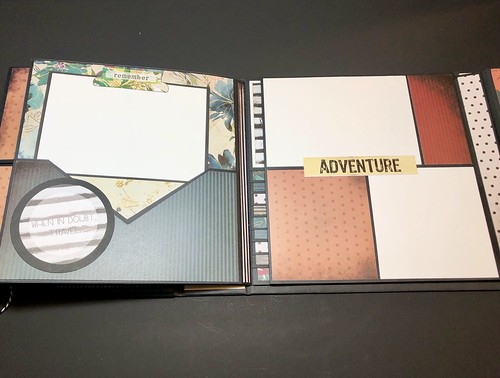
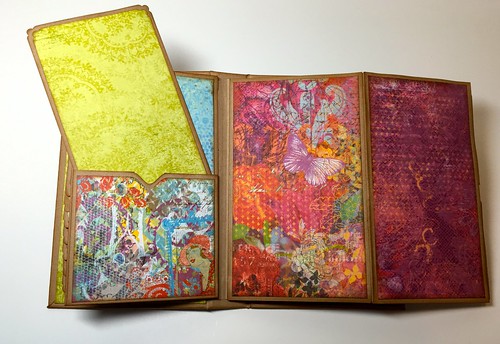
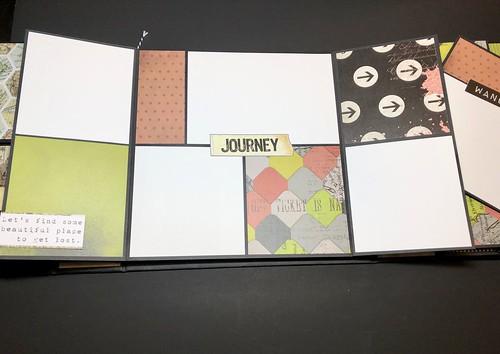
When you open the folio you see each side and the center.

fullsizeoutput_2ae2

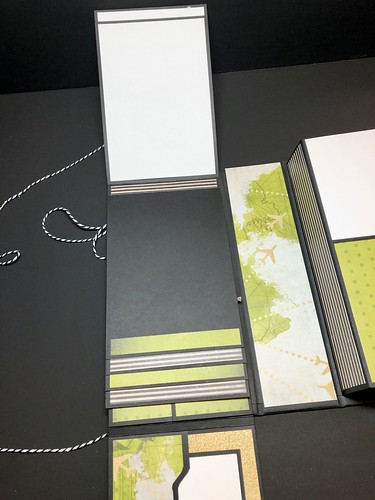
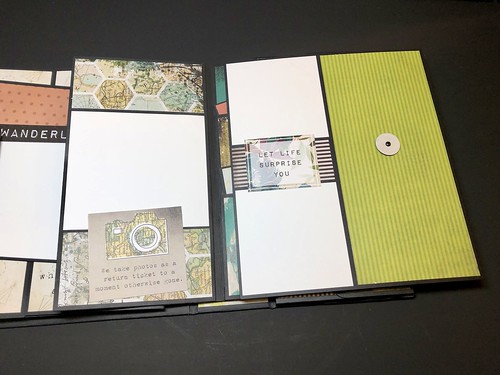
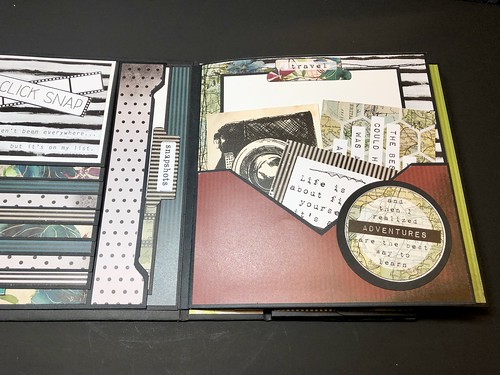
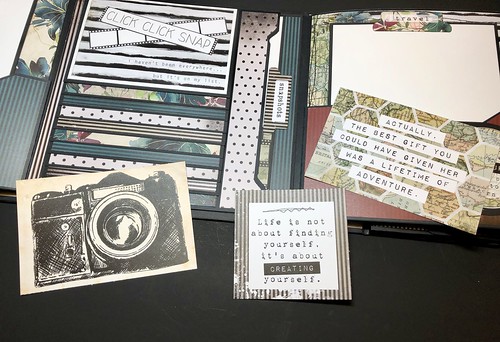
The left side opens to show a vertical waterfall with a pocket on each side that holds a photo mat.

fullsizeoutput_2ae4

fullsizeoutput_2b0a

There are two flaps that open to reveal another pocket with a mat and places for journaling. 

fullsizeoutput_2b0c

fullsizeoutput_2ae6

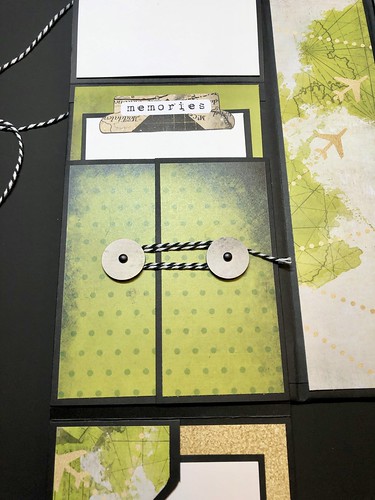
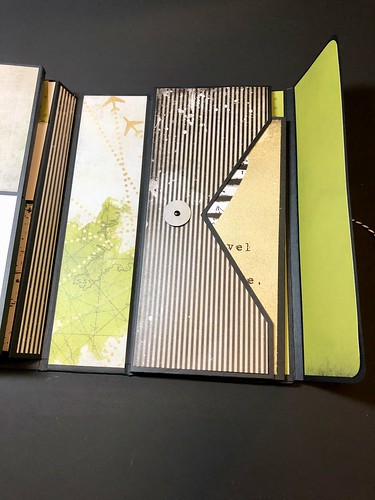
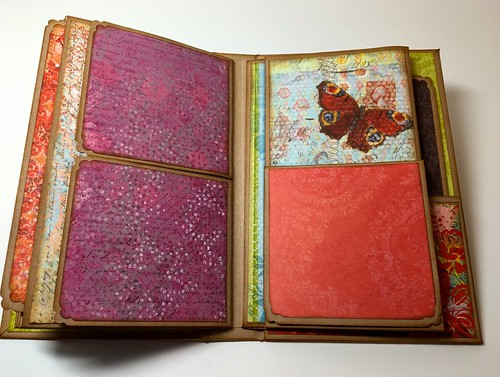
On the right side there's a pocket that opens to reveal a booklet for journaling. 

fullsizeoutput_2ae8

fullsizeoutput_2aea

fullsizeoutput_2aec

fullsizeoutput_2aee

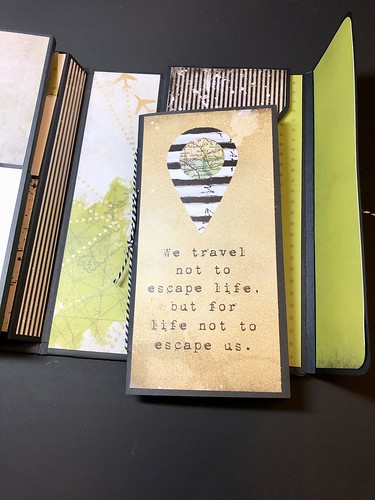
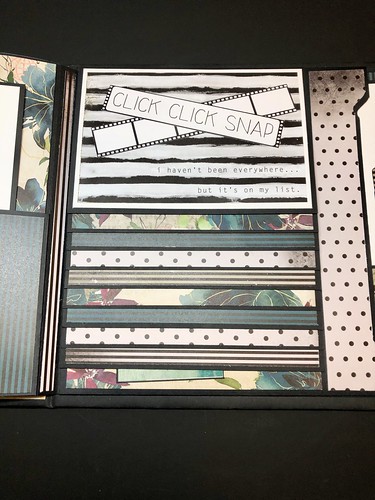
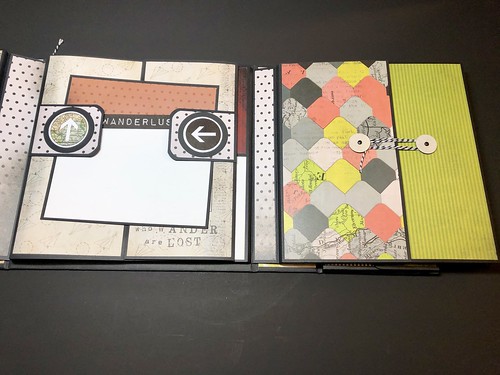
The first flap opens to the right and reveals two expandable pockets that will hold photos or memorabilia.

fullsizeoutput_2af0

The next flap opens to reveal a page that opens to hold more photos.

The flaps with the arrows hold the photo mat in place to keep the page closed.

fullsizeoutput_2af2

fullsizeoutput_2af4

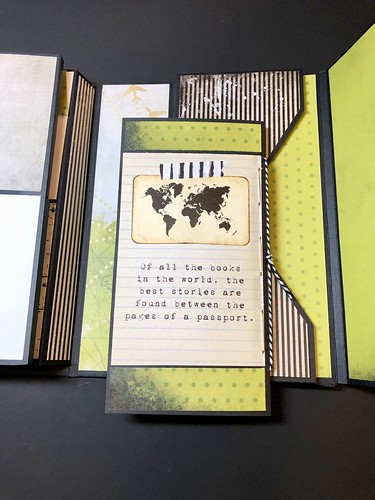
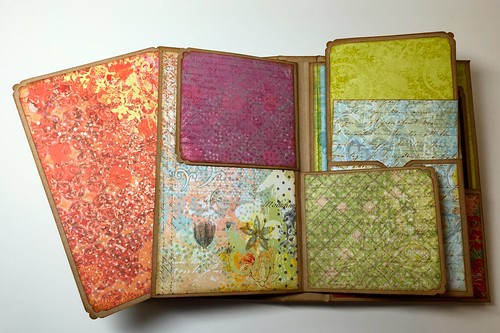
The next flap opens up to reveal more photo spaces.

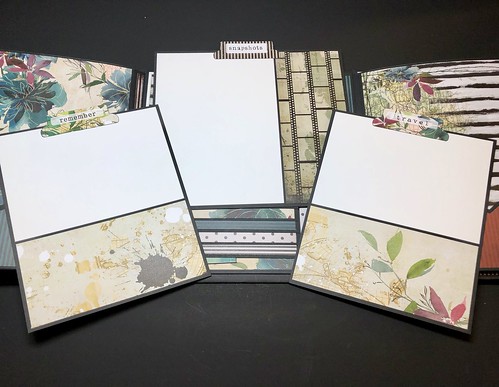
There are also two stacked pockets with photo mats inside.

fullsizeoutput_2af6

fullsizeoutput_2af8

fullsizeoutput_2afa

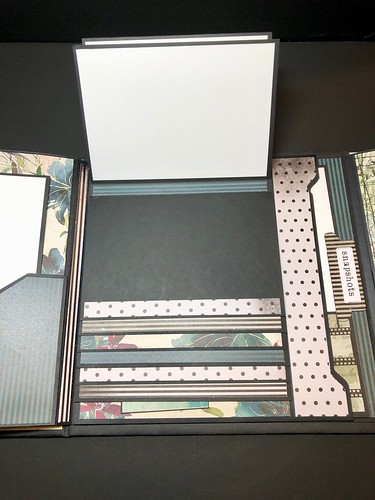
The next flap opens to the right and another one to the left. There is a pocket on each side.

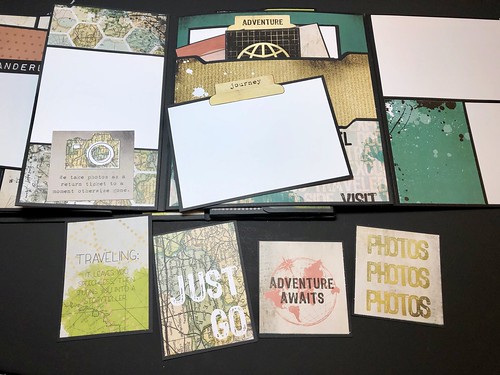
Each pocket holds more photo mats. 

fullsizeoutput_2afc

fullsizeoutput_2afe

fullsizeoutput_2b00

fullsizeoutput_2b02

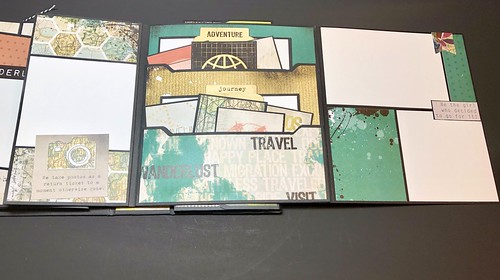
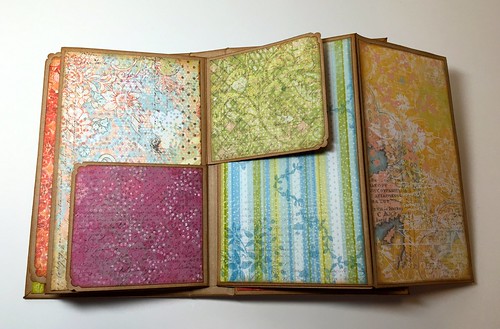
The final page holds a horizontal waterfall.

There's also another pocket to the side that holds a photo mat.

fullsizeoutput_2b04

fullsizeoutput_2b06

I cut apart one of the sentences on one of the ephemera sheets and adhered it to the back of the waterfall. 

I loved making this Gatefold Folio and will definitely make another one. I love Frances Long's tutorials!

I didn't have a lot of ephemera to decorate with. I spent time looking for stickers and other items prior to and while I was working on this. The paper collection didn't come with any stickers or chipboard pieces. I used the few items I fussy cut out of the paper sheets. The rest of the items I used dies that I had in my stash and a few odds and ends that I picked up either at Michaels or Hobby Lobby. Once may daughter adds photos more stickers and ephemera can be added. 

I know this post was a little photo heavy but it's the only way to show each page in detail.

Thanks for taking the time to stop by!

Saturday, October 8, 2016

Live Love Laugh Mini Album

Live Love Laugh Album

I finally finished this book I've been working on. I just haven't had time to sit down and get it all done in a timely manner. These books could easily be created in one day.....if you have the time!

This one is just like the other two that I have posted on my blog. I change up a few things on each book. I can't stand making the same thing over and over. I have to make a few changes even if things are basically similar. 

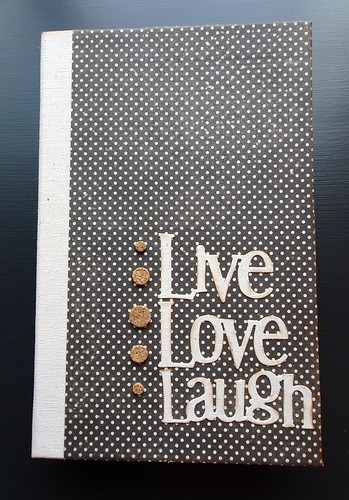
For the cover I used sticky back canvas from Ranger and a word die from Momenta that I picked up at Hobby Lobby. The cork dots are from Recollections. The paper collection is also from Recollections called Memories Documented. I found this paper pad in my stash that I didn't even remember that I had! It's good to shop your own supplies. 

Live Love Laugh Album

Live Love Laugh Album

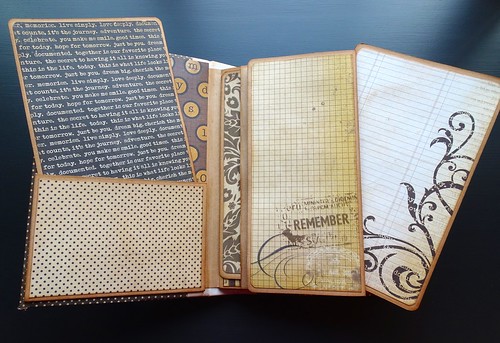
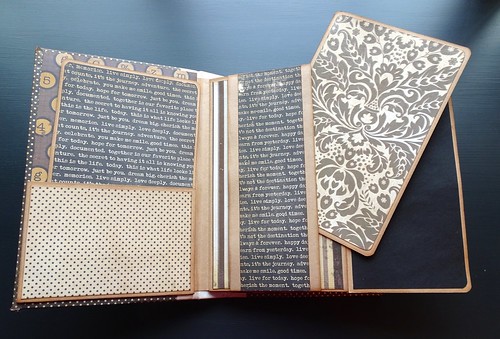
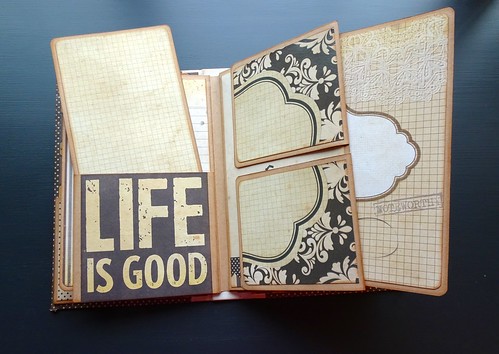
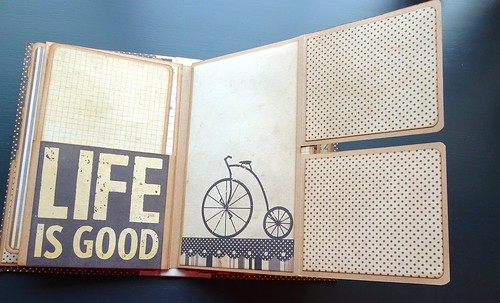
I added belly bands to two pages this time to hold an extra photo mat.

Live Love Laugh Album

Live Love Laugh Album

Live Love Laugh Album

Live Love Laugh Album

Live Love Laugh Album

Live Love Laugh Album

Live Love Laugh Album

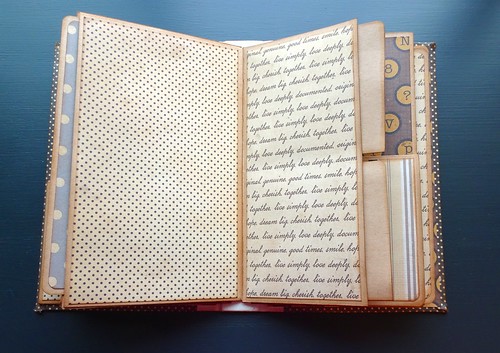
I just added one waterfall to the back cover this time. I didn't use a magnet as there is no problem keeping it closed.

I just love this paper and plenty left for one or two more books if I choose to make them.

Thanks for stopping by!
Saturday, September 3, 2016

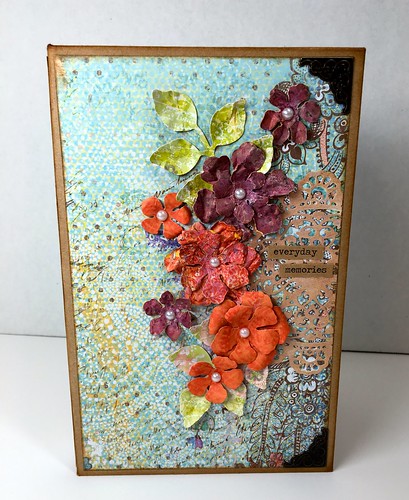
Everyday Memories Mini Album

IMG_0051

I have to tell you how excited I was to come across this little book! I have been following Ginger from My Sisters Scrapper for quite a long time and love her mini albums. She has a mini album that is very similar to this one but no pages and a bit smaller. 

I've been searching for something very close to that one. I wanted something that had a few pages. I wasn't too concerned about the size. A few weeks back I found exactly what I was looking for on a Blogger friends blog. My friend Susie from Creative Cafe made the book I was searching for. Check out her blog, she makes beautiful books!

This book measures approximately 5.25 inches in width, 8 inches in height and 1.25 inches in depth. I love this book! 

I used a paper pad I've had in my stash for ages. It's by K&Company and is called Que Sera Sera. The  patterns are beautiful. I usually buy "collections" so I have embellishments, stickers and chipboard pieces to choose from when I decorate my books. I fill in with stuff from my stash. I had no embellishments for this paper. I racked my brain for ideas of how to decorate the cover. I went to a few Michael's, Joann's and even Hobby Lobby looking to see if I could find something and came up empty handed. I just didn't see anything I liked. That led me to shop in my own craft room! 

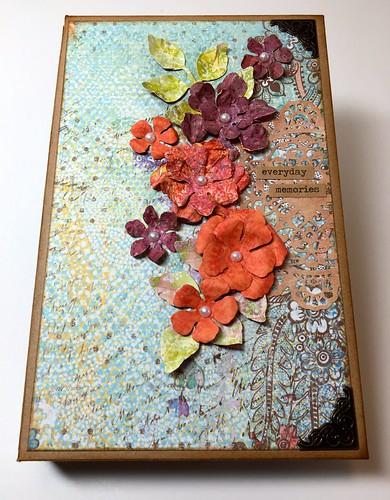
For the cover I used three different die sets for the flowers and leaves. I used Spellbinders Shapeabilities Foliage, Heartfelt Creations Ariana Blooms and Sizzix - Donna Salazar Rose Creations. I die cut the flowers/leaves from patterned paper from the collection. I added pearl bling to the flower centers. I cut the doily from a Prima die called Doilies One and then dyed it with Tim Holtz Vintage Photo Distress Ink. The metal corners are from Momenta. The word sentiments are from Tim Holtz Idea-ology stickers called ChitChat. I inked all the pages with vintage photo distress ink - my favorite! I used an old Creative Memories corner punch for the photo mats and flaps. On the pockets I used my We R Memory Keepers envelope punch board. 

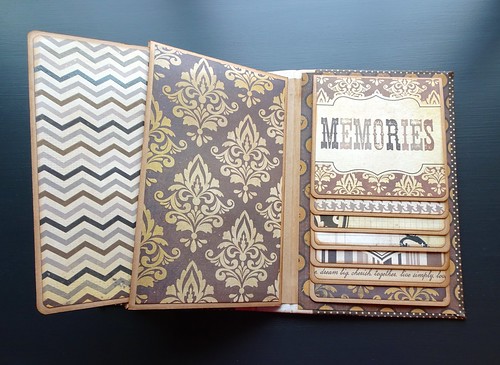
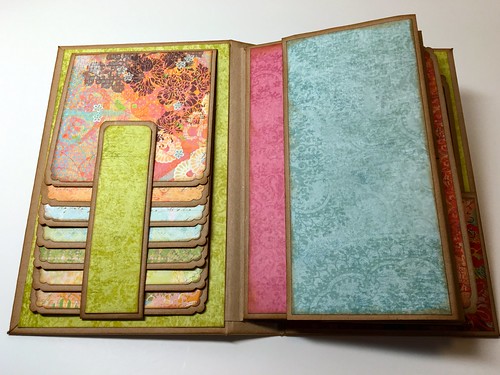
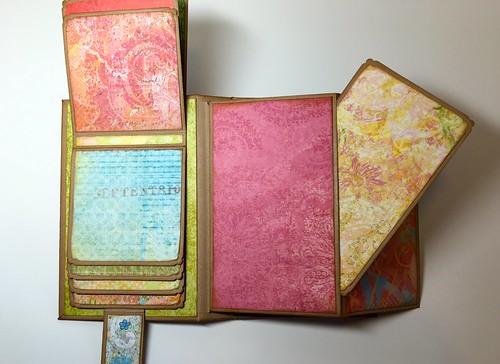
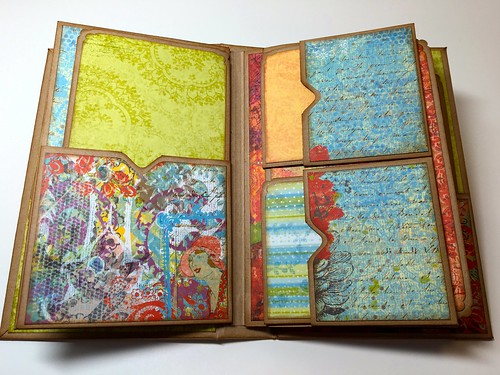
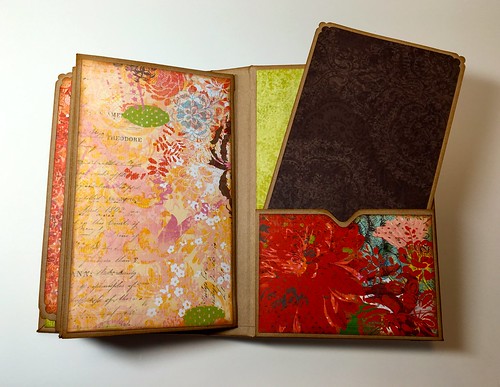
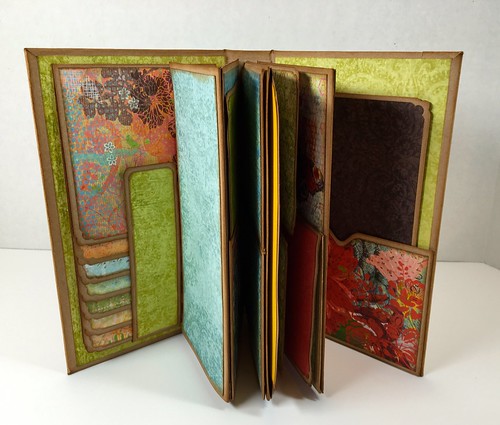
The rest of this post are just photos of the inside pages, spine and back cover. I didn't do any embellishing on the inside. The book isn't that large and I wanted to leave plenty of room to add photos. Embellishments can always be added after the photos have been adhered to the pages. There are 6 photo mats inside pockets and two small booklets inside two pockets. In addition to the mats and booklets there is room for over 40 photos in the book. Of course some of the areas can be used for journaling too. 

IMG_0042

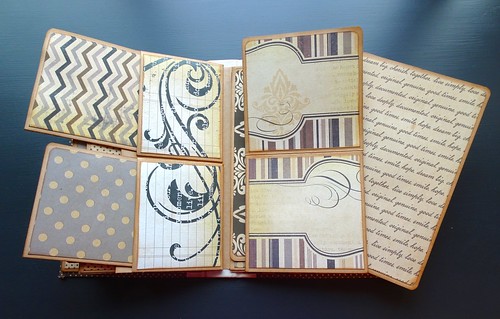
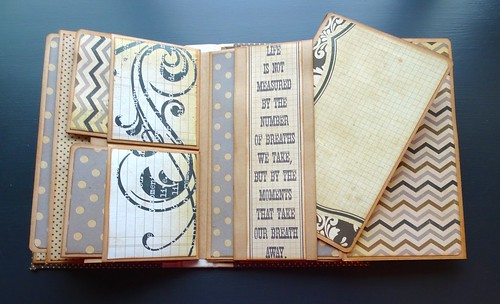
I love waterfall photo pages!

IMG_0043

IMG_0044

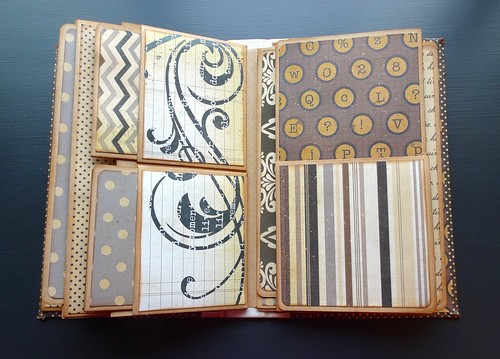
This is the page with the two pockets that hold two small booklets that will hold four photos each.

IMG_0045

IMG_0046

IMG_0047

I live the flaps on the page!

IMG_0048

IMG_0049

IMG_0055

IMG_0040

That's it! I've already started the pages for more books. I've gone through all my patterned paper and have decided to cut into the collections that I've been hoarding because they are too gorgeous to use.

Thanks for stopping by!
09 10