Showing posts with label Maya Road. Show all posts

Saturday, June 8, 2019

Travel Gatefold Folio

fullsizeoutput_2ada

I've finally finished this Gatefold Folio that I started working on the end of April.

I'm so happy with how it turned out! This book for my daughter. I told her I would make a book for her and had planned to make it as Christmas gift. Well, that didn't work out. I knew what paper collection I wanted to use, but I didn't know what type of book I wanted to create. 

I purchased this paper collection from Paper Phenomenon called Flight 2715 quite a while before I decided on a project. I finally settled on the Gatefold Folio that Frances Long from Your Book of Memories created. 

It probably wouldn't take a normal crafter as long to finish it as it did for me. Working full-time and only maybe getting an hour or so each evening if that to craft isn't much time. I try to get as much done on the weekends as I can, but that doesn't always pan out either. The good news is that I'm not working anymore so hopefully I will have more time for crafting!

I followed the tutorial pretty much exactly as Frances created it, but there were a few things I did a little differently. After making this, I know that next time I may change up a few other things. That's the beauty of her tutorials. You're mind is always thinking of different ways to either add or take away something. 

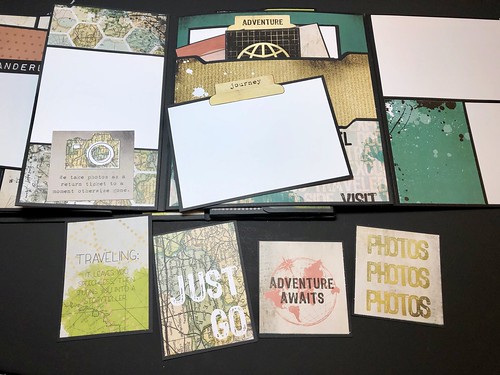
I decided to add a collaged piece to the front. I added magnets so that the whole piece just lifts off. 

fullsizeoutput_2adc

This is the patterned paper I used of both sides of the spine.
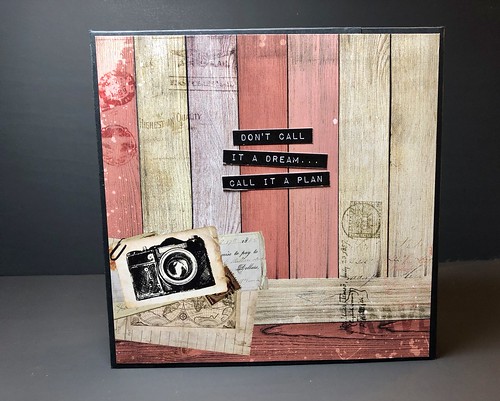
fullsizeoutput_2ade

On the back cover I adhered some words I cut apart from the collection.
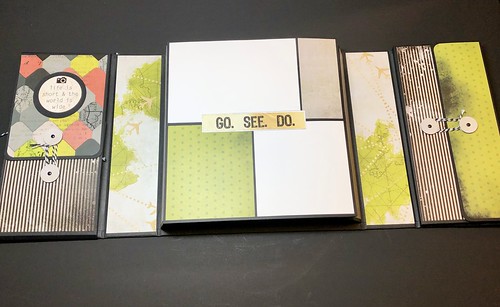
fullsizeoutput_2ae0

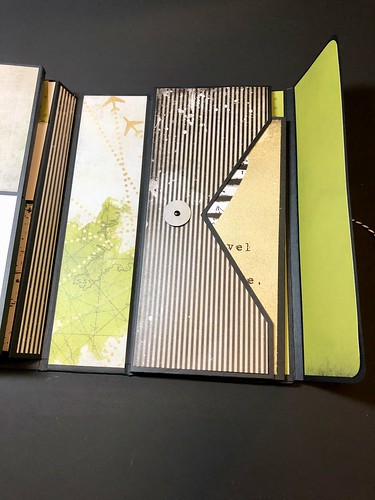
When you open the folio you see each side and the center.

fullsizeoutput_2ae2

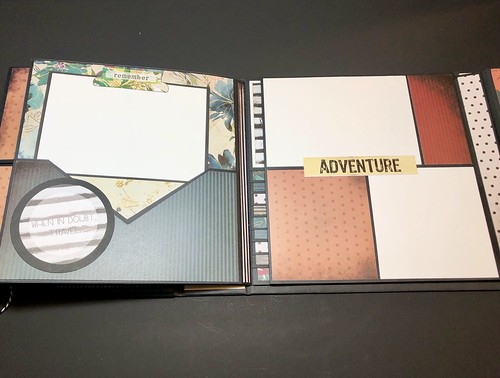
The left side opens to show a vertical waterfall with a pocket on each side that holds a photo mat.
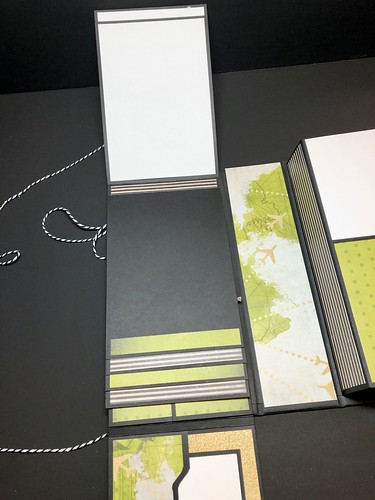
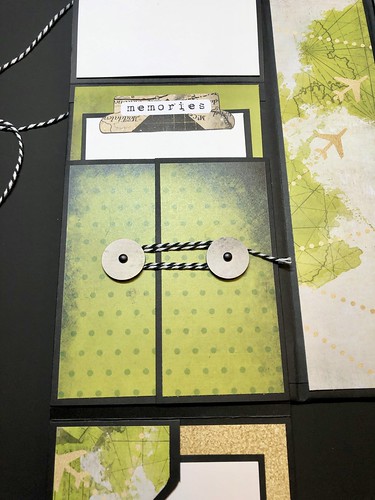
fullsizeoutput_2ae4

fullsizeoutput_2b0a

There are two flaps that open to reveal another pocket with a mat and places for journaling. 
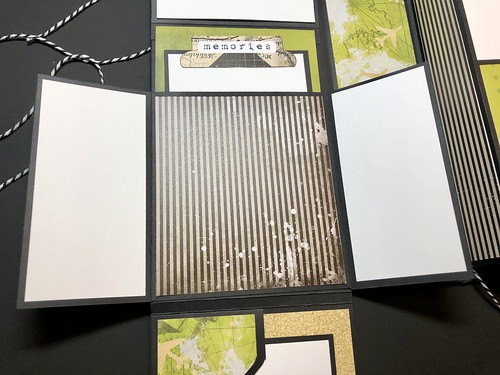
fullsizeoutput_2b0c

fullsizeoutput_2ae6

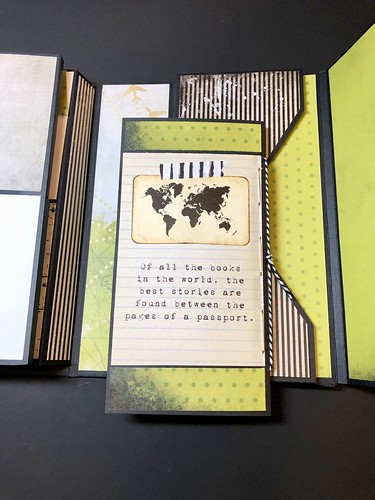
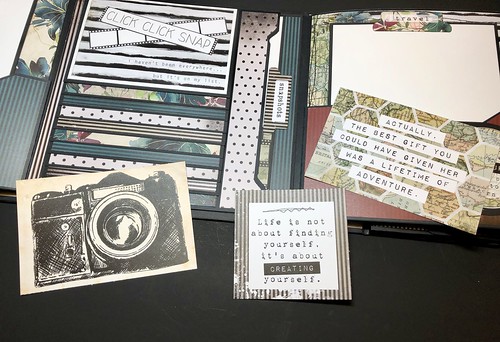
On the right side there's a pocket that opens to reveal a booklet for journaling. 
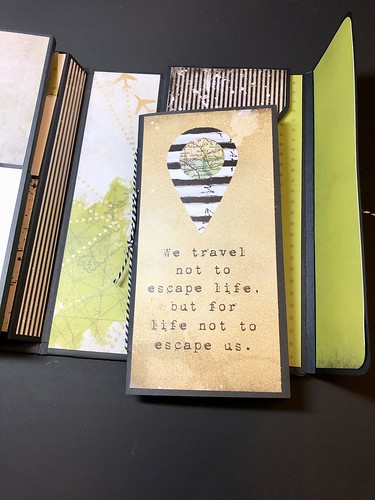
fullsizeoutput_2ae8

fullsizeoutput_2aea

fullsizeoutput_2aec

fullsizeoutput_2aee

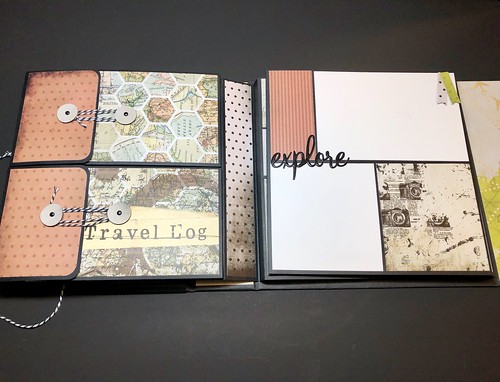
The first flap opens to the right and reveals two expandable pockets that will hold photos or memorabilia.
fullsizeoutput_2af0

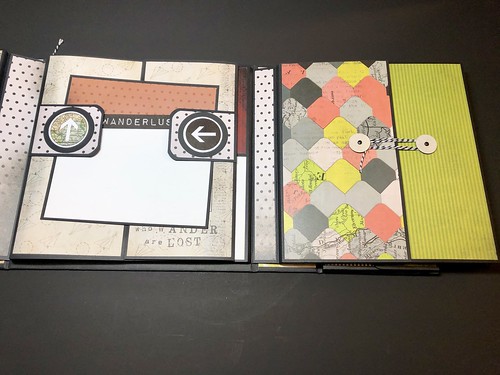
The next flap opens to reveal a page that opens to hold more photos.

The flaps with the arrows hold the photo mat in place to keep the page closed.
fullsizeoutput_2af2

fullsizeoutput_2af4

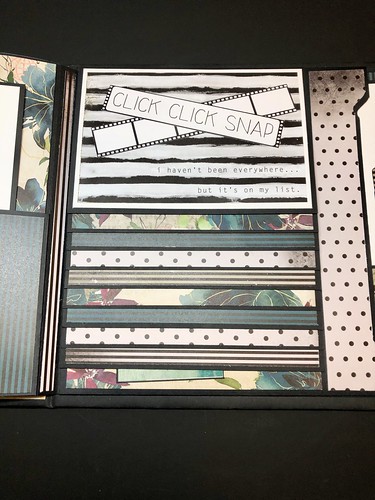
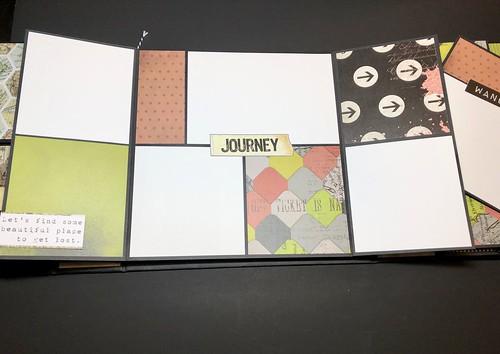
The next flap opens up to reveal more photo spaces.

There are also two stacked pockets with photo mats inside.
fullsizeoutput_2af6

fullsizeoutput_2af8

fullsizeoutput_2afa

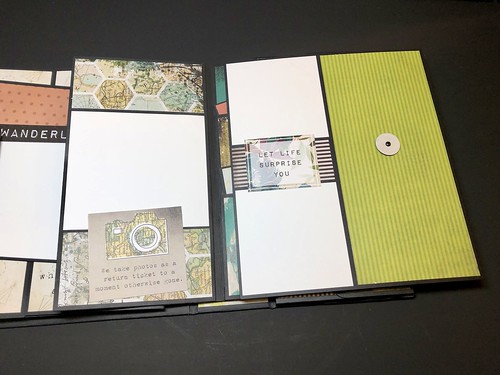
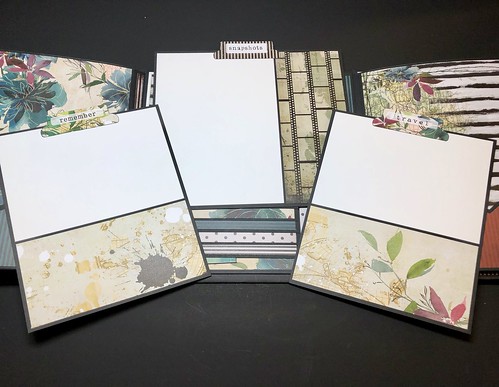
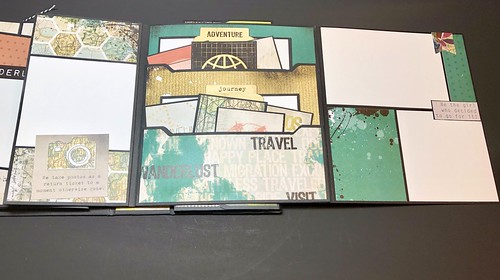
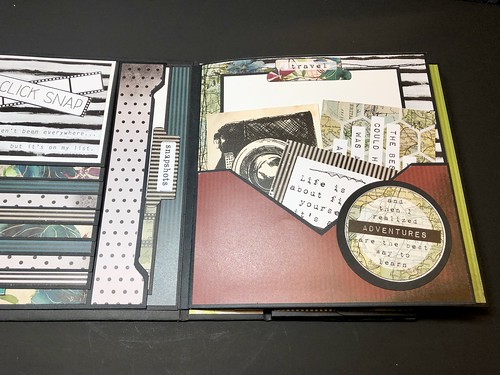
The next flap opens to the right and another one to the left. There is a pocket on each side.

Each pocket holds more photo mats. 
fullsizeoutput_2afc

fullsizeoutput_2afe

fullsizeoutput_2b00

fullsizeoutput_2b02

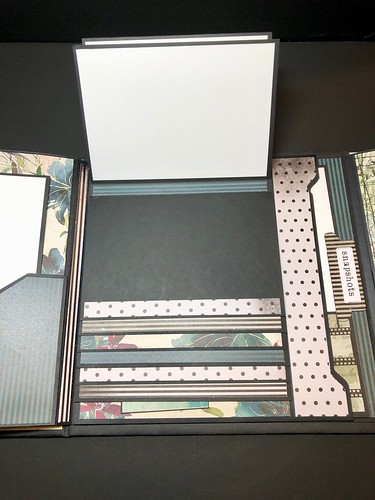
The final page holds a horizontal waterfall.

There's also another pocket to the side that holds a photo mat.
fullsizeoutput_2b04

fullsizeoutput_2b06

I cut apart one of the sentences on one of the ephemera sheets and adhered it to the back of the waterfall. 

I loved making this Gatefold Folio and will definitely make another one. I love Frances Long's tutorials!

I didn't have a lot of ephemera to decorate with. I spent time looking for stickers and other items prior to and while I was working on this. The paper collection didn't come with any stickers or chipboard pieces. I used the few items I fussy cut out of the paper sheets. The rest of the items I used dies that I had in my stash and a few odds and ends that I picked up either at Michaels or Hobby Lobby. Once may daughter adds photos more stickers and ephemera can be added. 

I know this post was a little photo heavy but it's the only way to show each page in detail.

Thanks for taking the time to stop by!

Saturday, January 18, 2014

Unscripted Sketches #240


The patterned paper I used for this card is by Cosmo Cricket called Circa 1934. It's a few years old, but I still love it! I have plenty of sheets left and I know I'll be creating more cards with it. This is my interpretation of the Unscripted Sketch this week. 


I used the Tim Holtz Alteration On The Edge Die called Torn Notebook for the top edge of my paper.  I ripped the bottom edge. Then I inked the edges and ruffled the torn notebook edge.


The sentiment and image is from the Sweet 'n Sassy stamp set called Celebrate Today.

Please join us this week with your take on the sketch above. All the details are on the blog post over at Unscripted Sketches! You don't have to have a blog in order to play. If you load your creations to a gallery, just add the direct link to your project and be sure to give credit for the sketch to Unscripted Sketches. That's it!

Products Used:
Base Cardstock - PTI in True Black
Patterned Paper - Circa 1934 - Cosmo Cricket
Stamps - Sweet 'n Sassy Stamps - Celebrate Today
Ink - Tim Holtz Distress Ink - Black Soot & Festive Berries, Ranger Archival Ink - Jet Black
Twine Cording by Maya Road in Blackberry
Tim Holtz Sizzix Alterations Die - Torn Notebook

Tuesday, October 22, 2013

Used Stamps


ClearStamps

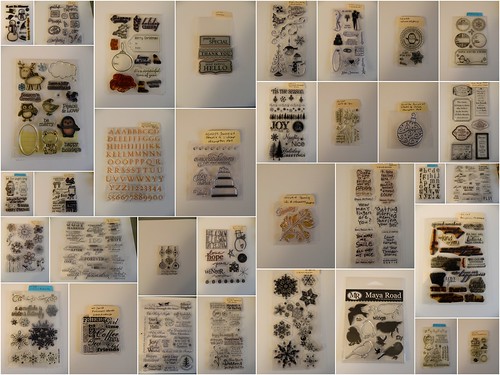
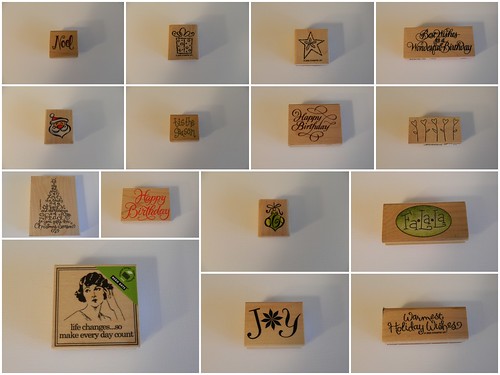
As I've been setting up my craft room, I've been going through my stamp collection. I've found several that I don't use anymore. I think I've listed a little over 40 items! Some of these sets have barely been used, some never used and some have been well used.  Some of the very well used sets I purchased from a scrapbook store that used them for classes.

Rubberstamps

I've listed them all on eBay. If you're interested you can see them all here. You can also access my eBay store from my Pattitudes Facebook page. Just click on the Shop tab on the top right.

embossingfolders

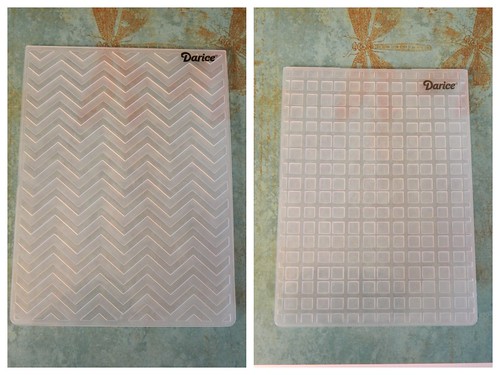
I also found a few embossing folders that I accidentally bought twice! I'll be listing a few more items over the next few days. Keep checking back in my eBay store because you never know what you'll find! 

Thanks for stopping by!

Thursday, December 13, 2012

Christmas Cards

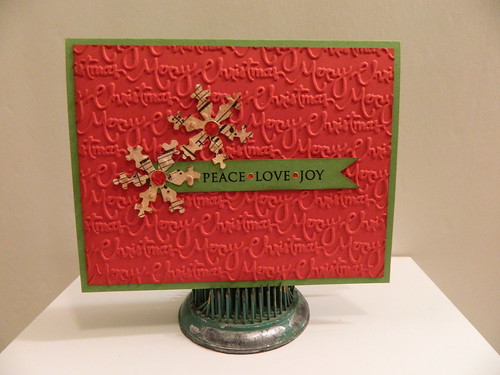
Peace Love Joy

Today I want to share a few Christmas cards I created. I actually cut back on the amount of cards I sent out this year. I even **GASP** broke down and purchased some 'store bought' cards! I just couldn't find the time to make as many as I usually do. Plus, I had joined a mini book swap, a Christmas card swap and a tag swap which kept me busy.

For the one above I used a new embossing folder and a new Tim Holtz die I picked up on one of my trips to the Mall of America Archiver's store. I really love this embossing folder!

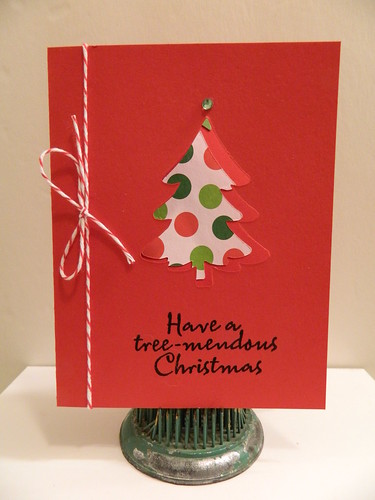
Merry Christmas

For this one I used another new set of  Sizzix Framelits that I purchased online on sale. Online shopping is the best! You just can't beat the deals you can get. I took a Hero Arts clear stamp and masked part of it so I would only stamp the word 'Christmas'.

Tree-mendous Christmas

This card was made using a new Tim Holtz Sizzix Movers and Shapers die. I'm so happy I broke down and bought the Movers and Shapers base tray. I've been going to do that for so long. I like the freedom of moving the dies where I want them. 

Tree-mendous Christmas

This inside of this card. I used Canvas Corp Christmas Brights Cardstock for the tree.

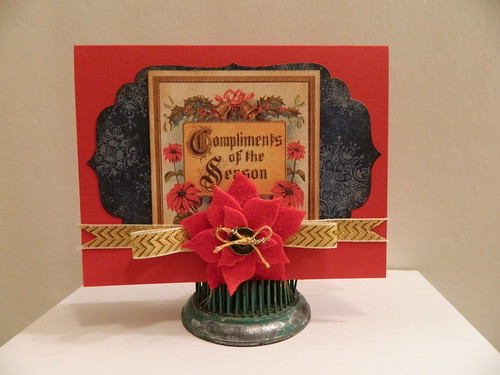
Compliments of the Season

This final card was created using up some of my Graphic 45 scraps. I also used a poinsettia die that is from Taylored Expressions.

Thanks for stopping by!

Here's a list of most of the products I used for these cards:
09 10