Showing posts with label Memory Box. Show all posts

Sunday, August 12, 2018

Hand Stamped Sentiments Sketch Challenge #295

Hand Stamped Sentiments Sketch Challenge #295 

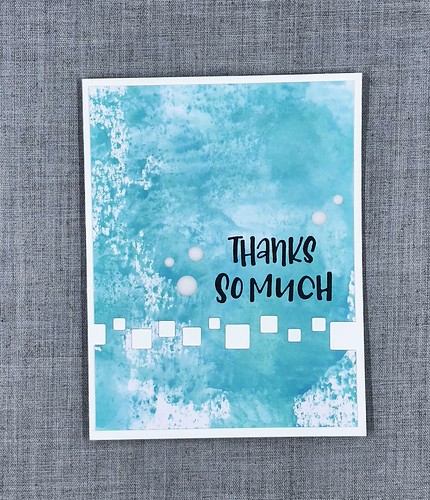
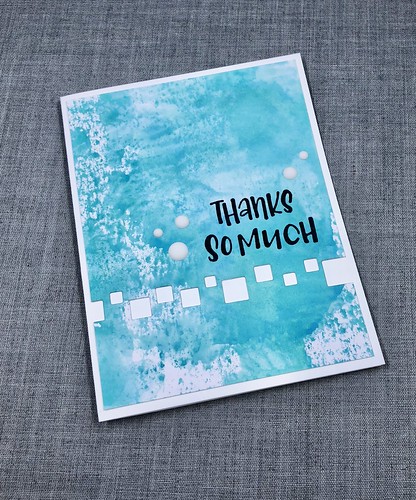
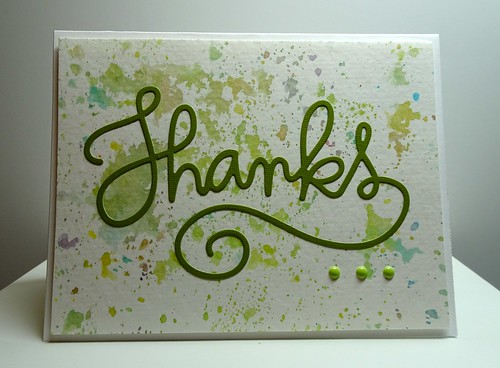
I'm sharing a card I created for the Hand Stamped Sentiments challenge.

I'm getting in on this challenge by the skin of my teeth. 


This is a very clean and simple sketch. I like that.

Hand Stamped Sentiments Sketch Challenge #295

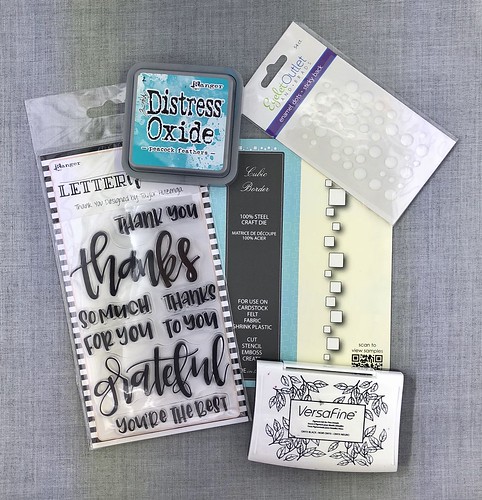
I used very minimal supplies for this card.

I used a leftover piece of water colored cardstock from a card I created yesterday. You can see that card here.

Hand Stamped Sentiments Sketch Challenge #295

This card is linked to this challenge:
Hand Stamped Sentiments Sketch Challenge #295

Thanks for stopping by!

Sunday, July 23, 2017

Spread Kindness

Spread Kindness

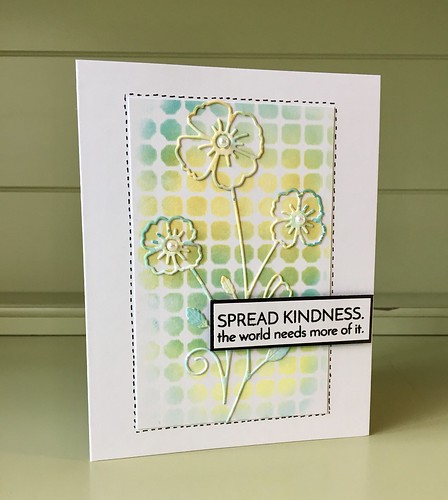
I took the extra panel that I had leftover after creating this card and used it to diecut the flower image for this card. After I diecut the flowers the ink seemed a little light. I added more ink to my craft mat and ran the diecut through the ink to get it darker. For the background I used the same inks with a Tim Holtz layering stencil. I'm constantly losing things in my craft room! After looking for my PITT pen and not being able to find it, I took a Tim Holtz distress marker went around the stenciled image to make dashes. All supplies are listed below.

These cards are linking up to the challenge over at Addicted to Stamps and More ATSM - Anything Goes, Stamping Sensations: July - Anything with Flowers! and the Simon Says Flicker challenge SSSflickrchallenge#76 Anything Goes.


I love that I've had time to participate in a few challenges the last few days. I hope to keep it up. It really keeps the creative juices flowing when surrounded by so much inspiration!

This card is linked to these challenges:
Addicted to Stamps and More: Anything Goes
Stamping Sensations: July - Anything with Flowers
Simon Says Stamp Flickr Challenge: SSSflickrchallenge#76

Supplies used on this card:
Ranger Distress Oxide Ink: twisted citron, fossilized amber, peacock feathers
Recollections : Pearl bling
Simon Says Stamp Stamp Set: Uplifting Thoughts
Memory Box Die: Splendid Clarkia
Stampers Anonymous Layering Stencil: Grid Dot
Ranger Distress Marker: black soot
Hero Arts: Clear embossing powder
Ink: versafine - onyx black

Thanks for stopping by!

Saturday, July 15, 2017

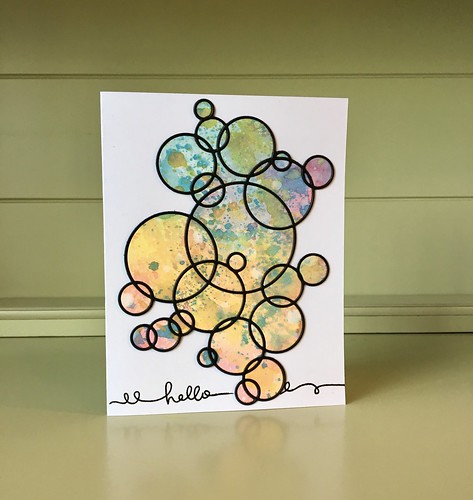
Hello

Hello

I took one of the backgrounds I created with distress oxides and die cut it with a Memory Box die called large ringlets. I picked this up at the Stamp Show I went to last weekend. After I added all the circles of the background (I felt like I was doing a puzzle!) I decided to die cut another piece and add it on top. You can't tell in the photo but with the second die cut on top there is more dimension. The sentiment is from Simon Says Stamp called handwritten borders. I stamped and embossed it.

Have you ever had one of those weeks that you just can't stand? Last week was that week for me! It was a loooooong one that I thought would never end! I was so exhausted and tired of dealing with people. So much so that I made plans not to leave my house all this weekend except to get groceries and gas. It was hot today and I don't like it when the weather is that hot. I made sure to turn my air down so that it stayed nice and cool so I could craft. 

The image below that I found on Pinterest expresses exactly how I felt everyday last week. It should read "There just wasn't enough coffee and middle fingers for my week!"


Thanks for stopping by!
SaveSave

Tuesday, November 3, 2015

Fun Backgrounds

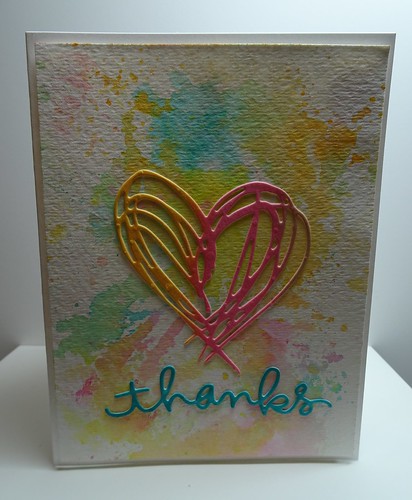
DSC00009

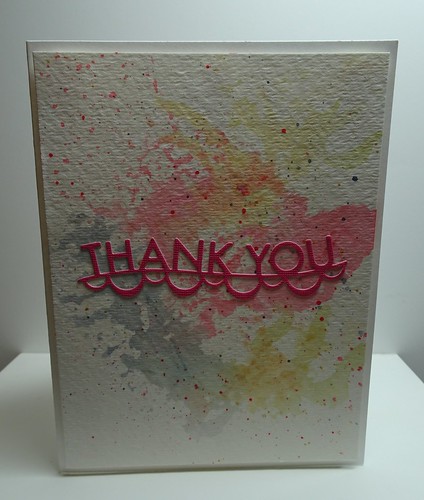
Thought I'd share some of the cards I made over the weekend. The card above is made using one of the dies from the Scribbles & Splat from Sizzix & Tim Holtz. The word die is from Simon Says Stamp which was also used on the card below.

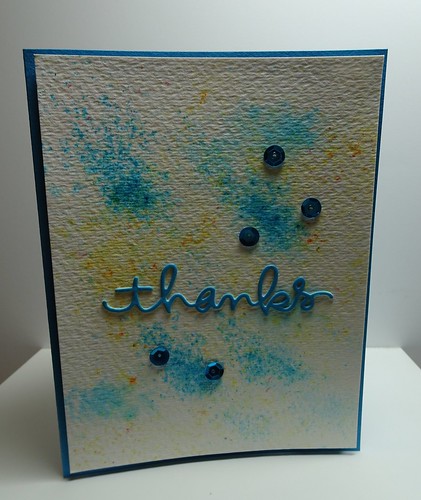
DSC00010

The word die below is also from Simon Says Stamp. 

DSC00008

DSC00007

The die above is from Memory Box and the one below is from Simon Says Stamp.

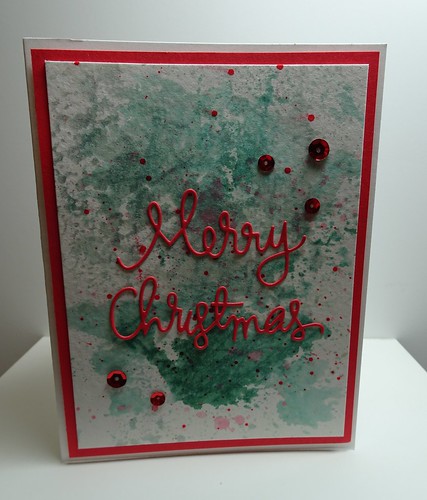
DSC00005

DSC00006

The die above is also from Simon Says Stamp. All the backgrounds except the second card were created using Distress Inks and a piece of acetate. For that card I used Brusho powders. 

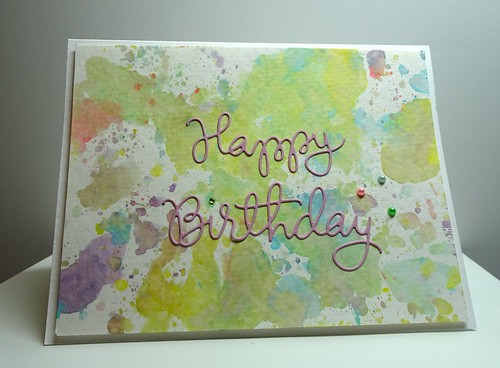
I'm getting addicted to creating these backgrounds. I love how every one is so different! 


Sunday, April 5, 2015

CAS Colours & Sketches: Challenge #118

CAS Colours & Sketches: Challenge #118

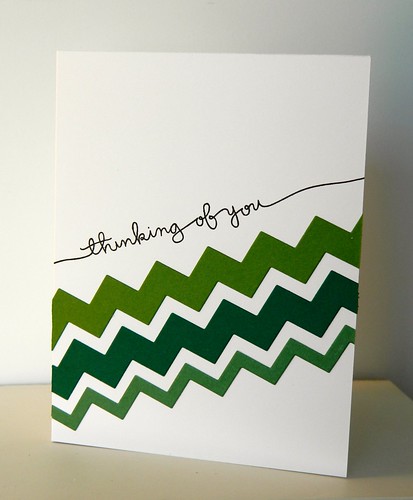
I thought I'd try the CAS Colours & Sketches Challenge. After reading the rules of the challenge I realized that I didn't have Stampin' Up! cardstock. You could still participate without it so I tried to  match the colors as best I could. I found three different colors of green cardstock in my stash and decided to go with them. Even though there are three different colors, in the photo it almost looks like two are the same.

This is a very CAS card! Lots of open or white space and minimal layers and embellishments. This type of card always challenges me. I always want to keep adding more stuff!

For my sentiment I used a new stamp set called Handwritten Borders that I purchased from Simon Says Stamp! I used a die from Memory Box called Charlotte Border for my green diecuts.


Thanks for stopping by!

Sunday, January 4, 2015

Virginia's View Challenge #11 (Clean Slate)

Virginia's View Challenge #11 (Clean Slate)

I love the Virginia's View Challenges! The cards in this challenge never disappoint, they are always so beautiful. 

Here's what Virginia says this challenge is about:

~card design with a lot of white space
~one layer ( no layers; you can add embellishments, such as sequins, twines, ribbons..etc)
~masking technique 
~white on white (ex. white card stock with white textured/stamped designs) 
~layered stamping
~anything that involves WHITE

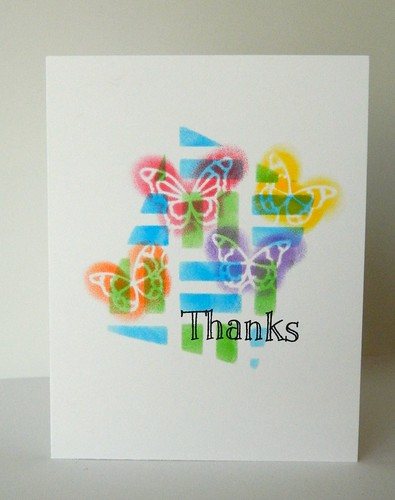
For my card I left lots of white space, created a one layer design using stencils, used a masking technique and I also did layered stamping. 

The stencils I used are from Plaid and Memory Box. The Memory Box stencil is called Delicate Butterflies. The inks are from Tsukineko Splendor called #10 Circus. Base cardstock is from PaperTrey Ink. The sentiment used for the card above is from Hero Arts and the one used on the card below if from Lawn Fawn. 

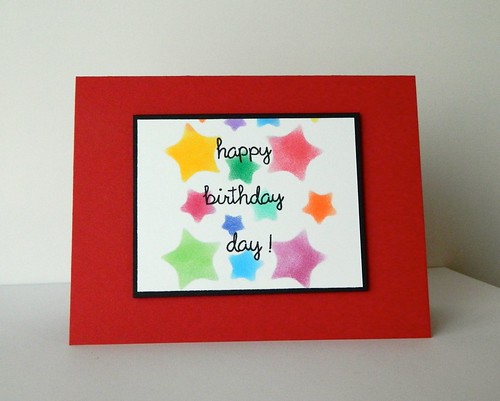
The second card below is just an extra. I didn't add it to the challenge. I was just playing around with another one of the Plaid stencils. I thought it looked like it would be a good choice for a birthday card!

Happy Birthday!

Be sure to stop by Virginia's Challenge and check out all the gorgeous cards!


If you live in a state that is having frigid temps right now....enjoy it, Ha!

Thanks for stopping by! 

Tuesday, December 16, 2014

Simon Says Bling It On! - Simon Wednesday Challenge

Simon Says Bling It On! - Simon Wednesday Challenge


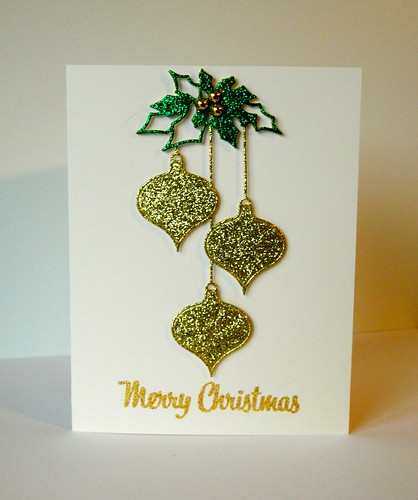
I created this card yesterday from some scraps I had on my table. I saw a Facebook post that Simon Says Stamps had a "Bling It On!" challenge going on right now. They are showcasing Kaisercraft products this week. While they would love for you to use their products, this card unfortunately doesn't use any. However you can still join the challenge and since this was spur of the moment and it has bling, I decided to go for it.

Products used for this card: PaperTrey Ink in Vintage Cream for the base, Memory Box Claremont Ornaments Die, Mark Richards Metal Sticker Gems in Gold Metal Metallique, Recollections Christmas Noel Glitter Paper, Tim Holtz Stampers Anonymous Mini Holidays Stamp Set, Stampendous Jeweled Gold Embossing Powder.

Be sure to stop by their blog and see all the gorgeous cards using bling! Thanks for stopping by!
Monday, December 8, 2014

Glitter Christmas Trees

Glitter Christmas Trees

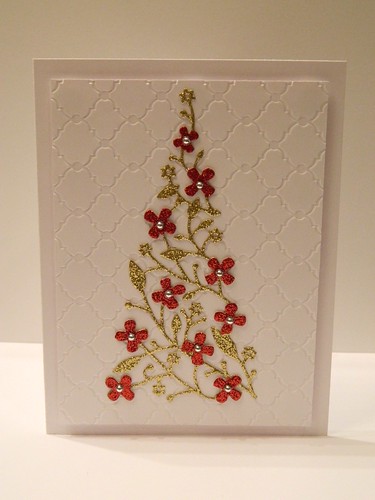
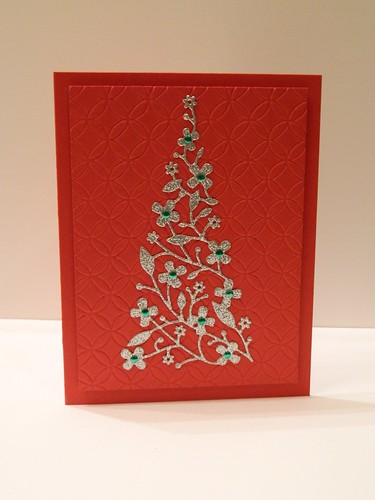
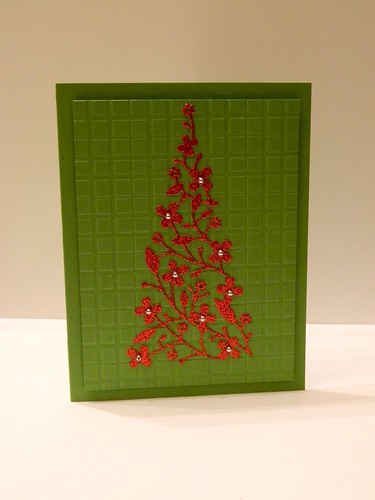
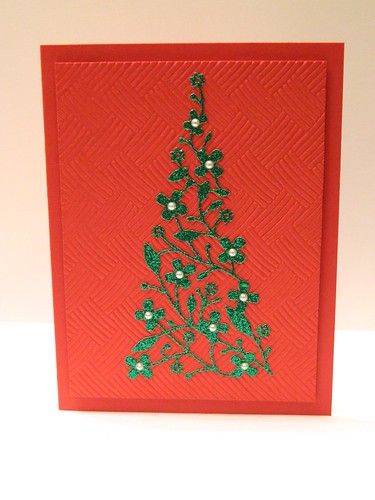
I don't think I've ever used as much glitter cardstock on my cards as I have this year. I really don't consider myself a big glitter crafter. Maybe it's due to some of the dies I've been using for my Christmas cards this year. I don't know, but I do like the look of it for some reason, so I'm just going to go with it for now. 

All four cards that I've created are using the same Memory Box die called Flowering Christmas Tree. The only difference between the card above and the other three below is that I diecut a second tree in red,  cut the larger flowers off and added them to the gold tree.

Glitter Christmas Trees

Cardstock used for the all cards is from PaperTrey Ink.

Glitter Christmas Trees

I used four different embossing folders for the embossed panels. All are by Darice with the exception of one of them. I'm not sure who that one is by because the name was worn off. I think it was from Lifestyle Crafts. 

Glitter Christmas Trees

All the gems and pearls are from my stash. 

Thanks for stopping by and taking a look!

Tuesday, December 2, 2014

Merriest Wishes

Merriest Wishes

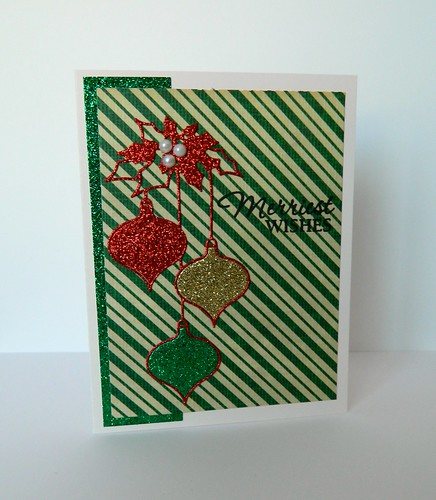
Here's the second card I created using the same die and almost all of the same products as the card I blogged about yesterday. You can see that card here. The only thing I did differently is that I didn't cut off the top part of the die and I added some pearl bling. For the sentiment I didn't emboss it with black embossing powder. After the fact I wish I would have. It would have stood out more with the striped background.

I have really come to love all of the Memory Box dies that I've purchased. I have a few more that I've picked up and will be creating some cards that I will be sharing. I think they are becoming a favorite.

Have a great day and thanks for taking time to stop by!

Thursday, November 27, 2014

Snowflake Cards


For both of these cards I used a stencil by Memory Box called Winter Large Snowflakes. I used translucent embossing paste from Studio 490, Wendy Vecchi to add dimension. I sprinkled Great Impressions glitter sparkling ice over the embossing paste while it was still wet and then set both pieces aside to dry.


I can't remember who the manufacturer of the patterned paper is. I'm leaning toward Recollections. This patterned paper was in my scrap pile and since they were a decent size I just went ahead and gave them some life! The gold glitter paper is from Recollections. 

For the sentiments I used a stamp set from Technique Tuesday called Jingle All The Way. I stamped the sentiments with VersaMark and heat embossed them with gold embossing powder. The bling is from my stash. Card bases are PaperTrey Ink.

Thanks so much for stopping by!

Monday, November 24, 2014

Merry Monday Christmas Challenge

I've slowly been making a complete mess in my craft room creating cards and tags. When I saw today's email from Merry Monday Challenge I couldn't help but participate. I had just finished the perfect card that fit the qualifications of their challenge: Red, Green & White!


For my mittens I used the negative from a die I had cut for another project. The die is from Memory Box and is called Precious Mittens. 


I used cardstock from Paper Trey Ink called New Leaf and Pure Poppy. Gems are from DCWV. The sentiment is a stamp by Judith. 

Check out all the beautiful cards from the Design Team and all the others in the challenge:

Thanks so much for stopping by!


Tuesday, November 19, 2013

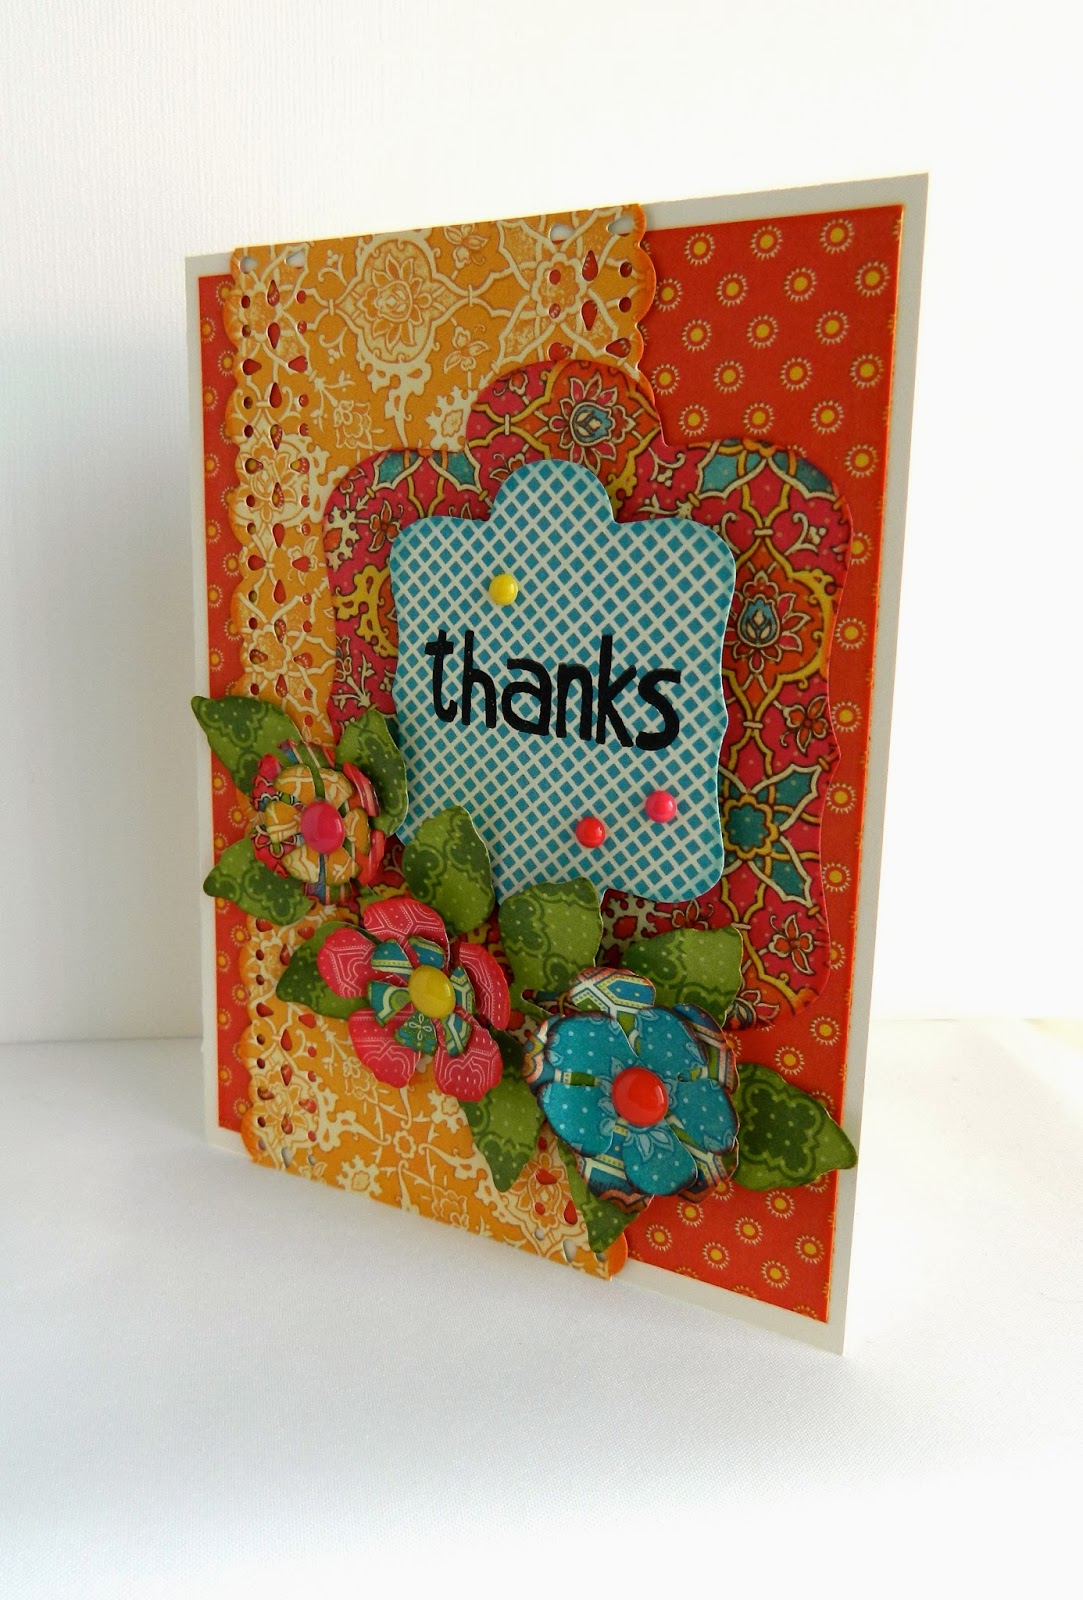
Thank You Card: Mojo Monday 320 & Graphic 45 November Challenge


I've been thinking about the Graphic 45 November Challenge: Thank You Cards since I first received the email with all the details on November 7th. I knew what paper line I wanted to use, but I wasn't sure how I wanted to create the card. When I saw the Mojo Monday sketch challenge 320 it all came together for me!


I do have to confess that after I chose all the patterns I wanted to use and started cutting into the papers and laying everything together I was having second thoughts. Not at all about the patterns, just about how I was mixing them together. Once I started inking and I die cut the border pattern I really liked it! For the border I used a Memory Box die called Charlotte Border. For the two die cut shapes I used some dies from Lifestyle Crafts. I'm not sure of the name of them because they were bonus dies that came with the Genius Magnetic Platform.


The flowers were cut using Donna Salazar Spellbinders Carnation and Rose Creations. The leaves are Foliage from Spellbinders Shapeabilities. I used My Mind's Eye Enamel Dots for the flower centers. 


The Graphic 45 patterned paper is from the Bohemian Bazaar line. These are the patterns I used: Mystical Masterpiece, Opulent Sunset, Dazziling Sunset, Jasmine Nights, Bohemian Bazzar and Vivid Splendor.

I actually thought about using a lighter color ink for the sentiment and then decided to go with Ranger Archival Ink in Jet Black. I was afraid that a lighter color would get lost with all the bright patterns. For inking all the die cuts and flower and leaves I used Tim Holtz Distress Ink in these colors: Tumbled Glass, Spiced Marmalade, Peeled Paint and Festive Berries. The sentiment is from Hero Arts called Thanks A Bunch CL663. 

Thanks for stopping by!

Tuesday, October 22, 2013

Used Stamps


ClearStamps

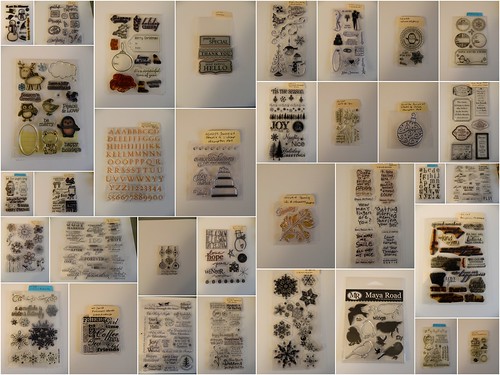
As I've been setting up my craft room, I've been going through my stamp collection. I've found several that I don't use anymore. I think I've listed a little over 40 items! Some of these sets have barely been used, some never used and some have been well used.  Some of the very well used sets I purchased from a scrapbook store that used them for classes.

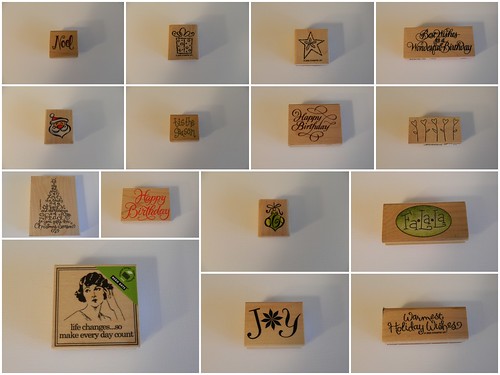
Rubberstamps

I've listed them all on eBay. If you're interested you can see them all here. You can also access my eBay store from my Pattitudes Facebook page. Just click on the Shop tab on the top right.

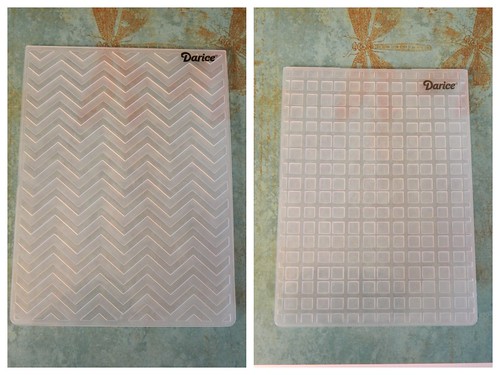
embossingfolders

I also found a few embossing folders that I accidentally bought twice! I'll be listing a few more items over the next few days. Keep checking back in my eBay store because you never know what you'll find! 

Thanks for stopping by!
Monday, March 25, 2013

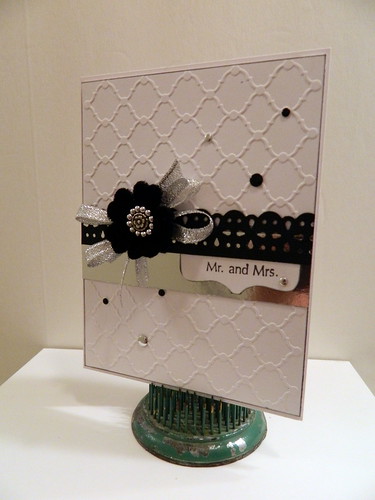
Mr. and Mrs. Wedding Card

Mr. and Mrs. Wedding Card 

I have an overwhelming desire to create cards. It's probably because I haven't made very many lately. I should be working on other things, but I just kind of flip from one thing to the next!

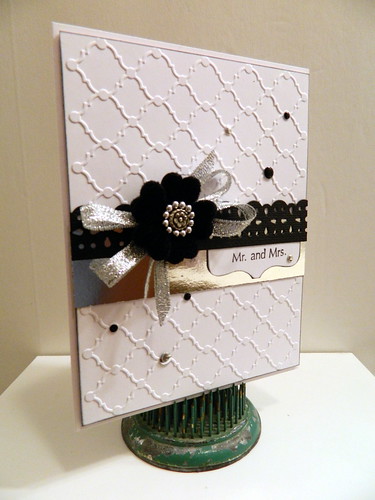
I love black and white. Instead of using some red like I usually do, I chose to add some variation and use a little silver. The embossing folder I used for the background is called Whimsy and is from Lifestyle Crafts. The package comes with two different folders. The flower is from Creative Imaginations.

Mr. and Mrs. Wedding Card 

For the sentiment I used a stamp set from Inkadinkado called Wedding #97892. I used a strip of silver mirror card and the black cardstock strip was diecut using a Memory Box die called Charlotte Border. The white shape that I stamped the sentiment on was punched out using one of We R Memory Keepers tab punches. Behind the flower I added some silver ribbon I have in my stash of ribbons. The black and silver gems are called Metallic Decor from Hero Arts.

Trying to take a photo of this card wasn't easy! Because of the silver mirror card I had to keep turning the card so that I wouldn't have my image in the photo. It was still hard to do and I couldn't get a photo of it straight on. 

I do like this embossing folder and will be using a lot it the future. Now on to the next card......

Thanks for stopping by! This post is linked up to these parties:
All Things Fee
Craft-O-Maniac Monday
A Round Tuit
Made by you Monday
Market Yourself Monday
Crafty Showcase

Friday, June 10, 2011

Another Sympathy Card

I think I'll be getting alot of use from this stamp set by Hero Arts called 'Sympathy' (CL476). With six sentiments and two images it's a good value with a ton of versatility.
Here's a second card I created with this set. The first card can be seen here.
Sending Caring Thoughts Your Way
I used Ranger's Perfect Pearls in Perfect Gold for the stamped image. The image is called Bramble Wreath (E1276) from Memory Box. They sure have some beautiful stamps! For the berries on the wreath I used Liquid Pearls in Ruby Red. I just love how the liquid pearls sets so fast.

Other products used for this card include patterned paper from Pinecone Press Design called Spice Cider, black cardstock base, Ranger Perfect Medium, Tim Holtz Distress Ink in Black Soot, and clear embossing powder.

With all the possibilities at my fingertips with this stamp set, I better get creating! Thanks for stopping by!

Monday, June 6, 2011

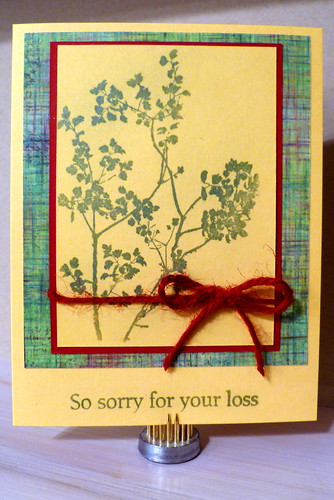
So Sorry For Your Loss......

Here's a very understated sympathy card I created today.
So Sorry....
I like that it's very low-key and has a muted effect.

To create this card I stamped both the sentiment and the image with Ranger Perfect Medium. Then brushed Ranger Perfect Pearls in Green Patina over both. I brushed away the excess and love the shimmery image left on the cardstock.

I've had jars of Perfect Pearls sitting on my craft table for awhile, so I thought I should finally do something with them.

The stamped image is called Birch Branch Print (G1720) from Memory Box. The sentiment is from Hero Arts called Sympathy (CL476). Patterned paper is from BasicGrey called Sweet Threads.

Thanks for looking!
09 10