Showing posts with label Tim Holtz Distress Ink. Show all posts

Thursday, November 1, 2018

Watercooler Wednesday: WWC194 - "Anything Goes" Challenge

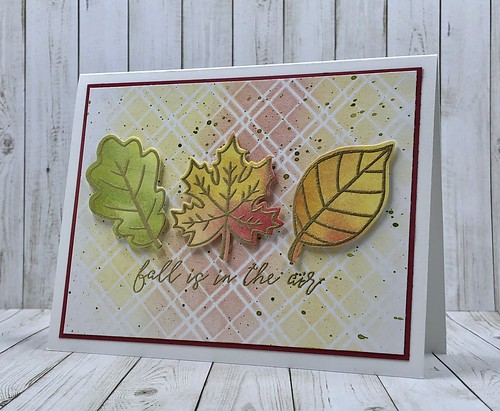
Fall is in the Air

I am linking this card to the Watercooler Wednesday: WWC194 - "Anything Goes" Challenge.


Fall is in the Air

I love fall cards. I think it's because I love all the different variations of color on the leaves.

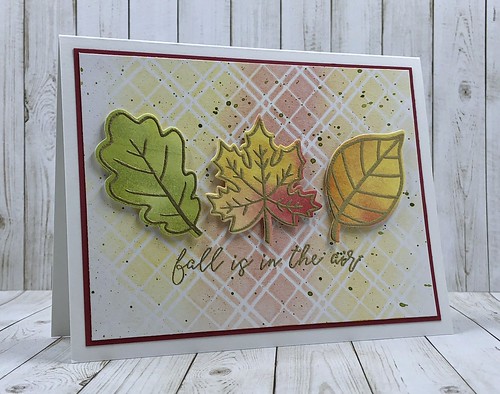
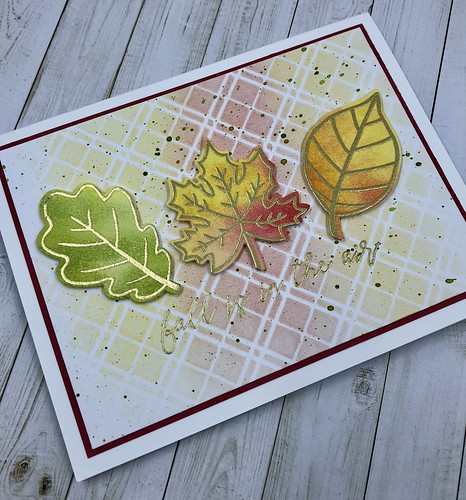
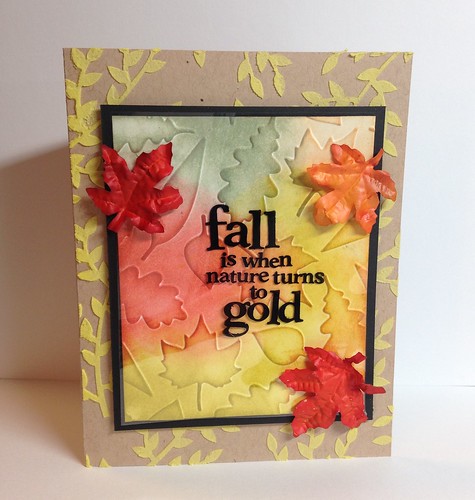
For my background I applied distress ink over the Christmas Plaid stencil from Echo Park. I used barn door and mustard seed distress ink. 

The stamp set and dies are from Reverse Confetti called Fall Foliage. I stamped the images and then heat embossed them with gold embossing powder. Before adhering the leaves I spattered some green distress ink over the background.

Fall is in the Air

Thanks for taking the time to stop by.

Tuesday, October 30, 2018

Simon Says Stamp Flickr Challenge #109

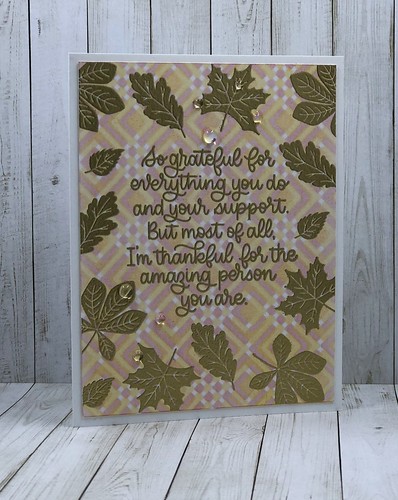
So Grateful... 


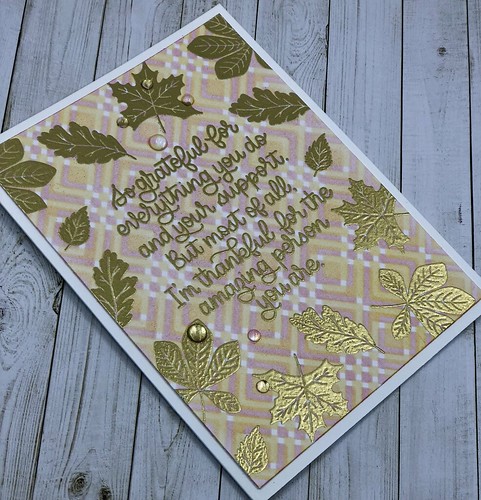
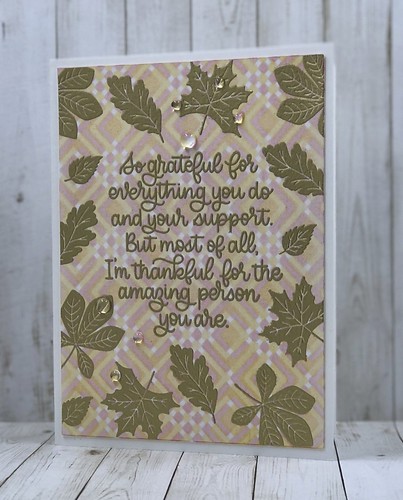
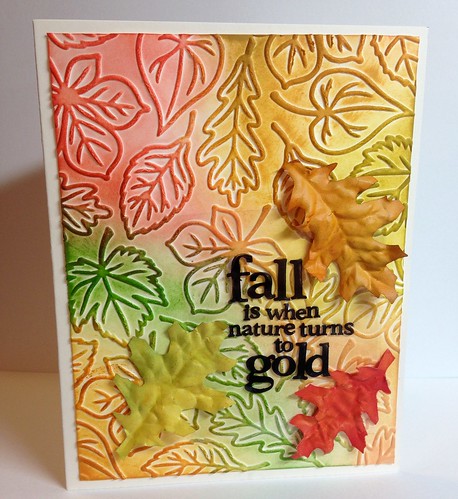
I used a stencil called Square Dance from Simon Says Stamp for my background.

I thought the colors would be darker so I was a little surprised especially since one of the colors was distress ink in barn door. I used that color first. I then moved the stencil over just a bit and went back over the card stock with mustard seed distress ink. The colors look pastel. I did apply the color with a stencil brush so that does make a difference in how light the colors are. I love the pattern this technique created. 

So Grateful... 

For my sentiment I used a new set from Simon Says Stamp called Thanks and Leaves. I love this set!

Using my MISTI I stamped all the leaves and the sentiment and then heat embossed them with Hero Arts gold embossing powder. I like how the embossing turned out. It's difficult to get a good photo with the shine. I finished the card off with some sparkling clear droplets. 

So Grateful...

Thanks for taking the time to stop by!

Wednesday, August 9, 2017

Thanks

Thanks

Happy Wednesday! We have finally made it half-way through the week! The weekend is just around the corner.

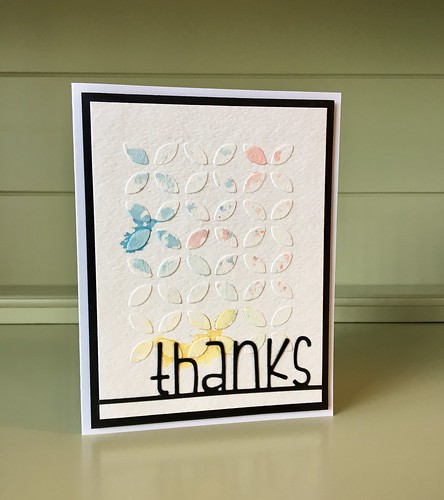
The card I'm sharing today uses a background that I created awhile ago. I have a container of backgrounds and I just pull one out here and there and make it into a card. I used a stencil and embossing paste for the background. I had some leftover distress ink on my craft mat so I ran my panel through it so that I wouldn't waste the ink. There wasn't enough ink to hit all the embossing paste spots, but I like the subtle look that it has. For my sentiment I used a die from Simon Says Stamp.

Have a great day!

Supplies:
Cardstock
Embossing Paste
Distress Inks
Stencil
Simon Says Stamp Die - Thanks On a Line

Thanks for stopping by!

Wednesday, July 12, 2017

Birthday Floral

Happy Birthday

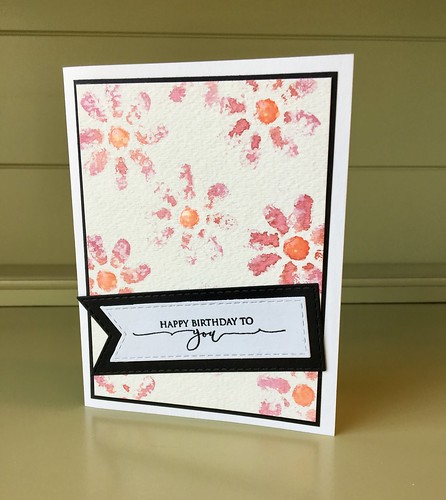
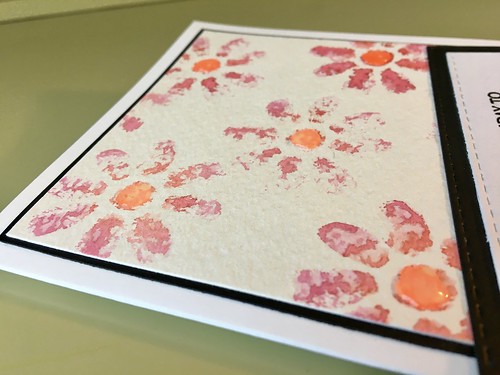
Today I'm sharing a CAS birthday card I created using an older retired stamp set from Stampin' Up called Two-Step Stampin' Painted Garden. 

I inked up the stamp with distress ink and spritzed with water and then stamped onto watercolor cardstock. I heat embossed the sentiment which is from Gina K Stamps called Scripty Sayings and diecut with Taylored Expressions stitched banner stacklets.

Birthday Floral 

I added glossy accents to all the flower centers.

Thanks for stopping by!

Wednesday, July 5, 2017

Inspirational Cards

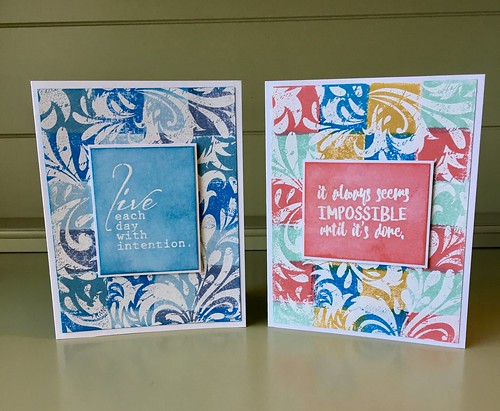
Impossible & Intention

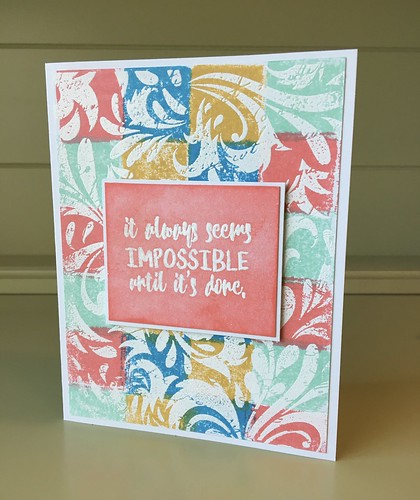
These cards were fun to make. The backgrounds were made quite awhile ago. I pulled them out of my stash once I figured out what sentiments I wanted to use. Once I decided which colors I wanted to use of the mini distress ink cubes I inked the squares next to each other across the cardstock alternating colors. 

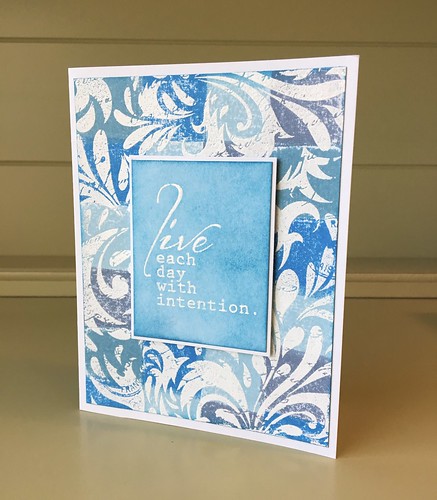
Intention

I stamped the Hero Arts Leaf & Floral Background over top of the inked panel with VersaMark ink and then I heat embossed with white embossing powder. I didn't try to stamp an impression that was completely covered with VersaMark. I like the distressed look of not having all the embossing powder covering the background image. 

Impossible

The colored panels that the sentiments are stamped on were inked with distress inks. Both sentiments are from Sweet 'n Sassy and were heat embossed with white embossing powder. They are called Inspirations Word Art 1 and 2.

Thanks for stopping by!

Saturday, March 11, 2017

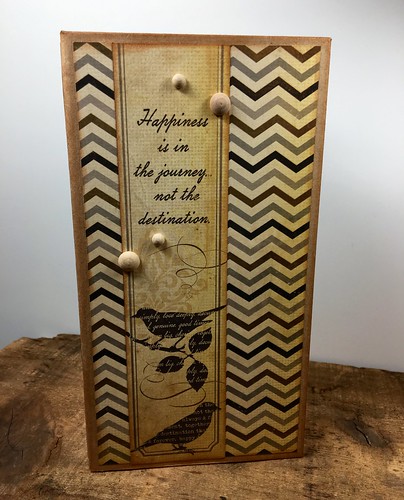
Mini Album - Happiness Is In The Journey

IMG_0438

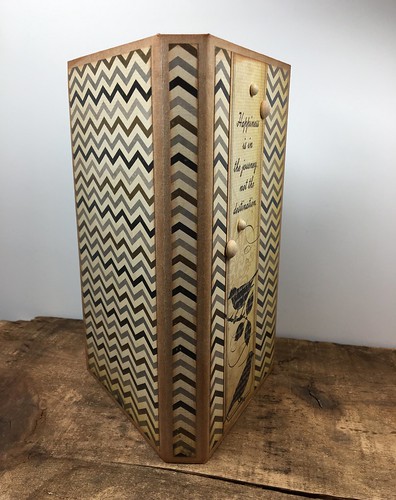
I have a ton of this paper! I made a book that someone bought and then another person wanted the same book. I purchased another 12x12 pad so I could recreate it since I had used certain images that I no longer had. I love this paper so it doesn't bother me to have more of it than I probably need. 

For this book I went a little narrower in height and with the spine. There's only one page, but still plenty of room for photos. 

The paper is from Recollections called Memories Documented, as are the wood dots on the cover. I kept it very simple. there's not a lot of room for dimension, but I like these little books.

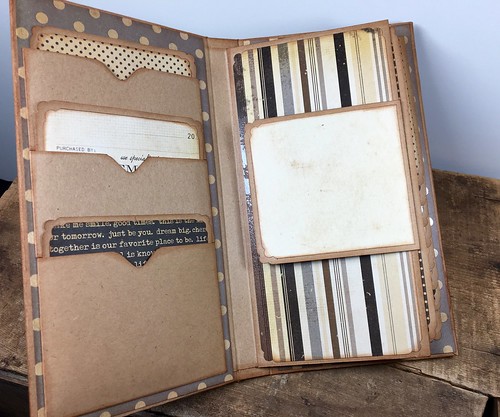
IMG_0439

I made a stacked pocket. I saw that in one of My Sisters Scrapper videos. I love everything that Ginger creates! I decided to leave the fronts of the pockets kraft without any patterned paper. 

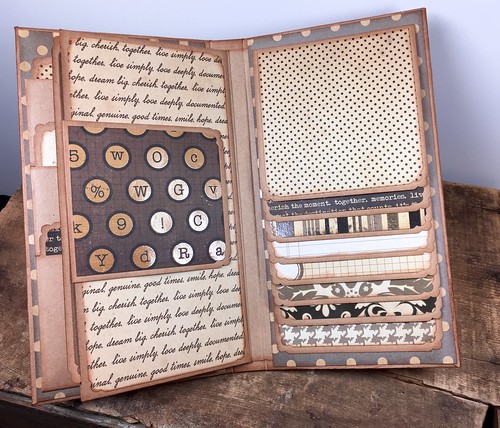
IMG_0440

I love waterfalls! I think I put one in almost every book I make. It really increases the amount of photos that can go in a book. I'll share more books that I create with this paper.

IMG_0441

Thanks for stopping by!

Saturday, July 30, 2016

Mixed Media Canvas

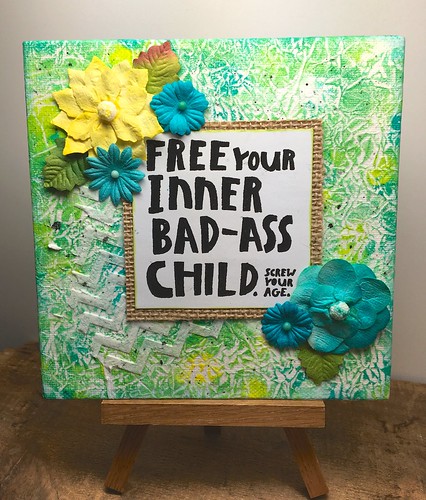
Mixed Media Canvas

Oh my! I have a new found love/addiction for deli paper! I've been on sites watching videos on how deli paper is used for quite a few months. I just put it in the back of my mind to try sometime. Then I found this stamp from Everyday Valentine at Joggles and I knew I had to buy it. I didn't know what I'd use it for however. When I ordered the stamp I picked up a small amount of deli paper to try. I will definitely need to buy a larger quantity.

For my base I used a 6x6" canvas panel. The background was created using Dylusions paints and my Gelli Arts gel press printing plate. I've had the 6x6" and 3x5" plates for a few years. When I went to a stamp show in June I picked up the 8x10". Love it, I'm so glad I splurged on it! I used three different paints and then printed my background. Because it's kind of a messy job I went ahead and created two more backgrounds on deli paper at the same time. I'm going to use those for canvas projects also.

I added some texture to the background with some translucent embossing paste and some stencils by accident. I meant to grab my white paste. Since you can't see the translucent, I grabbed another stencil and used the white paste. For the flowers I used some I had in my stash from Recollections. The smaller ones where already colored. The larger ones were white so I used distress ink with water on my craft mat and ran them through the ink. After they were dry I matted the sentiment with DCWV burlap, adhered the flowers and my canvas is ready to hang out in my craft room!

I had two scraps of the background paper left. Because I can't toss things, they are large enough to use for two cards. I'm going to go work on them now. I'll post them later.

Thanks for stopping by!

Sunday, May 22, 2016

You're Freaking Amazing


After I had this card almost completely adhered down, I questioned my choice of colors. 

Has that ever happened to you? 

To make matters worse, when it was already glued to the card base I noticed that I had it so off center it look ridiculous. I ripped it off and centered it correctly all the while wondering if I was wasting my time. 

Then I realized why I liked it so much and decided to just go for it. I created the background and the scalloped circle with distress ink and saran wrap. I couldn't waste the cool background. I was on a roll  last night until after midnight making these awesome backgrounds.....and I made quite a few!

Products used for this card: distress ink: spiced marmalade, mermaid lagoon, cracked pistachio and picked raspberry, Versafine onyx black ink, Simon Says Stamp you're amazing die, Paper Issues: snarky stamps: freaking sentiments, Spellbinders shapeabilities foliage and nest abilities lacey circles.

Maybe it will grow on me.....

Thanks for stopping by!

Wednesday, May 18, 2016

May Swap Cards

Beautiful

These are the cards I created for my swap partners for May. The swap was actually called off for this month. It was optional for your group to go ahead and swap. My group chose to do just that. The reason it was called off this month is because we've had so many members that have had things happen that have prevented them from swapping. We were given the option of making "Angel"cards which are used when members can't swap. They use those cards to send to members who would otherwise not receive a card. You could send in as many as you wanted. One of my next posts will be the Angel cards I created.

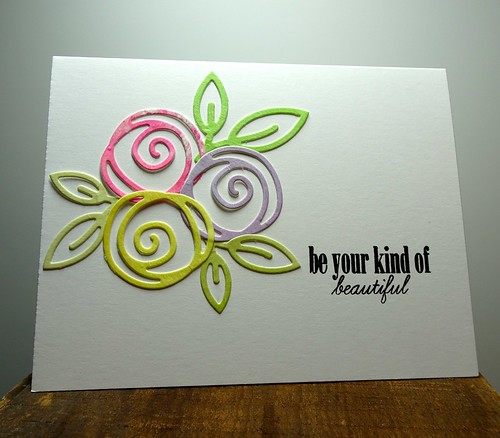
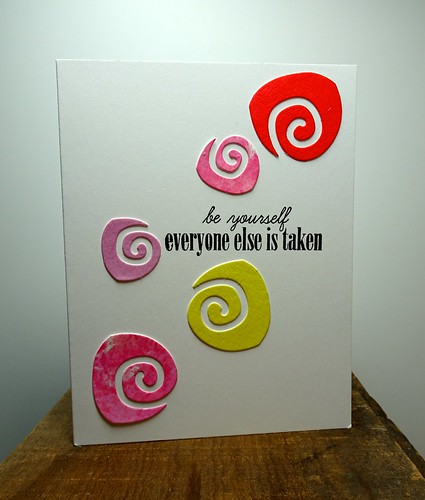
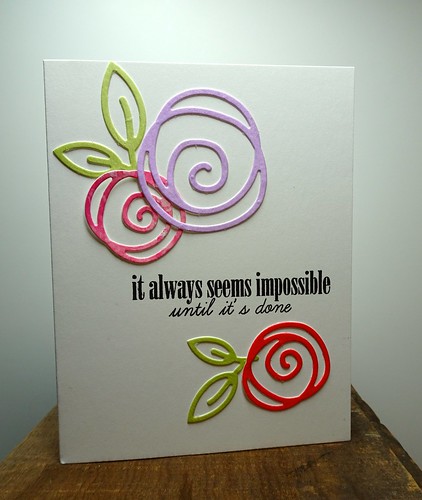
For all of these cards I used the single rose die from Simon Says Stamp. On the two cards below I used the negative scraps from the flower dies.

Al the sentiments are from a stamp set called Get It Girl by The Ton. The only exception is the card below. The sentiment on that card is from the set Thanks For Being There by Simon Says Stamp.

Thank You

Be Yourself

I water colored my paper with distress inks and then I die cut the flowers.

Impossible

Thanks for stopping by!

Wednesday, May 4, 2016

Purple Flowers

Purple Flowers 


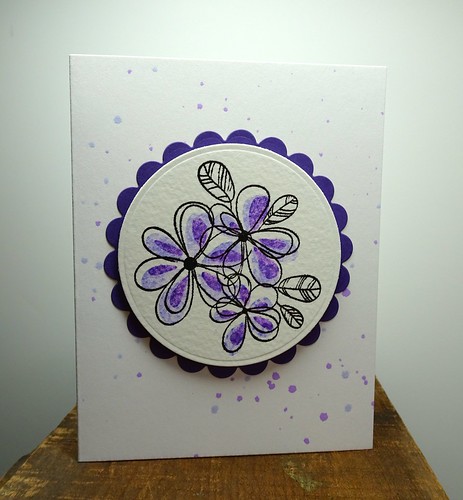
This is the second Rubbernecker stamp that I bought at Scrapbook Expo this past weekend. It's called 3 Flowers. I didn't line it up exactly like I should have, but I still liked the way it turned out and decided to go with it. I'm sure I'll get lots of practice lining it up going forward. I'm so glad I decided to pick a couple of their stamps up to try. I really love the quality of them. I also like how easy they are to work with and how they don't look so perfect. I love the watercolor look. I plan to pick up more of their stamps and I'm going to try using some of my Brusho colors to stamp them. I'm actually kicking myself that I didn't pick up a few more stamp sets!

Thanks for stopping by!

 Products Used: Rubbernecker Stamps: 3 Flowers, Distress Ink, Spellbinders Nestabilities, VersaFine

Tuesday, May 3, 2016

Happiness

Happiness 

I love yellow and I don't think it's any secret that black is my favorite color! Every card I used make always had black somewhere on it. I still use black ink but I've gotten away from using as much black as I used to. I'm trying to broaden my horizons and use a few more colors. 

I love this sentiment from the Choose Happy stamp set from Simon Says Stamp. In fact every sentiment on this set is wonderful. Background is from the Stampin' Up Timeless Textures set that I have fallen in love with. 

Have a great day and thanks for stopping by!

 Products used: Stampin' Up: Timeless Textures, Simon Says Stamp: Choose Happy, Distress Ink, VersaFine Ink, Dictionary Paper, Spellbinders Nestabilities

Monday, May 2, 2016

Smile

Smile 

I know that my crafting style has changed in the last few years. Many of the cards I used to make seemed like they had so much stuff on them. I'm really starting to like more simplified, clean and simple cards. That doesn't mean that I'm not going to make cards that have more embellishments and other things on them, it just means I'm more drawn to the more simple type of cards. 

This card again uses a stamp set from Stampin' Up and a sentiment from a Simon Says Stamp set. 

Thanks for stopping by!

 Products used: Stampin' Up: Timeless Textures, Simon Says Stamp: Choose Happy, Distress Ink

Saturday, April 30, 2016

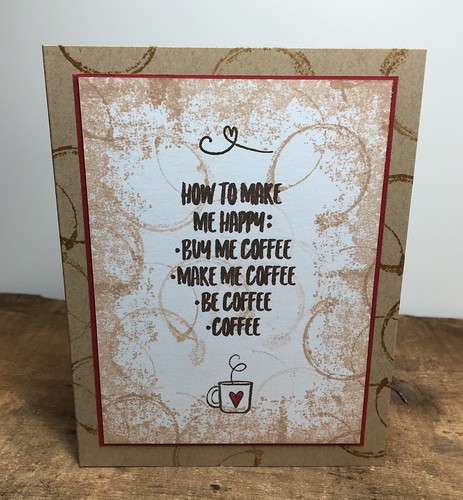
How To Make Me Happy......

Coffee

I bought a new stamp set from Stampin' Up and I love it! I'm pretty sure this set has been out for a few months. I don't have a lot of Stampin' Up products but lately I've found they have a few more items that I'm really liking. 

The other stamp I used on this card is from Simon Says Stamp. Love the quality of their stamps. 
I'll be using both of these sets a lot. I made the card below last week so I thought I add it to this post. It was the first card I made with this stamp set. It was inspired by a card I came across. I'd add the link to it but I can't find what blog I saw it on. 

Thanks

Products used: Simon Says Stamps & Die: Choose Happy & Thanks For Being There, Stampin' Up: Timeless Textures, PaperTrey Ink, Distress Ink

Thanks for stopping by!

Monday, April 25, 2016

April Swap Cards

Life's Messages

I was a little behind in getting my cards out this month! Instead of mailing them on the 15th, mine didn't go in the mail until the 17th. I'm a poky card maker so I had to step it up a bit to get them finished. Generally I don't wait this long but I started a new job on April 4th and I haven't had a lot of creative time. I've been too exhausted at night to do much. By the time I get home it feels as though my head is going to explode from everything I'm learning during the day. It's going to get better, but for now that's the way it is. 

For the card above I used a Hero Arts Clings stamp called Leaf & Floral background. I heat embossed the design and then watercolored with distress inks. I can't remember which colors I used for this card. The sentiment is a Penny Black slapstick/cling stamp from the Life's Messages set. 

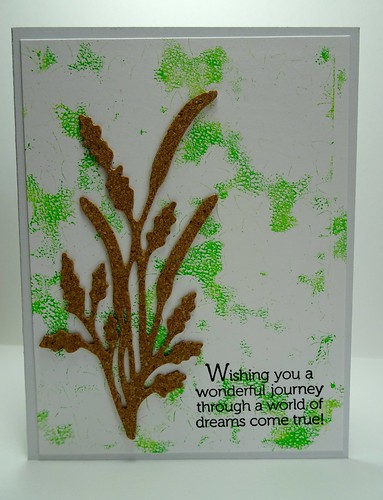
The card below does use a background that I had in my stash that I made a few weeks ago when I had my Gelli Arts plate out. When you are using that it's a good idea to make a lot of backgrounds because it's a messy project. I used Dyan Reaveley Dylusions paint in Cut Grass for the background. I used cork from the DCWV Cork Solids Mat Stack for the field grasses. This die is from Die-Namites. Sentiment is from Stampin' Up called World of Dreams.

World of Dreams

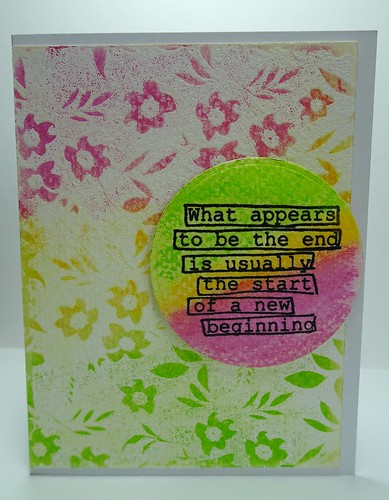
This next card was stamped with a Hero Arts Reversed Flowers & Leaves background and heat embossed with white embossing powder. I then took three distress crayons in picked raspberry, mustard seed and twisted citron and used my finger to rub them in on the background. The sentiment is from The Right Words stamp set from Dylusions. I heat embossed it and then used a Spellbinders die to cut it. 

New Beginning

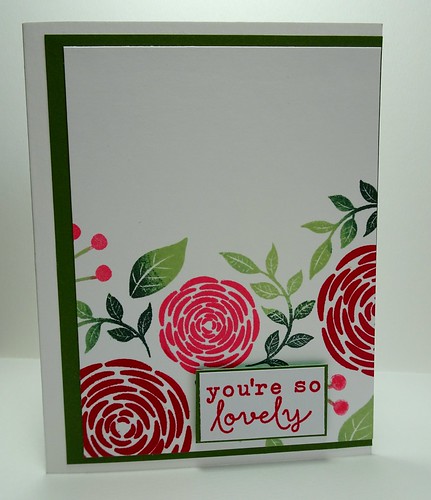
My last card was a little bit of a struggle. I'm still learning how to stamp flowers. I'm getting better, but I'm not where I want to be yet. I used this card by Yana Smakulav as the inspiration for mine. The stamp set is by Hero Arts called You're So Lovely. I used Altenew crisp inks in coral berry, ruby red, frayed leaf and evergreen.

You're So Lovely

I hope my swap partners like the cards I've sent them. Thanks for stopping by!

Thursday, February 25, 2016

February Swap Card

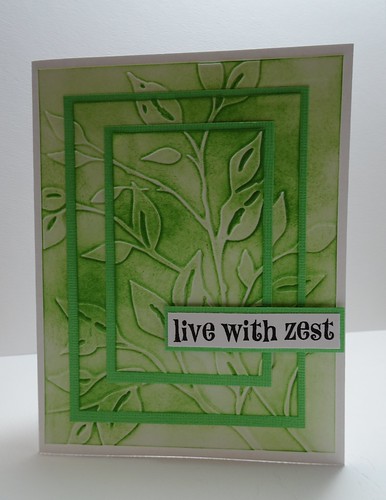
Live With Zest

It's time to share the cards I created for a swap I'm in. I can't believe how fast the month has flown by! It seems Like I just sent them off and now it's time to get new cards ready for the March swap. I really thought I'd have time to participate in some challenges and do some blogging about them. It seems there just isn't a lot of extra time for such things lately. 

I saw a video in on of the groups I belong to on Facebook for triple time embossing. I've always wanted to try the triple time stamping but I just haven't gotten around to it. This technique looked easy and I liked the look so that's what I went with this time for my swap cards. You can see the video I watched here.

For my first card above I used an embossing folder from Cuttlebug called Leafy Branch. The distress ink I used is called mowed lawn.

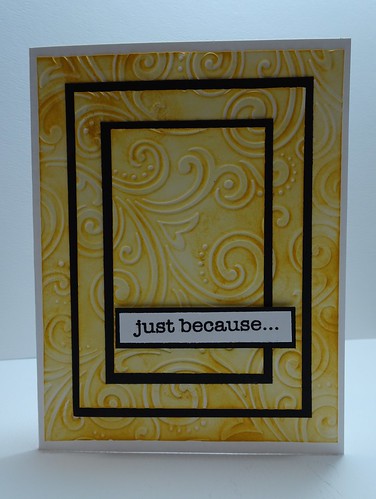
Just Because

This card uses an embossing folder from The Paper Studio called Intricate Swirl. The distress ink color is fossilized amber. 

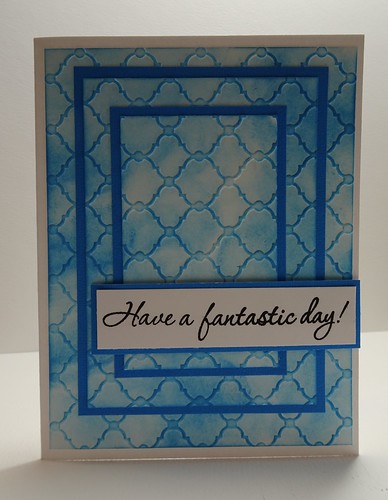
Have a fantastic day!

My final card uses an embossing folder called Whimsy from We R Memory Keepers and the distress ink used is salty ocean.

I loved using this technique and I'm sure I'll use it again. I don't think all embossing folders will work for this technique, but it doesn't hurt to try any that you may have. Now I'll have to try the triple stamping!

Thanks for stopping by! 

Tuesday, November 3, 2015

Fun Backgrounds

DSC00009

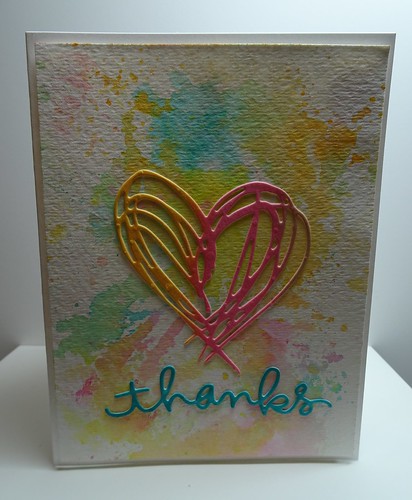
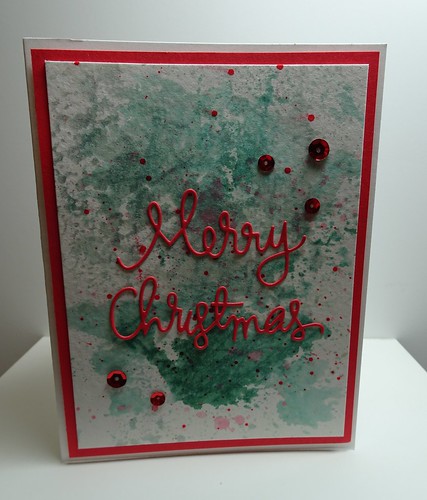
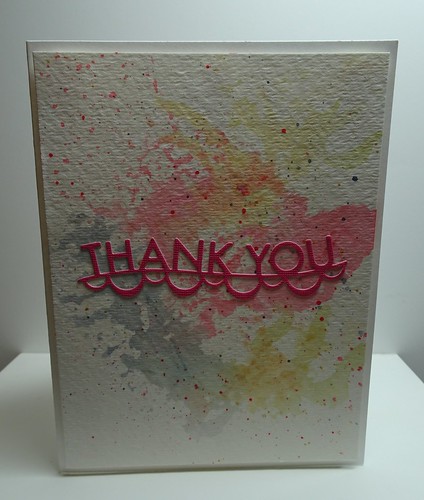
Thought I'd share some of the cards I made over the weekend. The card above is made using one of the dies from the Scribbles & Splat from Sizzix & Tim Holtz. The word die is from Simon Says Stamp which was also used on the card below.

DSC00010

The word die below is also from Simon Says Stamp. 

DSC00008

DSC00007

The die above is from Memory Box and the one below is from Simon Says Stamp.

DSC00005

DSC00006

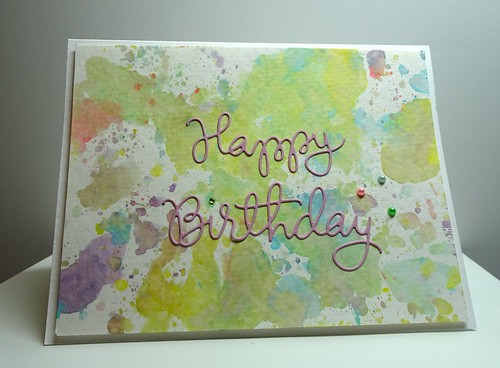
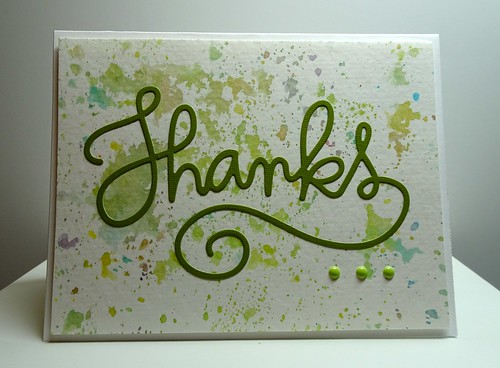
The die above is also from Simon Says Stamp. All the backgrounds except the second card were created using Distress Inks and a piece of acetate. For that card I used Brusho powders. 

I'm getting addicted to creating these backgrounds. I love how every one is so different! 


Sunday, October 25, 2015

October Swap Cards

October Swap Cards

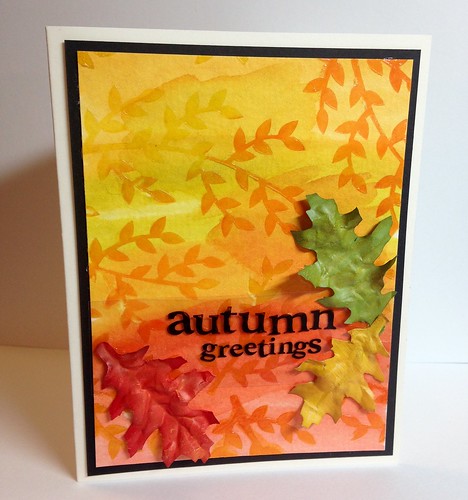
These are the cards I sent to my swap partners for the October Swap. I can finally post them! For the card above and below I used two different embossing folders from Darice. One is called Foliage and the other is called Leaves Assorted Pattern. For all the cards I used Distress Inks. I used a combination of these colors: dried marigold, wild honey, bundled sage, mowed lawn, fossilized amber, crushed olive and ripe persimmon. The sentiments are from an older stamp set I had in my stash called Autumn Foliage by Inkadinkado stamped onto acetate. 

October Swap Cards

October Swap Cards

For these two cards (above and below) I used a stencil from Echo Park called Branches. I used translucent embossing paste colored with distress ink. The one below used plain embossing paste colored with distress ink. All the leaves are from two different packages of leaves that I picked up at a craft store. 

October Swap Cards

Thanks for stopping by!

Saturday, September 26, 2015

Card Swap Pals


I belong to quite a few craft related groups on Facebook. The newest group I joined I learned about through a group called Stamping Enablers. The group is called Card Swap Pals. I like swapping with others but I just don't do well if there is a theme as I really struggle with the constraints of that. I like to be able to just create whatever strikes my fancy. With this group you are assigned four swap pals and you can send all of them the same card or each something different and whatever type of card you want. This type of swap is right up my alley. Since this was my first time I decided to send four different cards. 

I want to back up a minute to the group I mentioned called Stamping Enablers. This group is by far one of the best groups I have ever joined! The group has grown to over 4200 members in a short amount of time. I have been in the group since it started. There are so many knowledgeable and wonderfully talented crafters from all over the world in this group. It's been a joy to be involved with such a wonderful people. You can join it by clicking here.

I like to create all kinds of random card fronts and then when I have a pile I make cards with them. This seems to work for me since I never really know what I want to make when I sit down and start crafting. It's also easier for me if I go craft with others. I don't feel like I have to get something done. 

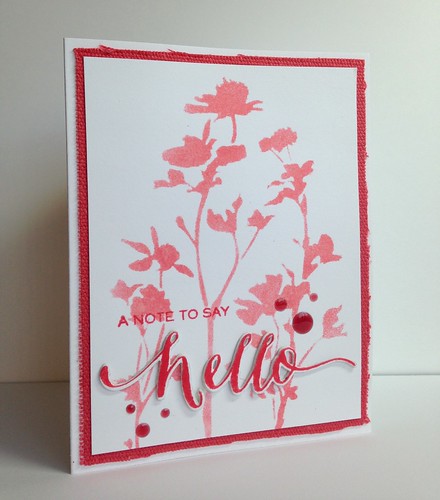
The first card for one of my swap partners I created using a Tim Holtz layering stencil called wildflower. I used PaperTrey Ink white cardstock and I used worn lipstick distress ink. The sentiment and die cut is from WPlus9 called Hand Lettered Hello stamp set and Die. I stamped the hello sentiment with distress ink and embossed it with clear embossing powder and then die cut it. The sentiment "a note to say"was also stamped with distress ink and heat embossed with clear embossing powder. I used Cloud 9 Design rain drops for my bling. I matted the image using DCWV canvas.

Hello

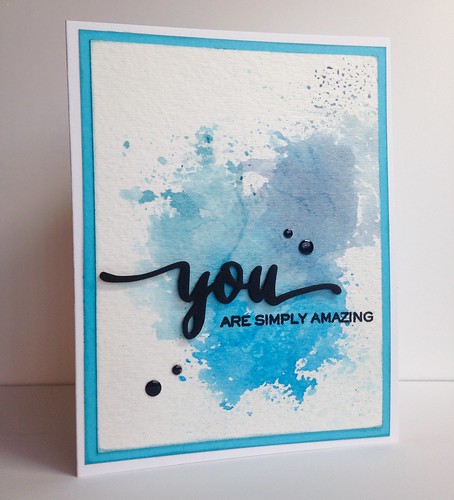
This card was created using using the smooching technique. I saw this technique from an email newsletter I received from Kristina Werner. Here's the link to her blog post. This is a fun technique and I know I'll be using it a lot! The die cut and sentiment are both from Wplus9 called Hand Lettered Thanks. I heat embossed the sentiment with black embossing powder. The You die was cut using foam. The bling is Hero Arts Hues Decor. I used PTI cardstock for my base and watercolor cardstock for the smooching. The blue mat cardstock is by Recollections. I don't remember what distress inks I used for this card.

 You Are Simply Amazing

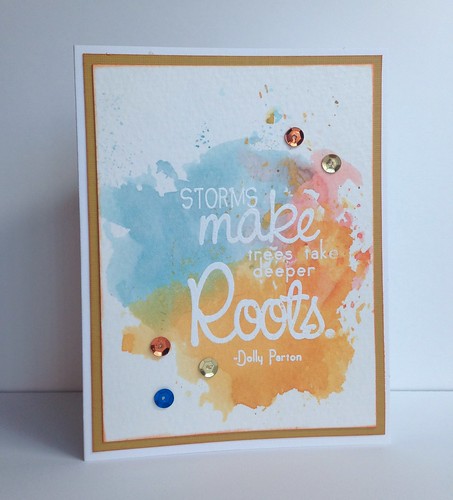
Again I used the smooching technique for this card. I don't remember what distress inks I used. The sentiment is from Unity Stamps called Storms Make Deeper Roots. I heat embossed the sentiment with white embossing powder. The base is PTI cardstock and the mat is by DCWV called The Jeweled Colored Cardstock Mattock. I also used watercolor cardstock.

Untitled

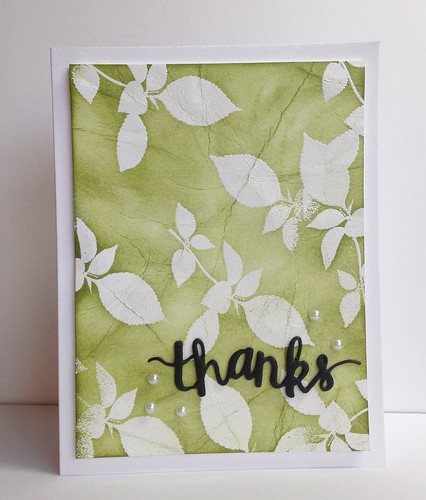
This next card that was sent off to one of my swap partners is a technique I saw on the blog Pine Is Here. This was my first attempt and I loved it! I need to explore it a little more and go through my stamps to find more that will work. I used Hero Arts Delicate Leaf Cluster for the images. I heat embossed with white embossing powder. The distress ink I used is peeled paint. The die cut was cut from foam and is from Hero Arts called Thanks Stamp & Cut. I just used some pearls I had in my stash of supplies. Cardstock and base is from PTI. 

Thanks


That's it for now. Time to start working on my swap cards for next month! I'll post the cards I receive.

Thanks for stopping by!

Saturday, September 5, 2015

SSS Flickr Challenge #27


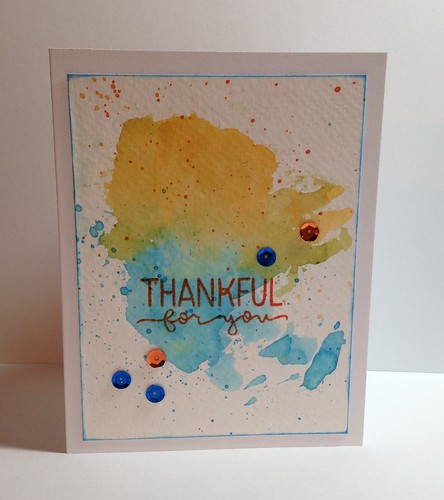
In my Flickr mail I noticed that Simon Says Stamp was doing a challenge so I thought I'd join in. This challenge uses complimentary colors using the color wheel. I chose to use orange and blue. 

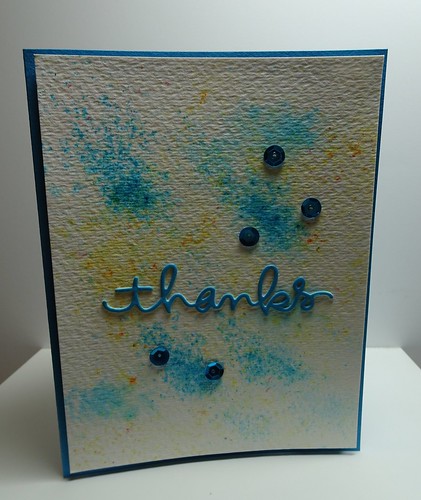
I used distress inks in salty ocean and spiced marmalade. Using watercolor paper I added the ink smooching it onto the paper with a piece of acrylic. I saw a blog post from Kristina Werner and she also included a YouTube video using this technique so I thought I'd try it. I finished my card off with a few splatters with a paint brush and some sequins. The sentiment is from Simon Says Stamp and is called Lots of Thanks. I stamped the sentiment with distress ink and heat embossed it with clear embossing powder. 

The challenge ends September 17th so I might choose two more colors and create another card!

Simon Says Flicker Challenge #27

Thanks for stopping by!


09 10