Showing posts with label Fiskars. Show all posts

Wednesday, April 1, 2015

Atlantic Hearts Sketch Challenge: Sketch #101

Atlantic Hearts Sketch Challenge

Every day I get the newsletter from Paper Playful with all the daily listings of challenges. It's one the the emails I love to get and peruse to see if there are any challenges that catch my eye. The other day the Atlantic Hearts Sketch Challenge looked interesting so I thought I'd give it a try. This is my first time playing along with them.

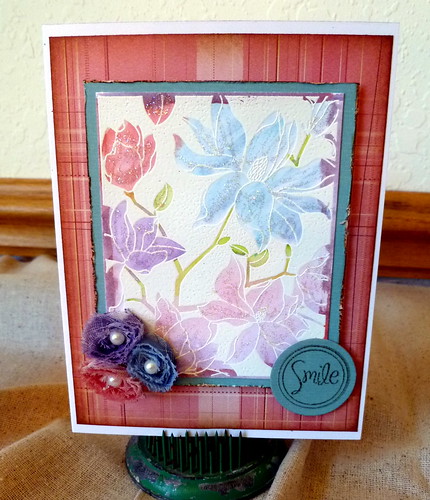
For my card I used Tim Holtz watercolor paper and inked it up with these distress inks: crushed olive, worn lipstick, scattered straw, tumbled glass and dusty concord. I found some thinner Bazzill cardstock in my stash and used two different Fiskars flower punches to create three flowers. I dusted the edges with versamark and then finished them off with white embossing powder. the sentiment is from a Tim Holtz clear set called Phrases 2. Base cardstock is from PaperTrey Ink. I used bling from various manufacturers: Recollections, Doodlebug Design and October Afternoon.


Be sure to click the link about to go check out the submissions for this challenge! Thanks for stopping by!

Tuesday, October 22, 2013

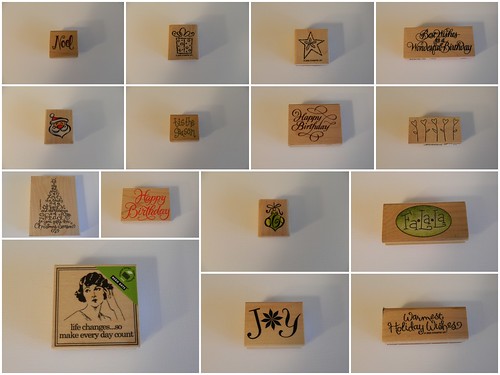
Used Stamps


ClearStamps

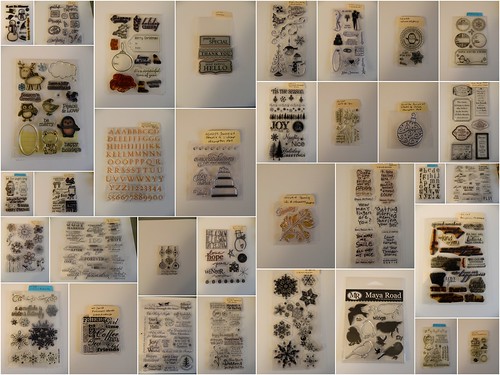
As I've been setting up my craft room, I've been going through my stamp collection. I've found several that I don't use anymore. I think I've listed a little over 40 items! Some of these sets have barely been used, some never used and some have been well used.  Some of the very well used sets I purchased from a scrapbook store that used them for classes.

Rubberstamps

I've listed them all on eBay. If you're interested you can see them all here. You can also access my eBay store from my Pattitudes Facebook page. Just click on the Shop tab on the top right.

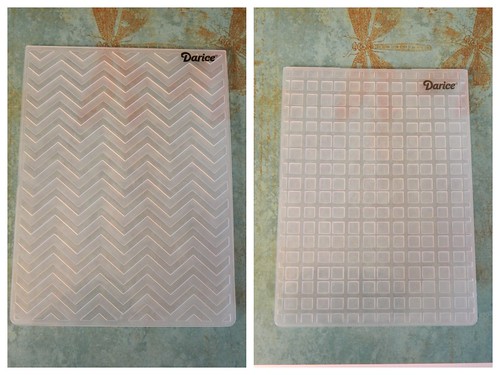
embossingfolders

I also found a few embossing folders that I accidentally bought twice! I'll be listing a few more items over the next few days. Keep checking back in my eBay store because you never know what you'll find! 

Thanks for stopping by!

Monday, July 2, 2012

Baby Cards + 40% Off Coupon Code


I just found this draft post for some cards I created for a custom order. I had a few things going on and didn't realize I hadn't blogged about them. These were the final cards I made for that order. In all I made four of each: Sympathy, Wedding, Bridal Shower and Baby. For the Baby cards I made two neutral, one girl and one boy card. For the card above I hand cut the onsie. The patterned paper used is from Doodlebug Design.


I think this boy card turned out cute! I embossed the giraffe using white embossing powder. This paper is also from Doodlebug Design.


The stroller image above is from a stamp set by Karen Foster. The sentiment on the card above and below are from a Fiskars stamp set.


I used the Sizzix Framelits die for the die cut above. I've long since put all the supplies I used for these cards away and I don't remember what stamp set the sentiment below is from.


I did make a few extra baby cards and I added them to my Etsy store. If you're looking for cards I have quite a few listed. If you'd like to check them out here's the link to my store. You can use this coupon code BLOG40 at check out and receive 40% off your total order! This coupon code is valid until midnight Sunday, July 8, 2012. I'm working on new stuff I'll be adding in the next month so keep checking back. 


Thanks for stopping by! Hope you're having a great start to your week!

Tuesday, June 12, 2012

Dog Mini Album


I finally finished the dog mini album I was working on! It's very similar to the cat mini album that I blogged about last week. You can see that one here. Same concept, just the inside is different.


Here's a view from the top. I didn't use the spiral wires this time, I went with the original wires that are used with the Cinch. I think I like them better.


There are 10 inside pages. I also included four photo mats that are bound in between some of the pages. I used Nestabilities small circles and labels one and Sizzix scalloped squares and fancy labels for these photo mats.


A quote has been added to the back of one of the mats. On the yellow mat above I used a Sizzix die called strips that I've had for quite awhile.


I used the bracket punch from EK Success for the belly bands on these two pages. Each holds two photo mats and a tag with a dog quote.


This is another page with a mat in between the pages that can be used for a photo, memorabilia or journaling.


On this page and the previous one I used Sizzix photo corners #2. I also adhered both mats with foam dots to add dimension.


The paper collection used for this book is called The Pets Stack from DCWV. It's the same one I used for the cat mini album.


I used a sticker from K&Company for the 'i heart my dog'. I backed it with cardstock and used foam dots to pop it off the page.


On the last two pages I made diagonal pockets that hold two photo mats and a tag with a quote. I love the colors in the plaid paper!


This is the final page. All the quotes used throughout the book are from a stamp set from Cloud9 Design - Fiskars called Simple Thoughts - Dog.

This post is linked to these parties: Made by you Monday, Craft-O-Maniac Monday, Make it Great Monday, Tuesday Confessional, Take-A-Look Tuesdays, Inspiring Creativity, What I Whipped Up Wednesday, Saturday Showcase

Thanks for looking!

Saturday, March 31, 2012

Wedding Cards

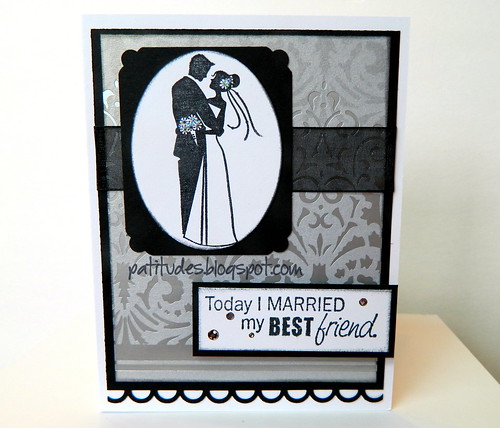
Today I Married.... 

Today I'm going to share two cards I've created for an order I'm working on. The third one I made about a month ago for another order for the same customer. I decided I better take a photo and blog after I make a few. Otherwise I get behind and end up having to do everything all at once.


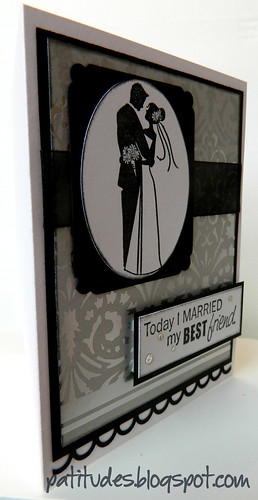
Today I Married..... 

I popped up the sentiment on this one. I love this silver paper from TPC Studio. On the flowers I used some stickles to give them a little sparkle. Below is the sentiment I used on the inside.

inside of Today I Married....


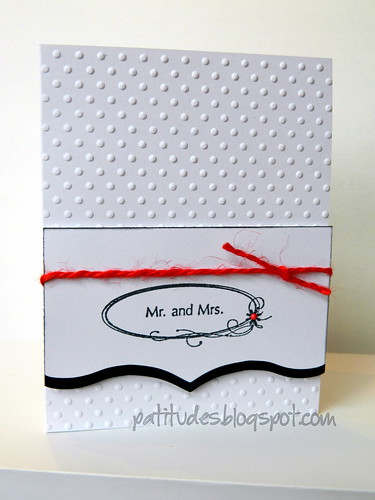
Mr. and Mrs.  

To give this card a little pop I added the red jute and liquid pearls to the center of the flower.

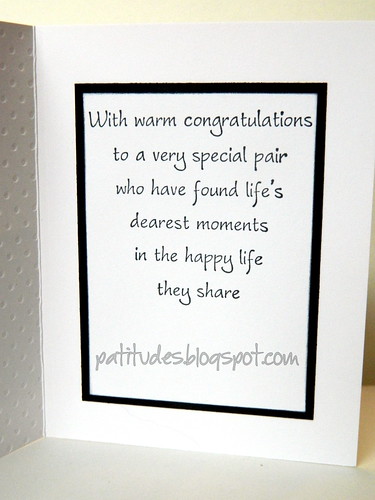
inside of Mr. and Mrs.

On the inside I used a stamp from Verses Rubber Stamps called Warm Congratulations.

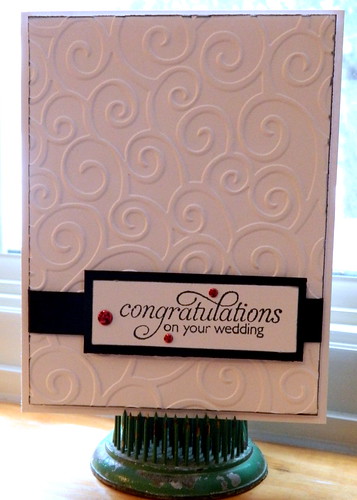
Congratulations.....

I added a little color with the red bling on this one. 

I thought I'd share some of my favorite adhesives. Clockwise below I have my Scotch Advanced Tape Glider, Zip Dry Wet Paper Glue and foam mounting tape.


I'm so happy I decided to break down and buy the Scotch Tape Glider! After years of using inferior tape runners that don't adhere the cardstock to my projects I needed something new. I kept seeing people using them in videos I watch on YouTube. Thanks to my friend Susie over at Creative Cafe, I decided to purchase one. I asked her opinion and she emailed me a 40% off coupon for Michael's. It's a very aggressive adhesive which I love. When I use it, I know that nothing is going to fall off a project. I don't use it alot, but I would never go back to other tape runners that I once used.

My next absolute favorite is Zip Dry. I have other wet glues that I use for various projects, but this is my number one adhesive that I use exclusively. I use it for everything. I use this more than the tape glider.

The foam mounting tape shown in the photo above is something that I buy at the Dollar Store. I saw a video (I can't remember who did the video - sorry!) and the woman said that's what she used instead of buying foam pop up dots. What a fantastic tip! It's so much less expensive and all you have to do is cut it to size. I found it in the hardware section. I will never spend money on the other stuff again!


I was telling my husband I need more table space! The problem is I don't have room. I have one table to work on. The mess above is another table I use to the right of my work table. I like to pull everything out and have it at my fingertips while working. The only thing is, I fill it up so much I can't find anything! I really miss having a six-foot and a four-foot table to use like I did in our house in Minnesota. Now I'm down to two four-foot ones. My only option is to take the sofa out of my room. I can't do that because my furry friends use it. I wouldn't want them to have to lay on the floor!

Products used for these cards include: Cardstock by PTI, Stamps from Inkadinkado, Fiskars, Verses Rubber Stamps and Studio G, Sizzix and Cuttlebug Embossing Folders, Liquid Pearls, Stickles, Jute, Sheer Ribbon, Memento Black Ink, EK Success Edge Punch, Corner Punch from Creative Memories, Patterned Paper from TPC Studio, Stampendous! Dot Sparklers, Metallic Decor from Hero Arts.

I still have quite a few more cards that I'll be sharing as I finish them. Thanks for stopping by!


Tuesday, October 18, 2011

Recipe Pocket Mini Book

Recipe Pocket Mini
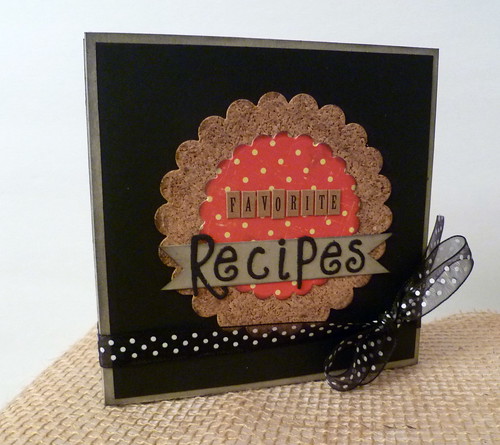
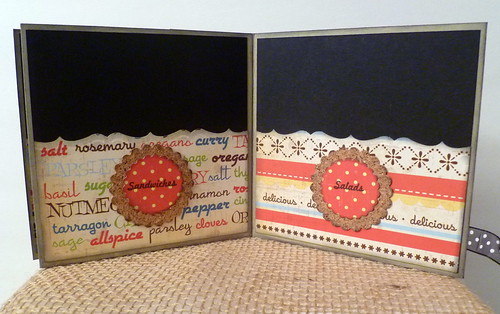
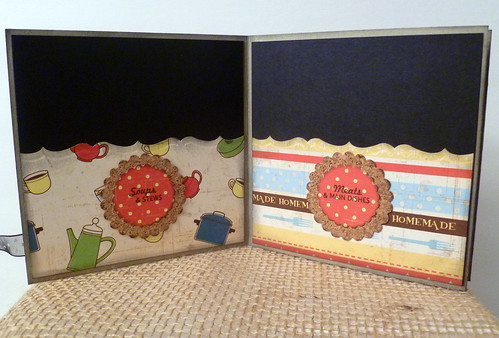
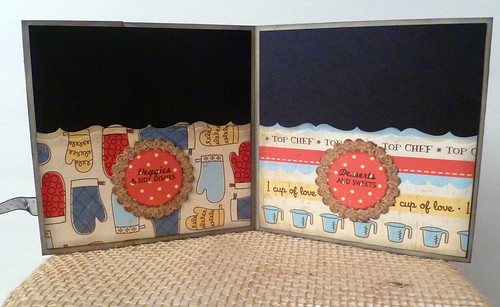
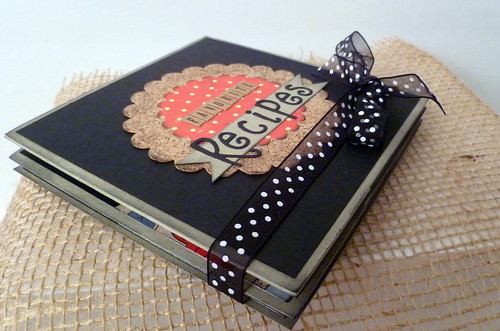
Today I'm going to share a little mini album that I created. I'm calling it a Recipe Pocket Mini Book. I saw this book last year in the PaperCrafts Magazine "Holiday Cards & More" issue. If you have that issue it's on page 109. It was designed by Kim Kesti. My version is a little different than the one Kim created.

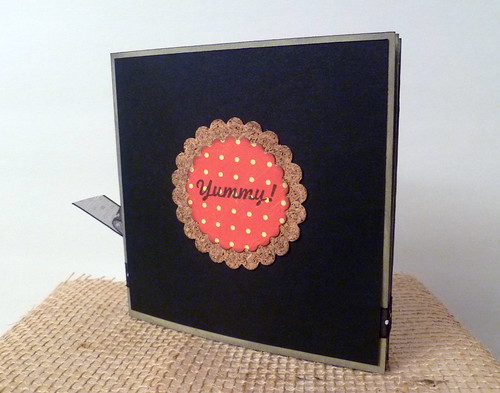
The photo above shows the front and below is the back.
Recipe Pocket Mini

Recipe Pocket Mini
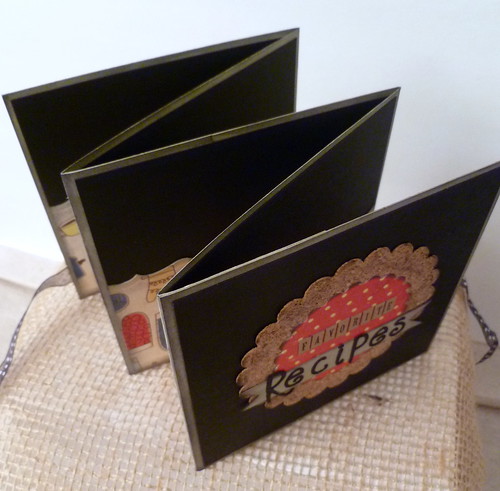
This little book accordion folds.
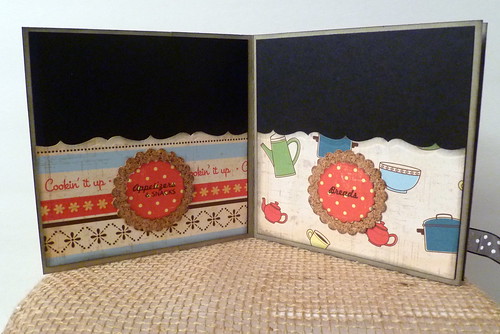
Recipe Pocket Mini pg 1 & 2
There are four pockets on one side.
Recipe Pocket Mini pg 3 & 4
....and four more on the other side.
Recipe Pocket Mini pg 5 & 6

Recipe Pocket Mini pg 7 & 8
I used the So Delish collection from TPC Studios. The papers I used are called: Spice Rack, Utensils, Stripe, Everything But The Kitchen Sink and What's Baking.

I diecut the cork and cardstock with my scalloped circle Nestabilities. The stamped words are from a stamp set from Fiskars called Recipe Madness. The edges on the pockets were cut using my EK Success edge punch called Brackets. The letters that spell "Favorite" on the cover are from Jillibean Soup called Kraft Mini Black Alpha Cardstock Stickers. The letters that spell "Recipes" on the cover were diecut using letter dies from Sizzix called Cat 'n Mouse.

This is a super simple little mini to make:

You'll need two 5" x 12" strips of cardstock that you will score every 5 inches. You'll end up with two-2" flaps. Adhere one of the two inch flaps to one of the five inch squares of cardstock. That will give you one long accordion strip. I cut another five inch piece of cardstock and adhered it to the other two inch flap to create my front cover. Decorate as desired.

Recipe Pocket Mini
It's a cute little mini book. I didn't design it as a permanent holder for recipes. It will be a place to temporarily hold a recipe until I can decide if I want to make it or toss it. I'm constantly clipping recipes from magazines, etc. Instead of just piling them up, I thought this would be a perfect place for them. It would also make a great gift for someone.

Thanks for stopping by!

This post is linked to these parties: Made By You Monday, Tuesday Confessional, Take-A-Look Tuesday

Thursday, August 25, 2011

One Stamp, Three Cards

One Stamp, Three Cards
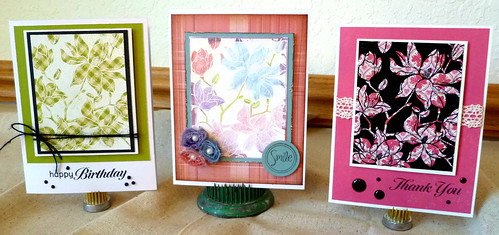
I took a technique card class last week and I really enjoyed it! I generally don't gravitate toward alot of new techniques when it comes to stamping. I know this sounds terrible, but I like the way I create my cards. I would prefer just to admire other cardmaker's work. I do emboss but it makes me uncomfortable. It doesn't always turn out how I would like it to. Taking this class took me out of my comfort zone just a little.
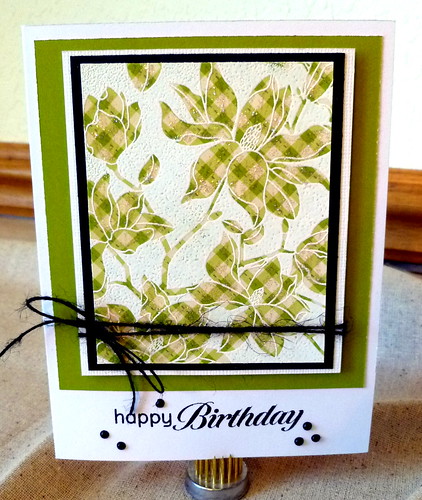
Happy Birthday
I used scraps from my stash for all three cards. What a fantastic way to recycle them. Of course if you could see my stash, I'd be here for years creating hundreds of cards!

For this card, I stamped the image on a piece of cardstock that had small squares. I don't have the name of the manufacturer for this paper. I used my new found love.....Inkssentials Enamel Accents from Ranger. I adore this stuff! I bought the two pack of black and white. It's so much more economical to use this rather than gemstones. Especially for mailing. I'll never quit using gems, but I like having the option of another product.
Smile
Secretly this one is my favorite, but I really like all of them. This technique was doubly hard for me because it was embossing and coloring! I'm not good at the coloring part which is why I never use markers. I was so apprehensive learning this one. Since Tim Holtz Distress Inks are used in combination with a waterbrush it was fun and easy. I'm not one to have alot of ink colors so creating this one at home was a bit of a stretch. I'm going to keep practicing with different stamps until I get better at it. For the flowers, I used Tim Holtz Trimmings and cut three of them apart. I inked them with Tim Holtz Distress Inks and add a Hero Arts Pearl Gemstone in the middle.
Thank You
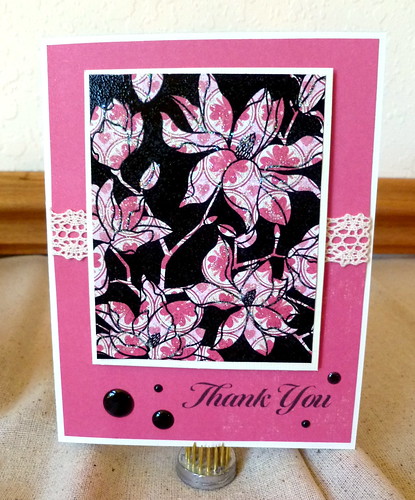
This one really has a piece of my heart, because I used black embossing powder. Black is one of my favorite colors and paired with this paper from Making Memories called Love Struck, it really stands out. I used black Fiskars Raindots around the bottom.

I'll be adding these cards to my Etsy shop in the next few days. If you're interested in them, check back to see when they're listed.

This post is linked to these parties:
All Things Fee
Creating Success Around the World
Inspire Me Monday
Inspiring Creativity
Delightfully Inspiring Thursday Party - 26
Turning The Table Thursday

Thanks for stopping by!

Thursday, June 16, 2011

New Mini Book

P1010021-1
I just finished a new mini book that I adore! I was thinking to myself that it might just be my favorite one to date. Then it hit me that I have another one that I made that I haven't even shared yet, that I also love. With so many choices, it's hard to choose! I'll be posting that one soon, once I get all my photos in it.

For this one I do know what photos I want to add to it, but I'm going to have to do some digging to get them altogether. That's going to be a project for another day!
7Gypsies Mini
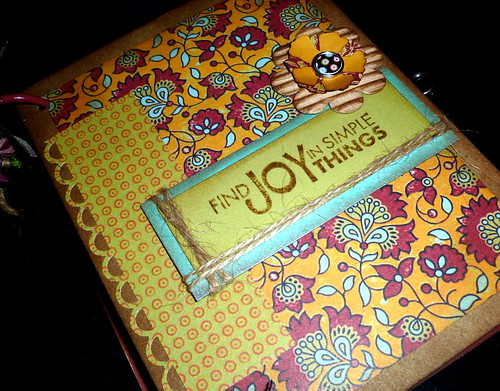
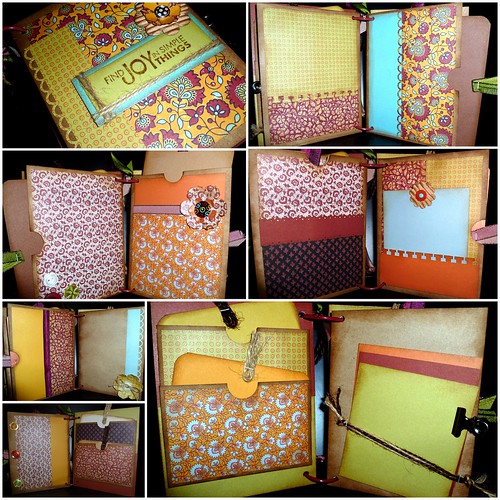
This mini has twelve pages, nine pockets and twenty-two journaling or photo mats! It may be small, but it's going to hold alot photos. I used an older paper line from 7Gypsies called Zanzibar. I think it has a vintage feel to it which I like. I do like to ink the edges of everything I create, which may or may not appeal to everyone. I just instinctively do it without even thinking.

Here's a list of the products I used to make this book:
Jillibean Soup Corrigated Flowers
Tim Holtz Products:
Vintage Photo Ink, Tiny Attacher, Clips, Tattered Florals Die
7Gypsies Products:
Zanzibar Patterned Paper, Zanzibar Brads, Binding Rings
EK Success Edge Punches
Fiskars Circle Punch
We R Memory Keepers Products:
Crop-A-Dile, Glitter Brads
Canvas Corp Jute Rope
May Arts Ribbon
Clear Embossing Powder
Kraft Envelopes
Grungepaper
Corner Rounder
Buttons
Hero Arts Clings Stamps - Things - CG276

Thanks for stopping by!


Friday, October 22, 2010

The Paper Players Challenge #20

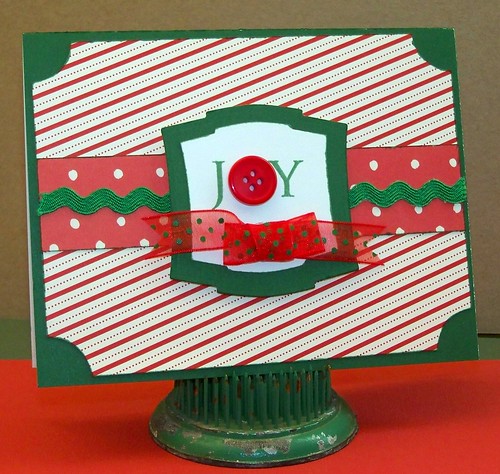
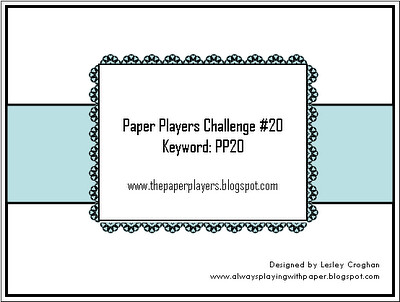
This sketch challenge comes from The Paper Players. This is my first time participating in one of their challenges. Be sure to check out all the gorgeous cards the design team created.

My Card:
Joy
The Sketch:
The Paper Players #20
Christmas and Thank You are my favorite type of cards to make. I could make them all day long, everyday!
This card will be on display at The Baker's Wife. If you're local and looking for inspiration, stop in and check out all the cards and projects on display. Phyllis and her staff will happily help you find everything you need for all your cardmaking and scrapbooking projects.

Products used for this card:
Solid Cardstock from Amuse
Fiskars Ticket Punch
Nestabilities Labels Two
Memento Ink in Cottage Ivy
May Arts Ribbon
Buttons
Hero Arts Clear Stamps - Holiday Sayings - CL343
The Paper Players Sketch Challenge #20

Friday, September 10, 2010

Graphic 45 Black Policy Envelope Album

G45 Blk Policy Envelope Book


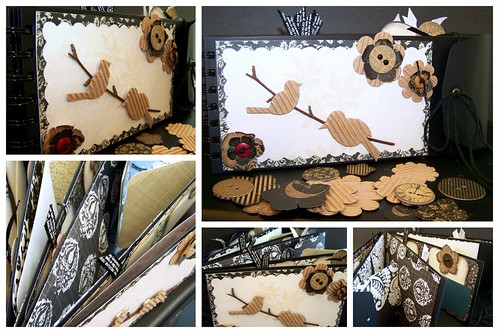
Here's a mini-book I created using the Black Policy Envelope Album from Graphic 45. Fun little book and of course it's in my favorite color!
I didn't stick with just once collection of paper for this book. I used patterned papers from SEI, GCD Studios, Fiskars, 7 Gypsies and solid cardstock from DoubleMates. The pages hold fold out journaling and photo mats and there are several pages with tags that I cut from Nestabilities Labels One.

This mini-book will be on display at The Baker's Wife later today. If you're from the area, pop in and take a peak, maybe it'll inspire you to create one!

Supplies used for this book:
Graphic 45 Black Policy Envelope Album, Staples Trim, Flowers & Chipboard Buttons
Jillibean Soup Corrigated Shapes
Patterned Paper from SEI, GCD Studios, Fiskars, 7 Gypsies & DoubleMates
Brads
File Folders
Nestabilities Labels One
Staples
Buttons
09 10