Showing posts with label Studio G Stamps. Show all posts

Saturday, March 31, 2012

Wedding Cards

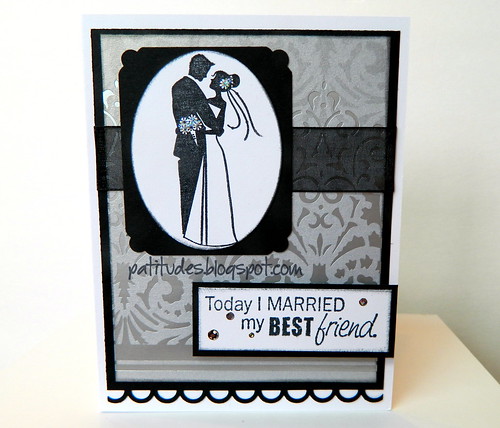
Today I Married.... 

Today I'm going to share two cards I've created for an order I'm working on. The third one I made about a month ago for another order for the same customer. I decided I better take a photo and blog after I make a few. Otherwise I get behind and end up having to do everything all at once.
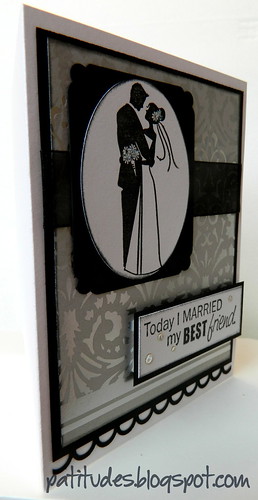

Today I Married..... 

I popped up the sentiment on this one. I love this silver paper from TPC Studio. On the flowers I used some stickles to give them a little sparkle. Below is the sentiment I used on the inside.
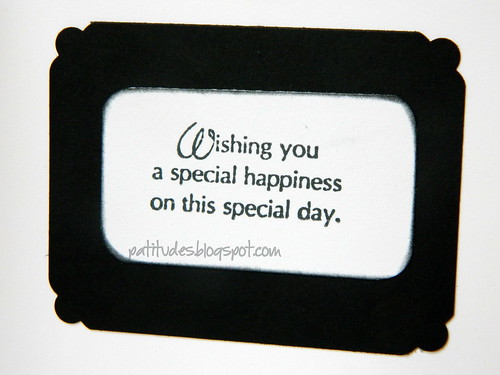
inside of Today I Married....


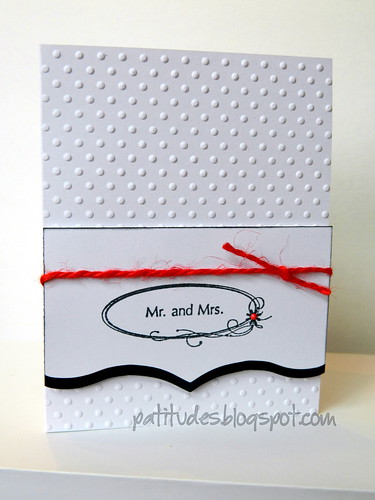
Mr. and Mrs.  

To give this card a little pop I added the red jute and liquid pearls to the center of the flower.
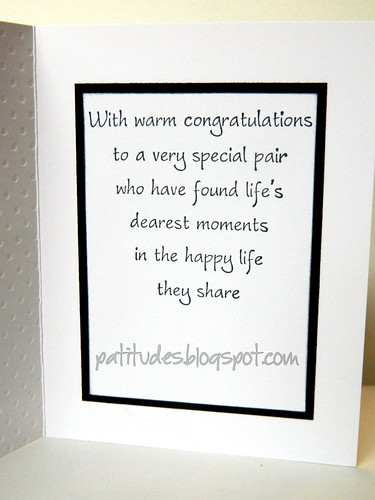
inside of Mr. and Mrs.

On the inside I used a stamp from Verses Rubber Stamps called Warm Congratulations.
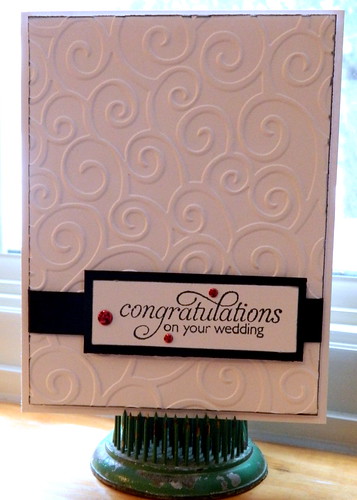
Congratulations.....

I added a little color with the red bling on this one. 

I thought I'd share some of my favorite adhesives. Clockwise below I have my Scotch Advanced Tape Glider, Zip Dry Wet Paper Glue and foam mounting tape.


I'm so happy I decided to break down and buy the Scotch Tape Glider! After years of using inferior tape runners that don't adhere the cardstock to my projects I needed something new. I kept seeing people using them in videos I watch on YouTube. Thanks to my friend Susie over at Creative Cafe, I decided to purchase one. I asked her opinion and she emailed me a 40% off coupon for Michael's. It's a very aggressive adhesive which I love. When I use it, I know that nothing is going to fall off a project. I don't use it alot, but I would never go back to other tape runners that I once used.

My next absolute favorite is Zip Dry. I have other wet glues that I use for various projects, but this is my number one adhesive that I use exclusively. I use it for everything. I use this more than the tape glider.

The foam mounting tape shown in the photo above is something that I buy at the Dollar Store. I saw a video (I can't remember who did the video - sorry!) and the woman said that's what she used instead of buying foam pop up dots. What a fantastic tip! It's so much less expensive and all you have to do is cut it to size. I found it in the hardware section. I will never spend money on the other stuff again!


I was telling my husband I need more table space! The problem is I don't have room. I have one table to work on. The mess above is another table I use to the right of my work table. I like to pull everything out and have it at my fingertips while working. The only thing is, I fill it up so much I can't find anything! I really miss having a six-foot and a four-foot table to use like I did in our house in Minnesota. Now I'm down to two four-foot ones. My only option is to take the sofa out of my room. I can't do that because my furry friends use it. I wouldn't want them to have to lay on the floor!

Products used for these cards include: Cardstock by PTI, Stamps from Inkadinkado, Fiskars, Verses Rubber Stamps and Studio G, Sizzix and Cuttlebug Embossing Folders, Liquid Pearls, Stickles, Jute, Sheer Ribbon, Memento Black Ink, EK Success Edge Punch, Corner Punch from Creative Memories, Patterned Paper from TPC Studio, Stampendous! Dot Sparklers, Metallic Decor from Hero Arts.

I still have quite a few more cards that I'll be sharing as I finish them. Thanks for stopping by!

Monday, July 4, 2011

Wedding Cards

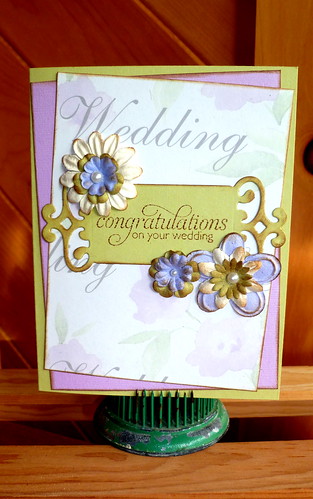
Congratulations On Your Wedding
Today I'm going to share four wedding cards I created for a friend. For this card I used my new Shapeabilities Fancy Tags Die. I picked this die up while on vacation and I think I'm going to use it alot. Out of all four cards, I can't decide if this one is my favorite or this next one.
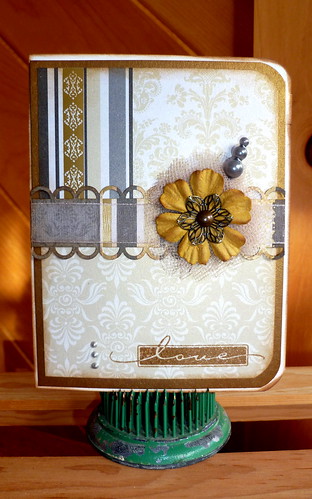
Love
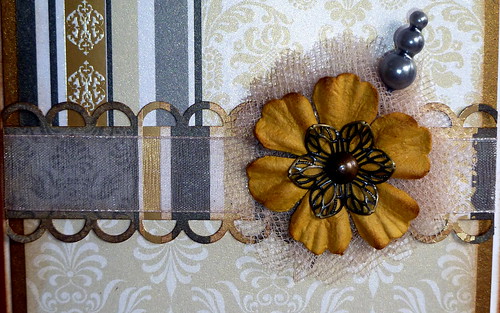
I can't make up my mind! I like the patterned paper I used for this card. It's from TPC Studio called Wedding Silhouette Tapestry Stripe. I paired a Creative Imaginations brad I had in my stash with a Hero Arts flower. Behind the flower I added some tulle that I inked and then inserted a Maya Road Trinket Pin in Vintage Black Pearls. I love those pins! I'd been searching for them for awhile and found them at Archiver's. Here's a closer look at the flower.
Love closeup
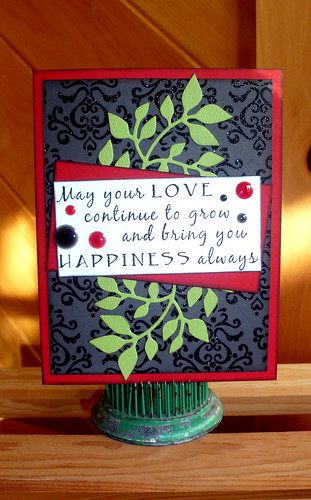
For this card, I had to get some black in. It just wouldn't be like me to create some cards and not use black. My friend gave me free rein to do whatever I wanted. I even made mention to her that I like to use black and she said she was fine with whatever I came up with.
May Your Love....
For the leaves I used a Sizzix die I have called Branch with Leaves. The sentiment is called "Love Continues To Grow" from Versus Rubber Stamps.
May Your Love...inside
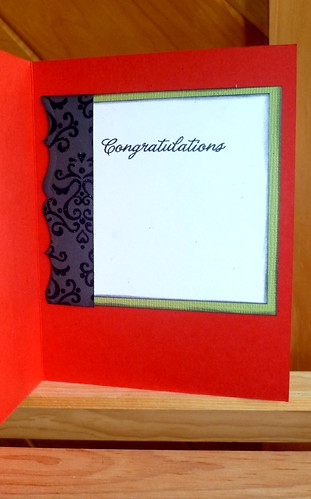
For the inside of this card I used a Hero Arts stamp and an EK Success Edge Punch called "Brackets".
Congratulations/Best Wishes
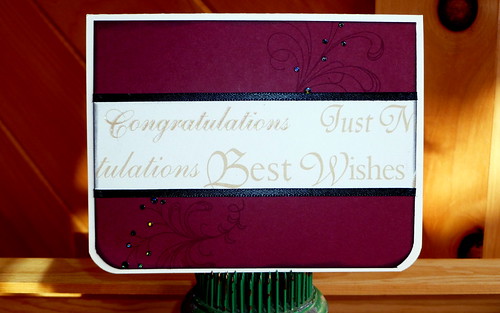
For the fourth card I didn't use a stamped sentiment. I thought the patterned paper I used from Best Creation Inc worked well since it had sentiments on it. I did use a Hero Arts stamp called Dot Flourishes. I stamped it on the cardstock using Versamark and added some Stampendous Dot Sparklers.

That's it for the wedding cards. In my next post I'll share the sympathy cards I made.

Here's a list of products I used for these cards: PTI Cardstock, Tim Holtz Vintage Photo & Black Soot Distress Ink, Shapeabilities Fancy Tags Die, Hero Arts Flowers, Studio G iClear Wedding Stamp, Versus Rubber Stamp - Love Continues To Grow MA0320-E, EK Success Edge Punches: Open Scallop & Brackets, TPC Patterned Paper - Wedding Silhouette - Tapestry Stripe, Brad from Creative Imaginations, Clear Embossing Powder, Tulle, Hero Arts Stamps - Live Life - CL498, Versus Rubber Stamps - Warm Congratulations - MA0328-F, Ranger Liquid Pearls in Silver Pearl, Maya Road Trinket Pins in Vintage Black Pearls, Versamark, Patterned Paper from Doodlebug Design Inc called Beetle Black Serenade, Sizzix Branch with Leaves Die, Cloud9 Design Rain Dots, Hero Arts Stamps - Everyday Sayings - CL342, Ribbon, Hero Arts Stamps - Flourishes - CL235, Stampendous Dot Sparklers.

Hope your have a fun and safe 4th of July!

Friday, July 1, 2011

Baby Cards

Today I'm going to share three baby cards. Last year my friend Cheyenne asked for some graduation cards. I feel fortunate that this year she requested even more! Thankfully she wasn't in a hurry and didn't need them until July. They made it in the mail the other day, so I'm right on time! The order also included some wedding, sympathy and more graduation cards which I'll share in the next few days. After that I'll post a Christmas card order I'm just finishing up for my very patient sister-in-law.

The first card is a onsie.
Welcome Baby
When I was first asked about baby cards, I wondered what I would use. I don't use digital diecuts and I have a limited supply of baby products. I really couldn't find alot of baby paper that I was very thrilled with either. I even looked for baby paper while I was in the Cities and while on vacation and still came up empty handed. After some research, I'm very pleased with how all three of my cards turned out! For this onsie, I used a square of cardstock and my circle punch.
Congratulations - Baby
Nestabilities and a circle punch formed the bib on this card. All three baby cards were to be non-gender. That made it even easier.
Sweet Baby
Again I used nestabilities for the baby carriage. I think this one is so cute! For my handle, I cut apart a shimmer chipboard flourish from Making Memories.

Products used for all cards include: PTI Cardstock, Bazzill Cardstock, Basic Glitter Paper from Best Creation Inc, Stamps from Studio G i-Clear, Penny Black (inside sentiment) and Hero Arts, Patterned Paper from Little Yellow Bicycle - Sweet Summertime - Summer Garden & Babysaurus - Big Dino Dots, Buttons, Ric Rac, Ribbon, Brads, Tim Holtz Distress Ink, Clear Embossing Powder, Dimensional Stickers from EK Success, Open Scallop Edge Punch from EK Success, Nestabilities, Cosmo Cricket Tiny Type Stickers.

Thanks for stopping by!
09 10