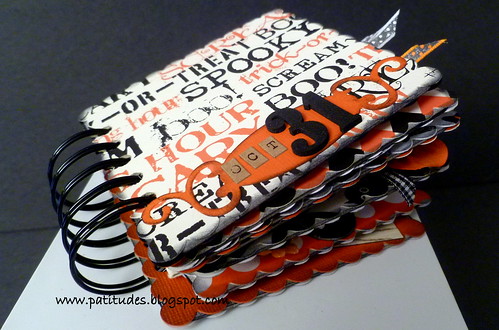
Showing posts with label Making Memories. Show all posts

Wednesday, April 17, 2013

Fusion {Hypothesis #2} Challenge

So Sorry For Your Loss

Whew! Just finished my card for the Fushion Card Challenge! We've had company the last few days so I haven't had as much time as usual to craft. When I saw this sketch I knew I wanted to participate and thankfully I got it done by the skin of my teeth!

I been trying to use some of my older patterned paper up. For the maroon paper I found a sheet called Cinnamon Stick from Cloud 9 Design in my stash. I pair it with a sheet called Spook Alley from Making Memories. You'd never know that is was Halloween paper!

I used my EK Success open scallop punch for the edges. The circles were cut with the small scalloped circle Nestabilities. For the paw prints I used a stamp set from Our Daily Bread Designs called Paw Prints. I also used another of their stamps for the inside sentiment. It reads: With sympathy for your Faithful and Loyal Friend. The sentiment on the front of the card is from Hero Arts - With Sympathy - CL476. The cardstock for the base of the card is from PTI in Kraft.


My card is linked here:


I've also linked to these parties:

Dragonfly Designs


Thanks for stopping by!

Wednesday, April 10, 2013

Scrappy Girls Make It Better Challenge #4

Life Is About Celebrating The Moments 

This is my card creation for the Scrappy Girls Make It Better Challenge this week. The sketch is shown below. I can't give proper credit to the creator because I'm not sure where it originates from. 

Once again I use a lot of black because it's one of my favorite colors to work with. I added a little red to make it "pop". I used cardstock from PTI and the patterned paper is from BoBunny from the Enchanted Collection. It's beautiful paper! The flourish is from Making Memories called shimmer flourish chipboard. I used two white flowers  Kaisercraft and the others I made using both the Carnation and Rose Creations dies from Donna Salazar by Spellbinders. The bling for the flower centers is from Bazzill, TPC and Hero Arts. The sentiment is by Hero Arts called Life Is Not Perfect - CL387. It's amazing what you can come up with just by using product in your stash that you forget that you have! This card can be used for wedding, anniversary or birthday.


This post is linked to these parties:

Thanks for stopping by!


Wednesday, February 13, 2013

{Another} Graphic 45 Nutcracker Sweet Mini Album!

Graphic 45 Ring Bound Nutcracker Sweet Mini Album

Today I'm sharing the photos of the third Nutcracker Sweet Mini Album I created. I think I've used up most of the collection on three 6 x 6 books. Now I'm going to try and use what's left on some smaller books. 

I'm not going to go into detail below each photo because I used all the products for this book that I used on this one. The only differences that you'll see are the chipboard pieces and that I've changed some of the patterns on the pages and some of the photo mats. Otherwise all dimensions are the same. 

Graphic 45 Ring Bound Nutcracker Sweet Mini Album Graphic 45 Ring Bound Nutcracker Sweet Mini Album Graphic 45 Ring Bound Nutcracker Sweet Mini Album Graphic 45 Ring Bound Nutcracker Sweet Mini Album Graphic 45 Ring Bound Nutcracker Sweet Mini Album Graphic 45 Ring Bound Nutcracker Sweet Mini Album Graphic 45 Ring Bound Nutcracker Sweet Mini Album Graphic 45 Ring Bound Nutcracker Sweet Mini Album Graphic 45 Ring Bound Nutcracker Sweet Mini Album Graphic 45 Ring Bound Nutcracker Sweet Mini Album Graphic 45 Ring Bound Nutcracker Sweet Mini Album Graphic 45 Ring Bound Nutcracker Sweet Mini Album Graphic 45 Ring Bound Nutcracker Sweet Mini Album Graphic 45 Ring Bound Nutcracker Sweet Mini Album Graphic 45 Ring Bound Nutcracker Sweet Mini Album

Thanks for taking the time to stop by and take a look! This book will be for sale here if you're interested!

Tuesday, February 12, 2013

Graphic 45 Nutcracker Sweet Mini Album

Graphic 45 Ring Bound Nutcracker Sweet Mini Album

I just finished two more mini albums using Graphic 45's Nutcracker Sweet collection. I bought everything that they had this collection except for the stamps. So far I've been able to create three 6 x 6 - inch books. Now I'm going to work on some smaller albums. You can see my first album here

G45 RB Nutcracker Sweet Mini2

I decided to use rings for my binding this time. On the cover I used one of the chipboard pieces and some display trim corners from 7Gypsies. I tied some ribbon and seam binding onto the rings. I also made a charm using my Epiphany Shape Studio. I chose one the of the gingerbread images from one of the papers. 

Graphic 45 Ring Bound Nutcracker Sweet Mini Album

This book has 12 pages which include the inside front and back cover. I've added trim with ribbon from Webster's Pages and Making Memories throughout the book. May Arts Ribbon was also used.

Graphic 45 Ring Bound Nutcracker Sweet Mini Album

Bling from Webster's Pages, Hero Arts, Recollections and Queen & Co were used on photo mats here and there.

Graphic 45 Ring Bound Nutcracker Sweet Mini Album

I added two Kraft envelopes with an A2 card inside (4-1/4 x 5-1/2 - inches) for additional room for photos, journaling or memorabilia. The next three photos show the pattern paper on the card.

Graphic 45 Ring Bound Nutcracker Sweet Mini Album

Graphic 45 Ring Bound Nutcracker Sweet Mini Album

Graphic 45 Ring Bound Nutcracker Sweet Mini Album


Graphic 45 Ring Bound Nutcracker Sweet Mini Album

I added a pocket with an images I cut from one of the card stock sheets. Inside of the pocket I added two tags. One made from a Tim Holtz die and the other one from a Sizzix die. 


Graphic 45 Ring Bound Nutcracker Sweet Mini Album

I left some pages blank for larger photos to be added.

Graphic 45 Ring Bound Nutcracker Sweet Mini Album

Another kraft envelope and card on the left page. On the right I've added three photo mats measuring 4-1/2 x 5-1/2 - inches for added photo space. A larger photo can be adhered behind the mats. The next four photos show the second card and the photo mats.

Graphic 45 Ring Bound Nutcracker Sweet Mini Album

Graphic 45 Ring Bound Nutcracker Sweet Mini Album

Graphic 45 Ring Bound Nutcracker Sweet Mini Album

Graphic 45 Ring Bound Nutcracker Sweet Mini Album

Graphic 45 Ring Bound Nutcracker Sweet Mini Album

This is the back cover. I just embellished it with a sticker from the collection. This is a very fun collection with very unconventional Christmas colors!

I love making books! I do make so many that I can't keep them all. I have a wall of shelves in my craft room with all the books I can't part with. This book will be for sale here.

I'm planning to post my third 6 x 6 -inch book using this collection tomorrow, so check back if you're interested in seeing it. That one will also be for sale. If everything goes well today I plan to make a video of both books. You can keep checking my YouTube channel here to see when they are posted. 

Thanks for stopping by!

Monday, February 6, 2012

Mod Podge Canvas

Mod Podged "Lou" Canvas

Today I thought I'd share a canvas I made for one of my daughter's for Christmas. I had a photo of her dog that she had asked me to do something with (quite awhile ago I might add!). I love photos of her dog Lou because he has the best expressions. I will say however, this is not one of my favorite photos of him! By the time I was finished it was starting to grow on me!

Mod Podged "Lou" Canvas

I gathered all my supplies together. I didn't use the piece of corrugated paper I originally cut (shown on the bottom left of the photo).

Mod Podged "Lou" Canvas

I painted gesso around the edges where I was planning to use acrylic paint and hung the canvas to dry.

Mod Podged "Lou" Canvas

After painting the front

Mod Podged "Lou" Canvas

and back, I hung it back up to dry.

Mod Podged "Lou" Canvas

Then I used Mod Podge to add the patterned paper, photo and the "pawsitively adorable" that I cut out from some of the paper. I forgot to take a photo of that part!

P1020360-1_opt

Here's a photo of her opening the gift on Christmas Eve.

Mod Podged "Lou" Canvas

Mr. Lou is quite the character!

Products used for this project: 5x7 stretched canvas, photo, embellishments, Mod Podge, Making Memories Acrylic Paint in Espresso, Patterned Paper from We R Memory Keepers: Friends Forever and BasicGrey: Max & Whiskers, Letters from EK Success.

This post is linked to these parties: All Things Fee, Craft-O-Maniac, Around Tuit, Inspire Me Monday, A Marvelous Mess, Made by you Monday


Thanks for stopping by!

Wednesday, October 5, 2011

Halloween Mini Book

P10108691
I made a chunky
P10108701
and I mean very chunky
P10108711
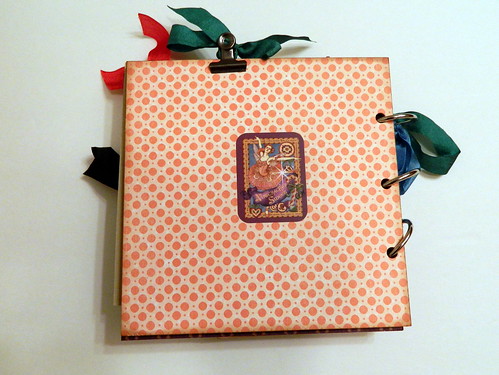
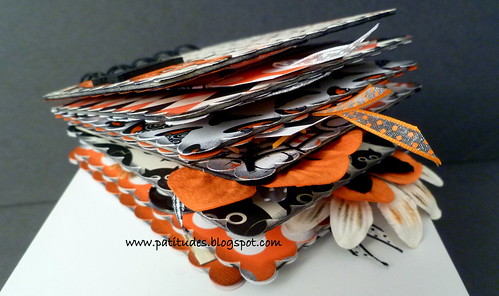
Halloween Mini Book! I had cardstock from Canvas Corp that I received while at Scrapfest. In every class that you take you go away with alot of free product. I guess it's their way of thanking you for taking their class.

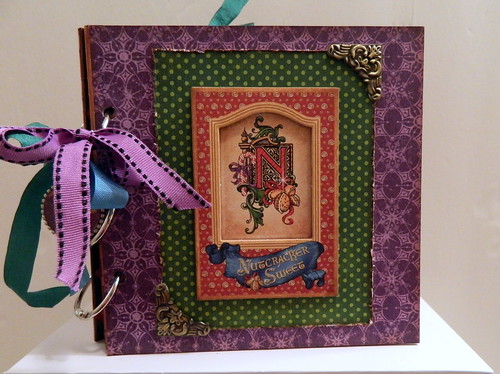
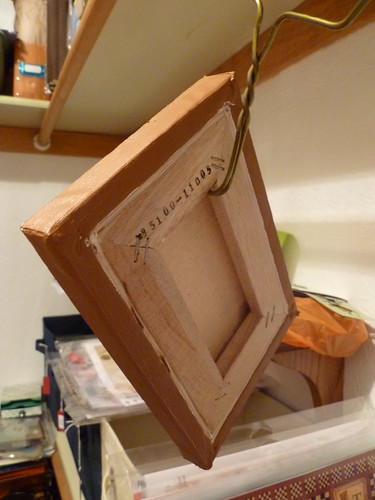
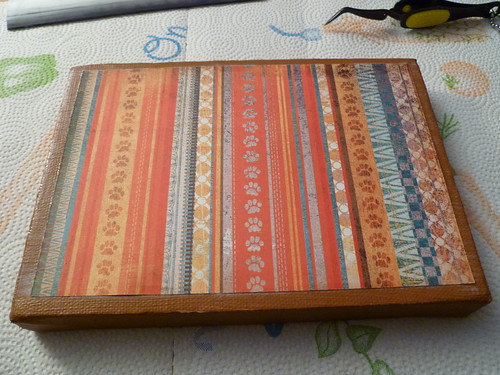
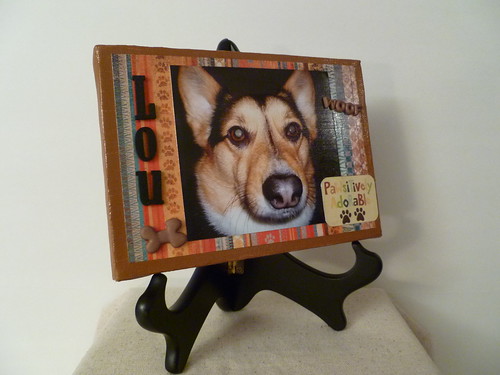
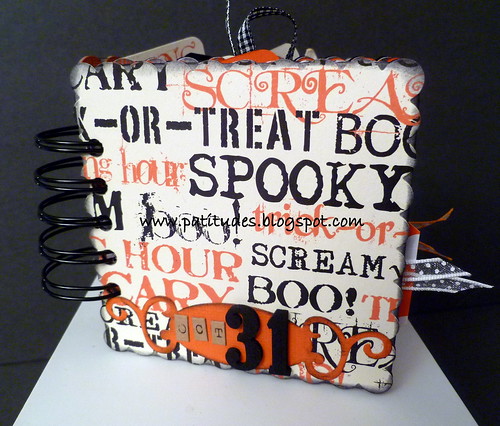
The diecut on the cover is one of the Fancy Tags from Spellbinders. I used alphabet stickers from Jillibean and EK Success. I used my We R Memory Keepers Cinch to bind the book.
P10108721
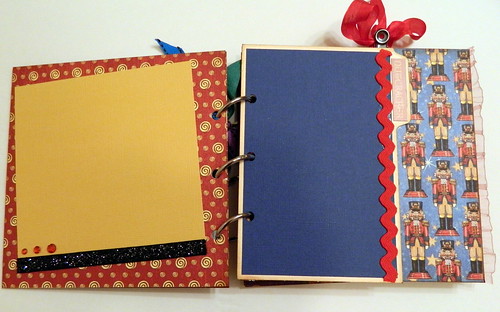
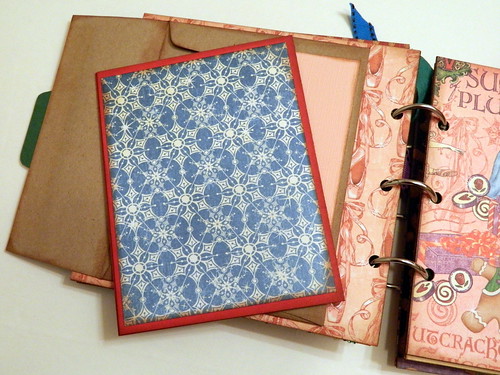
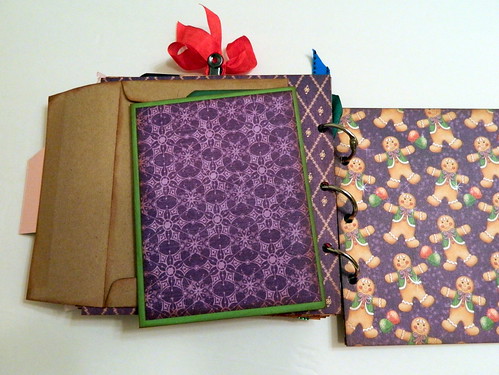
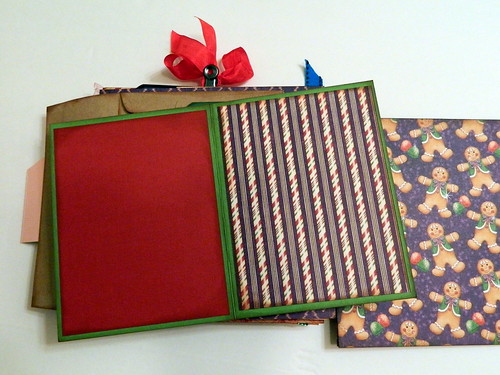
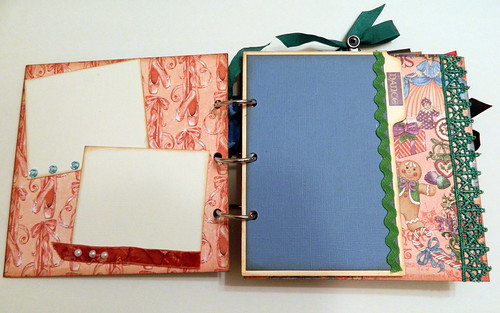
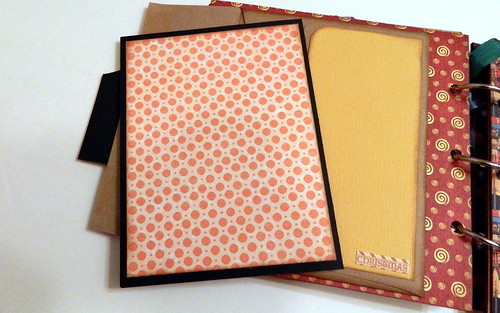
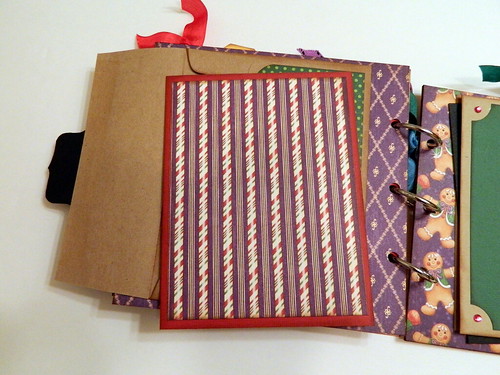
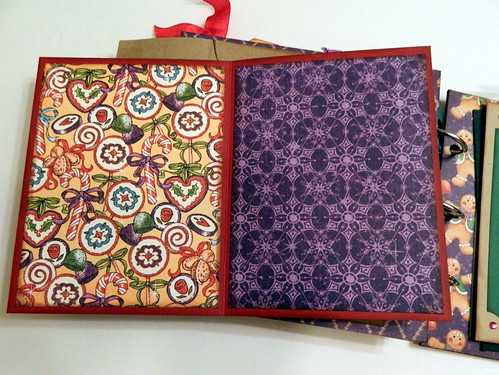
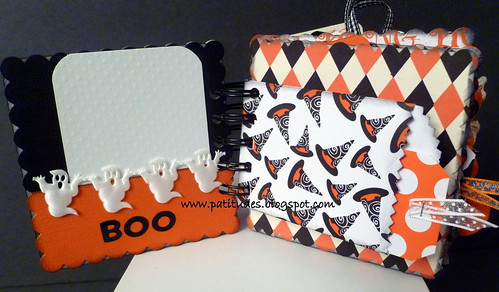
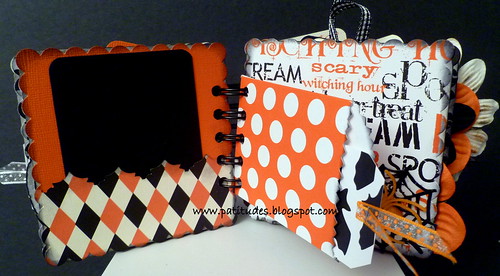
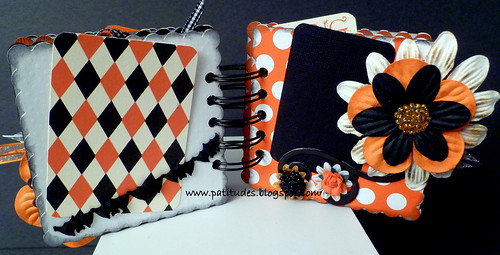
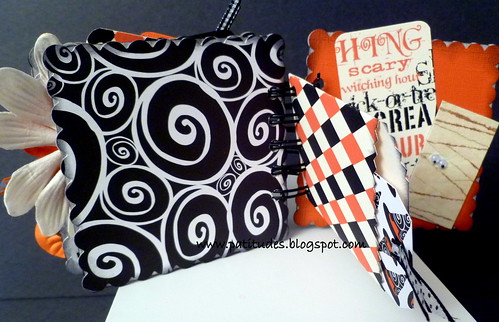
I never make anything for Halloween. This was fun to make even if I had to do alot of improvising. I have no products or supplies that are Halloween related. I picked up a few items that I scattered throughout the book like the ghost ribbon shown above. I used four-inch chipboard coasters for the pages. I diecut the cardstock using my scallop square Framelits from Sizzix. I added alot of pockets throughout the book for photo mats.
P10108731
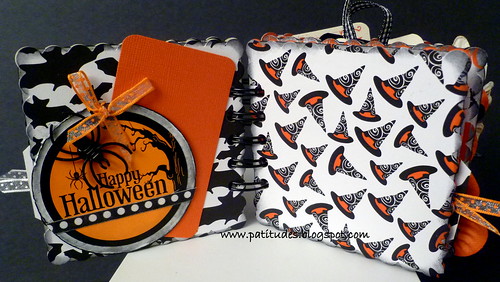
For this page I got a little creative. The Happy Halloween tag is from a bag of spider rings I bought. I cut the ring off the spider and used my hot glue gun to adhere him to the tag to cover up the price. I used my circle Nestabilities for the back of the tag. I then used paper tape to cover up the date on the tag.
P10108741
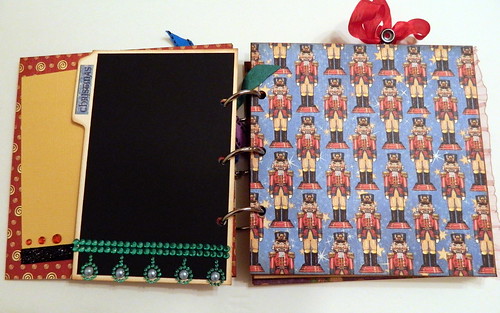
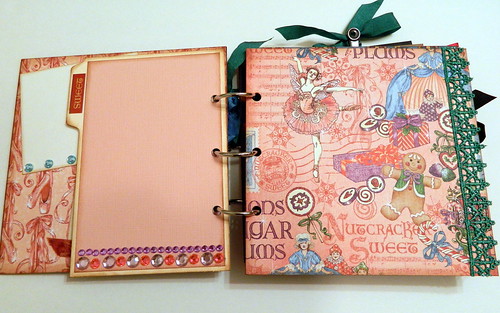
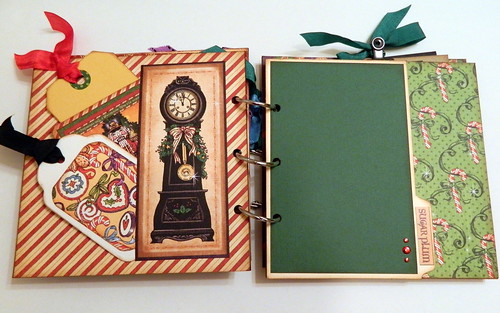
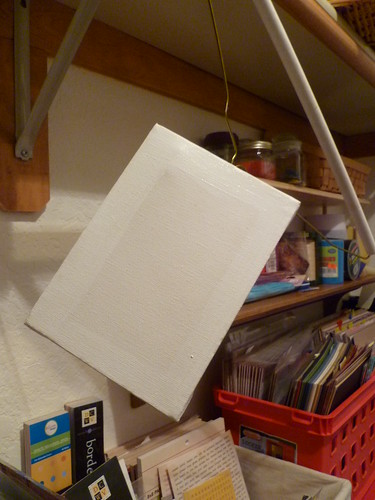
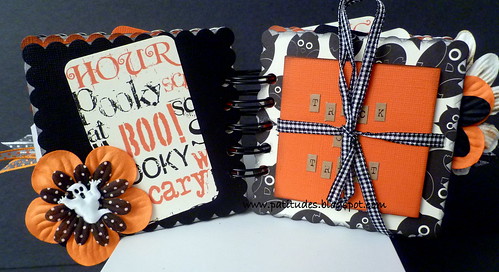
For this page I used a Tim Holtz Edge Die called Ornate for the top of the pocket. I also made my own paper bags. I have three in the book. I have some Kraft bags from Canvas Corp but I wanted them to be made out of the cardstock. I took one of the bags apart and used it as a template (shown below). You can kind of see the spider web peeking through on the right page. It's a sticker from Scrapbook 101. I also hot glued a spider to it.

P10108751
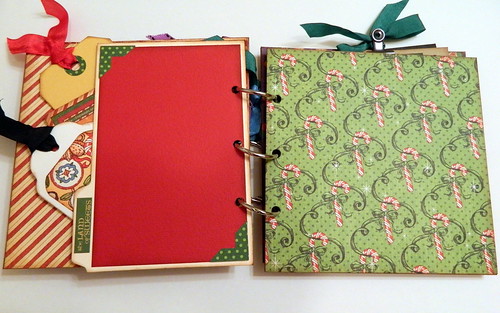
Here I added one of the ghosts from the ribbon to the center of a Hero Arts flower. On the right I've added an accordion fold out book.
P10108761
There are six spots for photos or journaling in the fold out.
P10108771
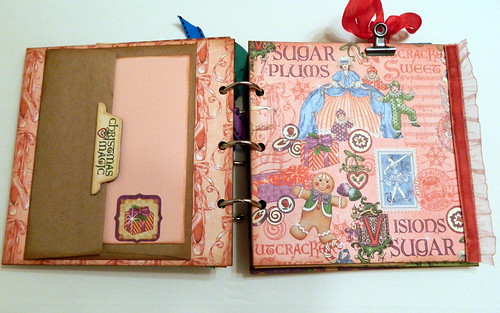
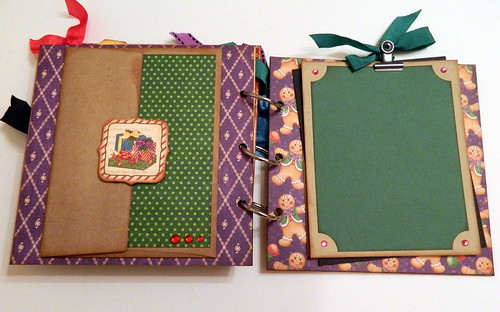
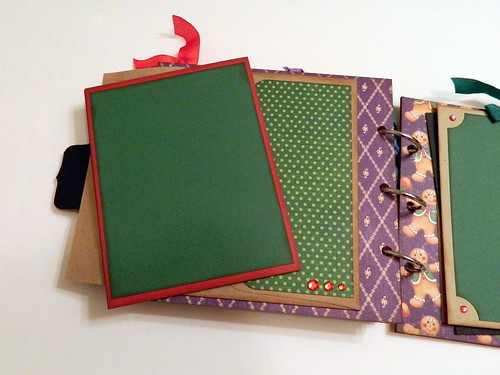
Here I've added some bat ribbon and used it as a place for a photo mat. On the right I used a Making Memories chipboard shape as a pocket. I've added flowers with beads for the centers.
P10108781
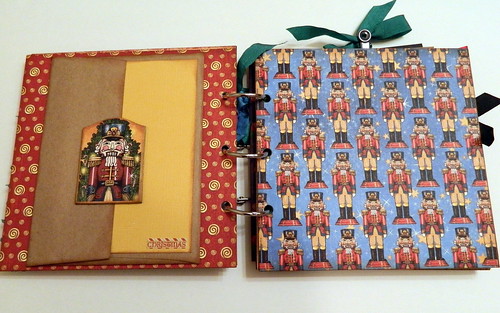
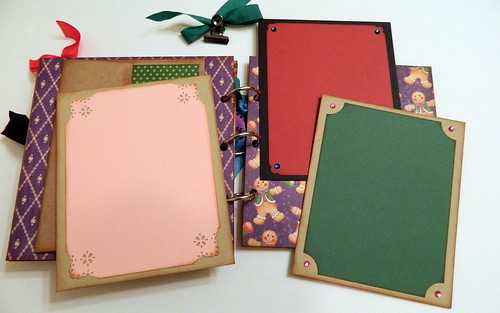
For the last two pages I left one blank and added the third bag with a tag. For the final page I thought I'd make a mummy which also serves a place to tuck a tag in. My husband laughed at my mummy. He said it looked like a board with eyes. Oh well, I tried! LOL :)

There are about 20 spots for photos or journaling in this little book. For someone who's really not much of  a Halloween person I think it turned out pretty cute. Now I just have to figure out what to do with it!

I did add a video of this mini book to my YouTube channel if you'd like to check it out. Thanks for stopping by! Be sure to go to the linky parties below to be inspired by all the beautiful projects and wonderful recipes that are added to each party.

This post is linked to these parties:
Made By You Monday
All Things Fee
Creating Success Around the World - Made It
Inspire Me Mondays
Whatever Goes Wednesday
Inspiring Creativity
What I Whipped Up Wednesday
09 10