Showing posts with label Mod Podge. Show all posts

Monday, February 6, 2012

Mod Podge Canvas

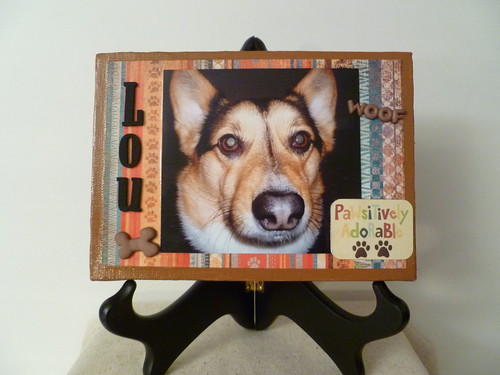
Mod Podged "Lou" Canvas

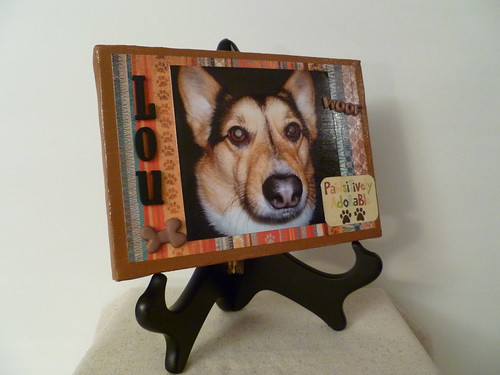
Today I thought I'd share a canvas I made for one of my daughter's for Christmas. I had a photo of her dog that she had asked me to do something with (quite awhile ago I might add!). I love photos of her dog Lou because he has the best expressions. I will say however, this is not one of my favorite photos of him! By the time I was finished it was starting to grow on me!

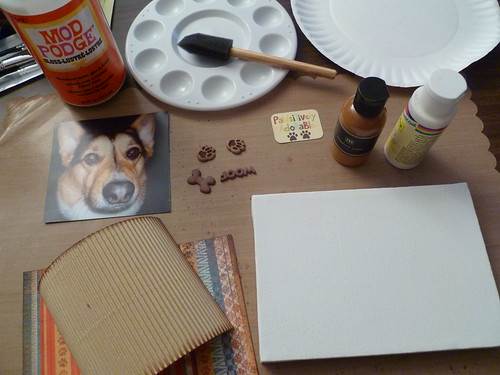
Mod Podged "Lou" Canvas

I gathered all my supplies together. I didn't use the piece of corrugated paper I originally cut (shown on the bottom left of the photo).

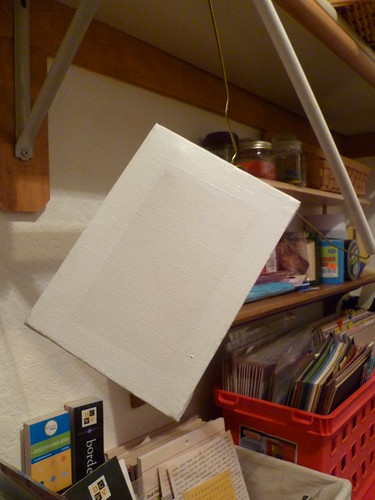
Mod Podged "Lou" Canvas

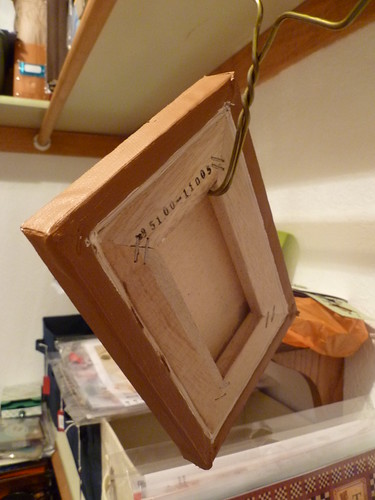
I painted gesso around the edges where I was planning to use acrylic paint and hung the canvas to dry.

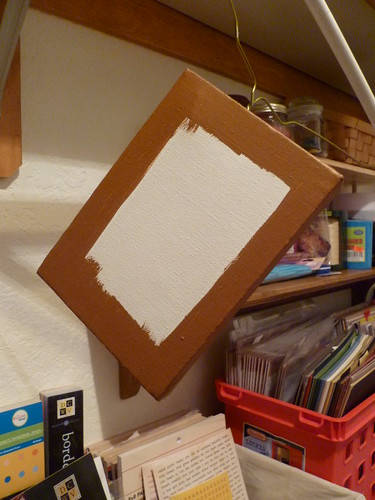
Mod Podged "Lou" Canvas

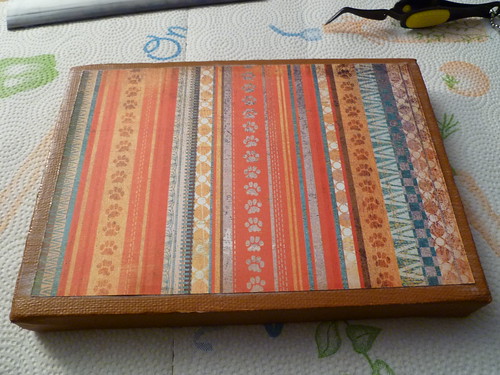
After painting the front

Mod Podged "Lou" Canvas

and back, I hung it back up to dry.

Mod Podged "Lou" Canvas

Then I used Mod Podge to add the patterned paper, photo and the "pawsitively adorable" that I cut out from some of the paper. I forgot to take a photo of that part!

P1020360-1_opt

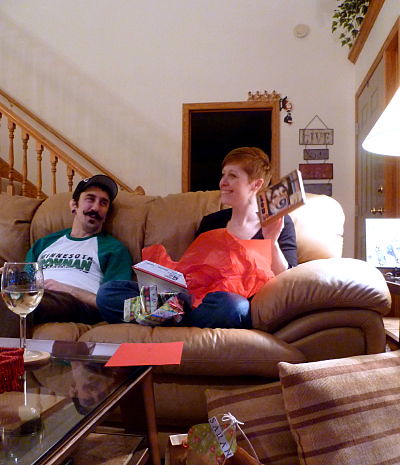
Here's a photo of her opening the gift on Christmas Eve.

Mod Podged "Lou" Canvas

Mr. Lou is quite the character!

Products used for this project: 5x7 stretched canvas, photo, embellishments, Mod Podge, Making Memories Acrylic Paint in Espresso, Patterned Paper from We R Memory Keepers: Friends Forever and BasicGrey: Max & Whiskers, Letters from EK Success.

This post is linked to these parties: All Things Fee, Craft-O-Maniac, Around Tuit, Inspire Me Monday, A Marvelous Mess, Made by you Monday


Thanks for stopping by!

Wednesday, December 28, 2011

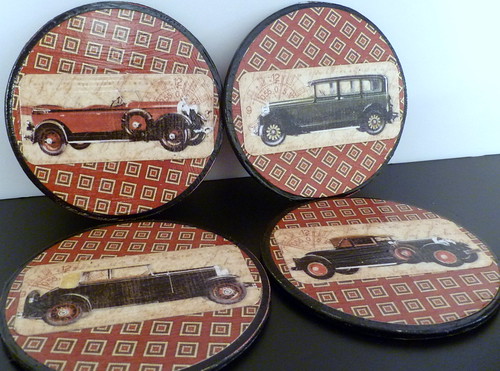
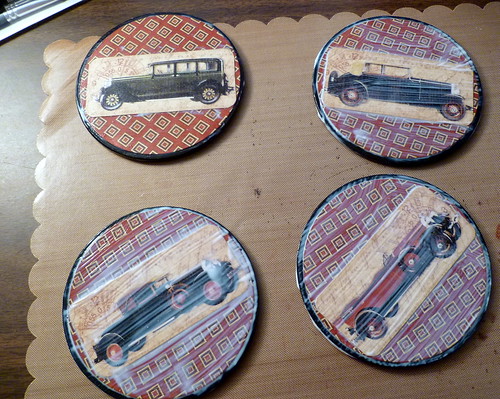
Mod Podged Car Coasters

Mod Podged Car Coasters

I gave this set of coasters I made to my brother for Christmas. He liked them so much that he asked me to create a set of six using another image for him.

Mod Podged Car Coasters

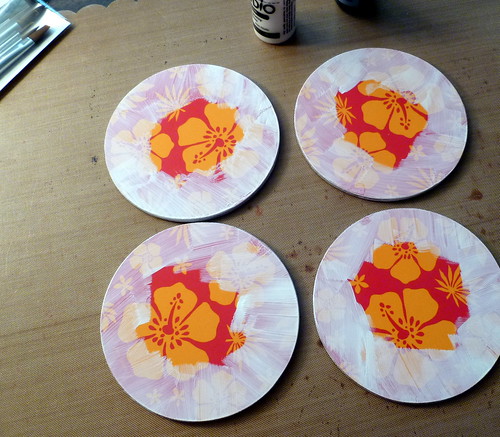
I found these coasters for a steal of a price, but I needed to make them a little more presentable!

Mod Podged Car Coasters

My first step was to cover the edges with Claudine Hellmuth's Studio Gesso.

Mod Podged Car Coasters

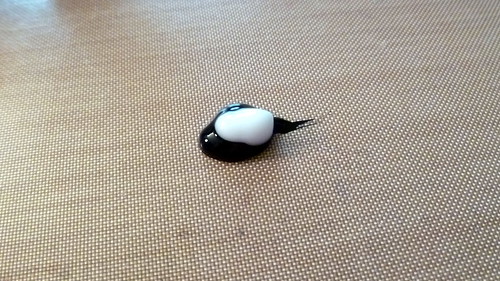
I then added some of Claudine's Charcoal Black Studio paint and some Extra Time Studio Slow-Dry Medium onto my craft sheet.

Mod Podged Car Coasters

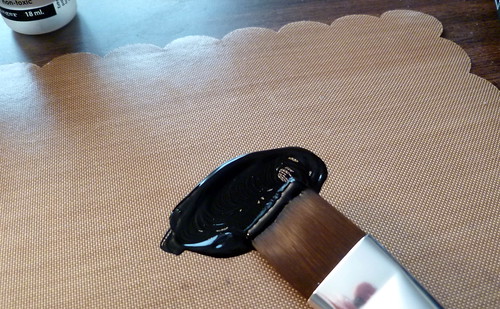
I swirled them together with one of my brushes. I bought the whole set of Ranger brushes at Archiver's and I love them!

Mod Podged Car Coasters

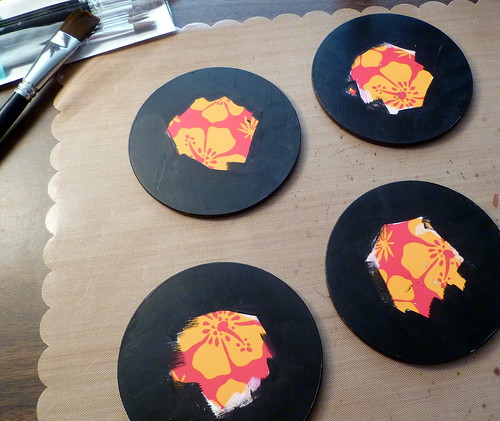
I painted over the gesso with the Studio charcoal black paint. I didn't need to paint the whole coaster because I knew I was going to cover the center with cardstock. I added two coats of paint and made sure it was completely dry before starting the Mod Podge process.

Mod Podged Car Coasters

Before I started my project I chose what patterned paper I wanted to use. This is an older collection from Graphic 45 called "On The Boulevard & Haberdasher" from the "A Proper Gentleman" collection. I love all of their collections! I don't care how old any patterned paper is that I use from any manufacturer. I use whatever fits what I'm creating at the time and what I like. Since I'm a paper hoarder, I have to use what I have!

Mod Podged Car Coasters

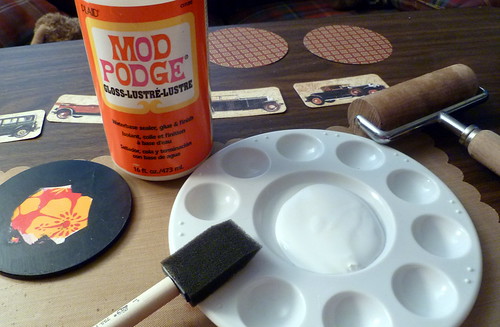
I gathered all my supplies to start the Mod Podge process. That handy dandy roller on the top right in the photo is actually something I bought years ago from Pampered Chef. It's supposed to be used to rolling out pizza dough. I think I used it once! One day I needed something to smooth out a project and well, the rest is history! It's become a handy tool in my craft room. I use it alot!

Mod Podged Car Coasters

This is where you have to work quickly because you don't want the Mod Podge to dry. First I spread a layer of  Mod Podge onto the coaster.

Mod Podged Car Coasters

I added it to the back side of the paper I was putting onto the coaster.

Mod Podged Car Coasters

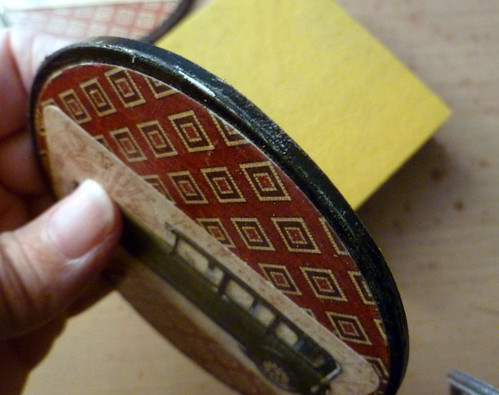
I smoothed the paper on the coaster. I didn't cut my paper to go to the edges since I wanted the black to show. Once the paper was on, I added another coat of Mod Podge.

Mod Podged Car Coasters

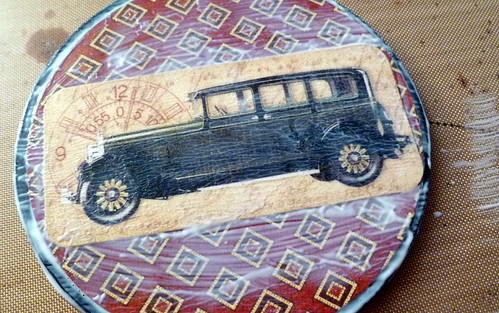
I then added the car I had trimmed out and another coat of Mod Podge.

Mod Podged Car Coasters

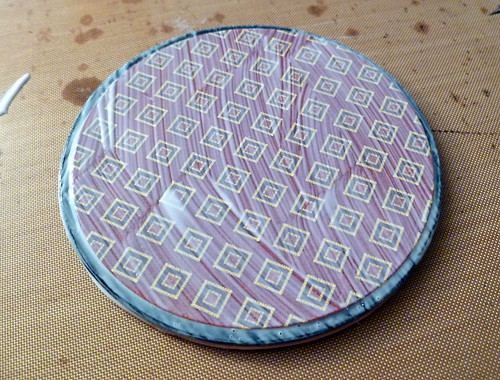
You can see where it's starting to dry in this photo.

Mod Podged Car Coasters

All four are ready to completely dry.

Mod Podged Car Coasters

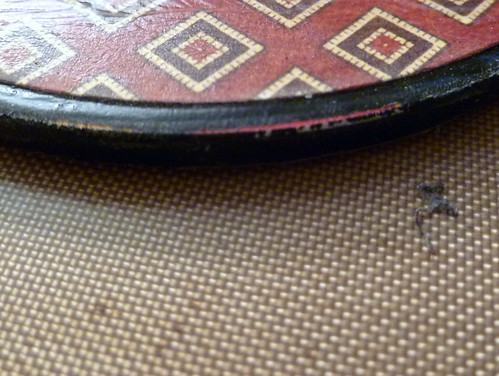
I wanted to rough up the edges a little, so I sanded them.

Mod Podged Car Coasters

I sanded them so that the original color would start to peek through. You couldn't even tell that it was pink. After the coasters were completely dry, I sprayed them with a clear acrylic sealer from Plaid.

I love working with Mod Podge! Coming up in another post is a canvas I made for one of my daughters for Christmas.

I hope everyone is enjoying the holidays!

Products I used for this project: Purchased coasters, Claudine Hellmuth Studio Paint, Gesso & Extra Time, Graphic 45 Patterned Paper - A Proper Gentleman Collection: On The Boulevard & Haberdasher, Mod Podge.

This post is linked to these parties: Made by you Monday, Tip Me Tuesday, Whatever Goes Wednesday

Thursday, January 27, 2011

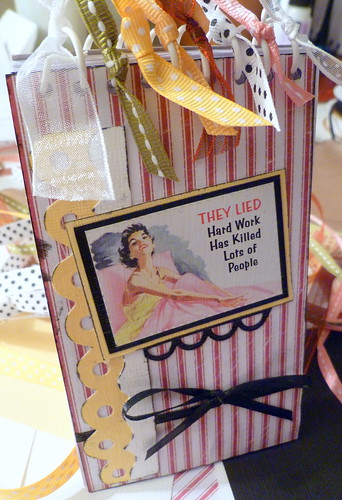
Tacky Memo Pad

Recently I made a plaque for my daughter's desk at work. I was going to make her another one, but she said she wanted a memo pad like I made here instead.
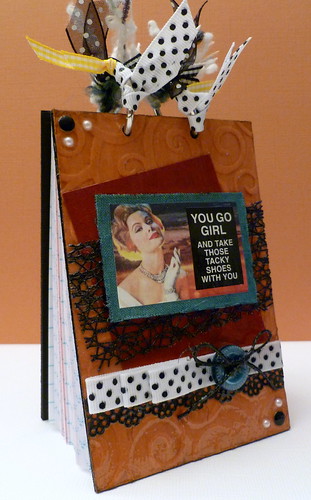
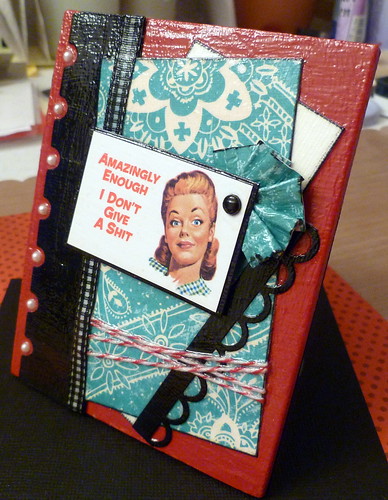
This is what I came up with:
Tacky Shoes

I was going to bind it together using my Zutter Bind-It-All, but decided to use rings instead. I thought that was a better choice when she runs out of paper. That makes it refillable. She can just cut some (or I can!), punch two holes, insert the paper and it's ready to go.

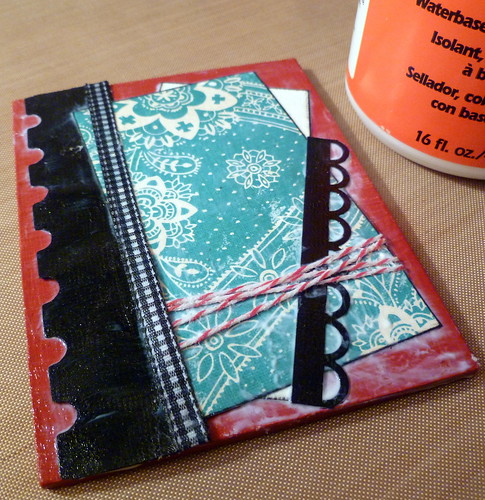
To make this memo pad I cut chipboard to the size I wanted and then ran it through my Sizzix Big Shot using the Cuttlebug D'Vine Swirls embossing folder. I then covered the chipboard with Gesso and let dry. Using Making Memories acrylic paint, I mixed the colors Spotlight and Nutmeg together and painted over the Gesso. After that dried, I took acrylic paint in Espresso and mixed it together with Mod Podge and painted over the chipboard. I then wiped it off with a baby wipe. When it was completely dry, I wiped Tim Holtz Distress Ink in Vintage Photo over the top.

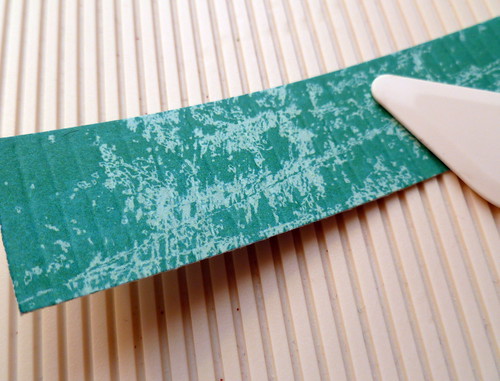
After I cut the cardstock, sticker and ribbon it was time to assemble all the pieces. I mounted the sticker onto a piece of turquoise SEI Linen. Wow! Do I love the texture of that stuff! Using my distress tool, I roughed up the edges.

I adhered everything to the chipboard with Mod Podge and then covered it with another coat. Once dry, I sprayed it with Mod Podge Clear Acrylic Sealer and added the paper and ribbons.

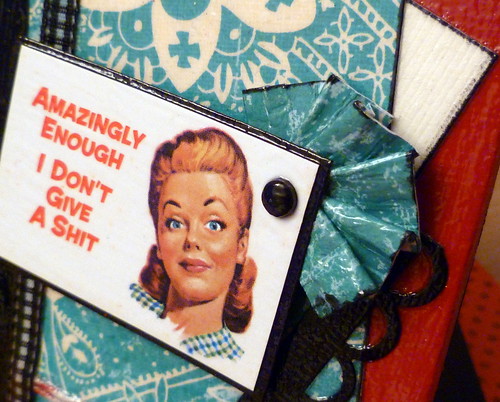
Here's a closer view:
Tacky Shoes1

My youngest daughter has decided that she'd like a plaque also. I'll probably make her a memo pad too. When they're both finished I'll be sure to share them!

Products Used For This Project:
D'Vine Swirls Cuttlebug Embossing Folder
Chipboard
Gesso
Making Memories Acrylic Paint
Mod Podge & Mod Podge Acrylic Sealer
Tim Holtz Distress Ink
Spiteful & Delightful Stickers
SEI Linen
Creative Imaginations Paper Lace
Hero Arts Pearls & Metallic Decor
Misc Cardstock & Ribbon Scraps

Friday, January 21, 2011

Another Sassy Project!

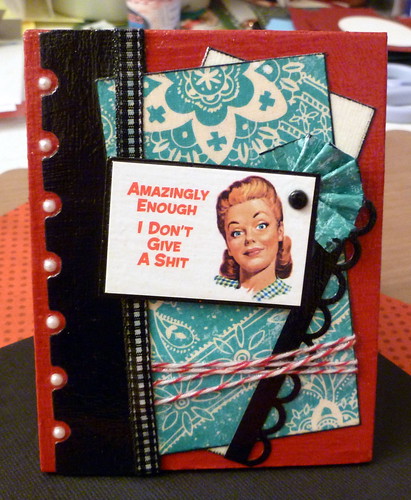
I used the sassy stickers my daughter gave me to make something for her. I thought this would be perfect for her to sit on her desk at work. She always uses this photo on her Facebook page.
Mod Podged Plaque
Here are the steps I used to make this plaque.....
Plaque
I picked up a cheap plaque.
Gesso
I lightly sanded around the edges and added a coat of Gesso.
Paint
I painted it with some Making Memories Acrylic Paint. I wasn't using the center so I didn't even bother covering it.
Coat of Mod Podge
After I figured out my design, I used Mod Podge to adhere everything down. This stuff is fantastic!!
Score
I scored a piece of cardstock to use behind the sentiment. I can't even express how much I adore my Martha Stewart Scoreboard!
Close up
I added this piece to the sticker with a brad, added some foam dots and adhered down. I then added a coat of Mod Podge to the sticker. When it was completely dry, I sprayed on a coat of Mod Podge Gloss Clear Acrylic Sealer to protect it.

Another view...
Side
Now I'll finish the other one I'm making for her. I'll share it when I'm done.

Products Used For This Project: Plaque, Gesso, Making Memories Acrylic Paint, Bazzill Cardstock, BoBunny Patterned Paper, Stickers, Tim Holtz Alterations On The Edge Plaque & Postage Die, Martha Stewart Scoreboard, Ribbon, Mod Podge Gloss Lustre & Gloss Acrylic Sealer, Hero Arts Pearls, Brad, Farmer's Market Twine

Thanks for stopping by!

Tuesday, January 4, 2011

Mod Podged Memo Pad

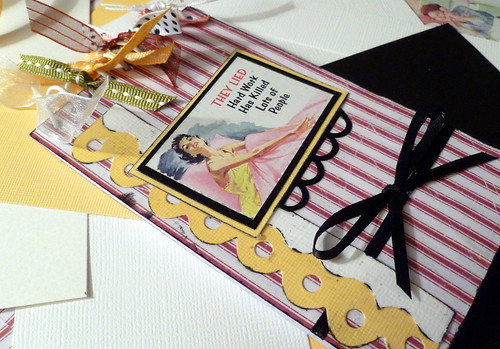
If you're having a bad day, don't you think you should make something fun? I certainly do! My daughter gave me some sassy stickers about two years ago. She knows how much I like them and that I have a weird sense of humor. One is called "Spiteful and Delightful" and the other is "Alpha Bitch". They are perfect these little notebooks!
Mod Podged Memo Pad2
After adhering all the pieces I used Mod Podge to seal it. This stuff is so much fun, I use it for everything! This is another great project for using up your scraps.

Mod Podged Memo Pad

Be prepared to see more of these embellished notebooks and other items I find to use these stickers on. There are a couple that I may not even be able to post because they may be a little over the top!
Products Used For This Notebook:
Memo Pad
Patterned Paper From G.C.D. Studios - Applique From Homespun Chic Collection
Sassy Stickers
Scrap Paper
Tim Holtz Alterations On The Edge Dies - Brackets - Scallops
EK Success Open Scallop Punch
Mod Podge
09 10