Showing posts with label Coasters. Show all posts

Monday, June 4, 2012

Cat Mini Album


Today I'm sharing a mini album I made for my dog groomer. It's a cute 4-inch by 4-inch cat book. I create pet cards for my groomer that she sells to her clients and now she's going to take a few mini albums. I'm starting on a dog one now that I'll share when I finish it.

For the pages I used 4-inch coasters. They are so perfect for this type of project. I picked them up last summer on eBay. I think there were 100 in the pack. I bound the book using spiral binding wires from We R Memory Keepers.

I hung a charm from the binding with jute. I've had alot of my cat embellishments in my stash for quite awhile, so I'm not sure who the manufacturer is.


Here's a top view. I used six coasters for the pages. There are a total of 10 pages and room for 22 photos using the photo mats that are included throughout the book.


For the patterned paper I used DCWV The Pet Stack. The solid papers are also from DCWV. On this page I added dimension by adhering the photo mat with pop dots. I added a brad that says "purr..." On the second page I added a pocket. I used the open scallop punch from EK Success for the border. The pocket holds one photo mat and a tag with cat quote. I typed up three quotes in Word using different fonts and then adhered them to shipping tags.


I left this page blank so the recipient can add a photo or whatever strikes their fancy. On the next page I added a vertical pocket and added a cat quote sticker. I'm not sure who the manufacturer is for this sticker as I used stickers from NRN Designs called Cat Quotes and from Cloud 9 Designs called Simple Thoughts. This pocket also holds two photo mats.


The first page here holds three photo mats and the second one has one mat and one tag. I used another cat quote on the band.


To add dimension to this page I added a metal embellishment to the top of the photo mat. I popped it up with pop dots. I left the next page blank since the paper was so cute. A photo can also be added to it.


On the first page shown here I made a flip book that has five pages. I watched a tutorial on how to make this from my friend Susie over a Creative Cafe. She creates beautiful books! Be sure to check them out if you get a chance. I did make a video of this book that you can see here.

This post is linked to these parties: All Things Fee, Craft-O-Maniac Monday, A Round Tuit, A Marvelous Mess, Inspire Me Monday, Handmade Tuesdays, Made by you Monday

Thanks for stopping by!

Wednesday, December 28, 2011

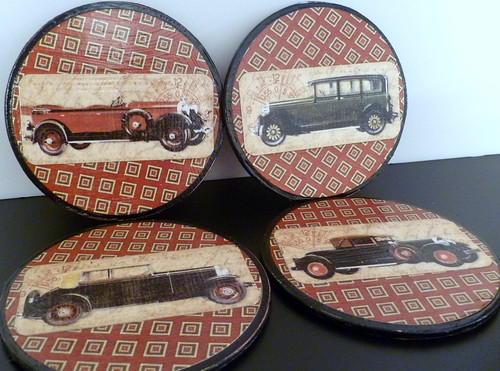
Mod Podged Car Coasters

Mod Podged Car Coasters

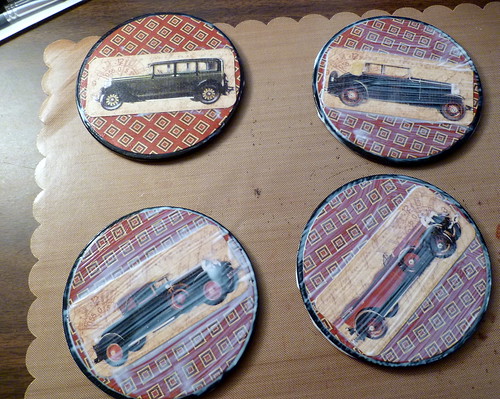
I gave this set of coasters I made to my brother for Christmas. He liked them so much that he asked me to create a set of six using another image for him.

Mod Podged Car Coasters

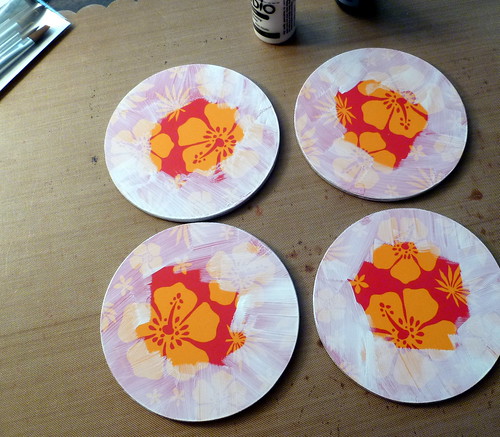
I found these coasters for a steal of a price, but I needed to make them a little more presentable!

Mod Podged Car Coasters

My first step was to cover the edges with Claudine Hellmuth's Studio Gesso.

Mod Podged Car Coasters

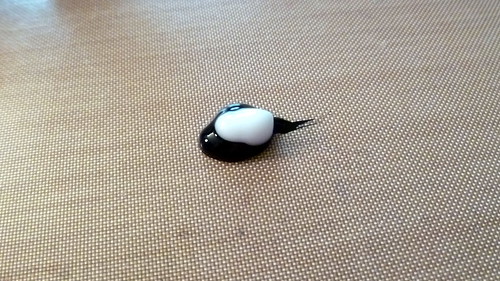
I then added some of Claudine's Charcoal Black Studio paint and some Extra Time Studio Slow-Dry Medium onto my craft sheet.

Mod Podged Car Coasters

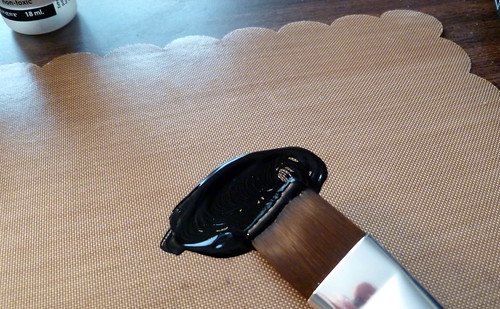
I swirled them together with one of my brushes. I bought the whole set of Ranger brushes at Archiver's and I love them!

Mod Podged Car Coasters

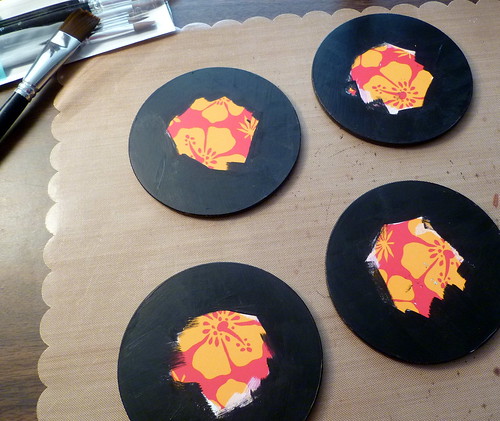
I painted over the gesso with the Studio charcoal black paint. I didn't need to paint the whole coaster because I knew I was going to cover the center with cardstock. I added two coats of paint and made sure it was completely dry before starting the Mod Podge process.

Mod Podged Car Coasters

Before I started my project I chose what patterned paper I wanted to use. This is an older collection from Graphic 45 called "On The Boulevard & Haberdasher" from the "A Proper Gentleman" collection. I love all of their collections! I don't care how old any patterned paper is that I use from any manufacturer. I use whatever fits what I'm creating at the time and what I like. Since I'm a paper hoarder, I have to use what I have!

Mod Podged Car Coasters

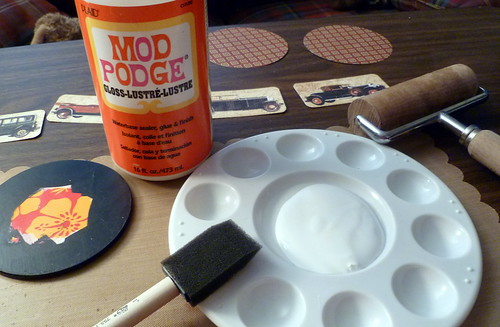
I gathered all my supplies to start the Mod Podge process. That handy dandy roller on the top right in the photo is actually something I bought years ago from Pampered Chef. It's supposed to be used to rolling out pizza dough. I think I used it once! One day I needed something to smooth out a project and well, the rest is history! It's become a handy tool in my craft room. I use it alot!

Mod Podged Car Coasters

This is where you have to work quickly because you don't want the Mod Podge to dry. First I spread a layer of  Mod Podge onto the coaster.

Mod Podged Car Coasters

I added it to the back side of the paper I was putting onto the coaster.

Mod Podged Car Coasters

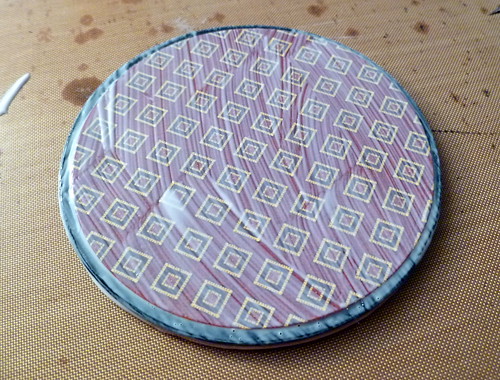
I smoothed the paper on the coaster. I didn't cut my paper to go to the edges since I wanted the black to show. Once the paper was on, I added another coat of Mod Podge.

Mod Podged Car Coasters

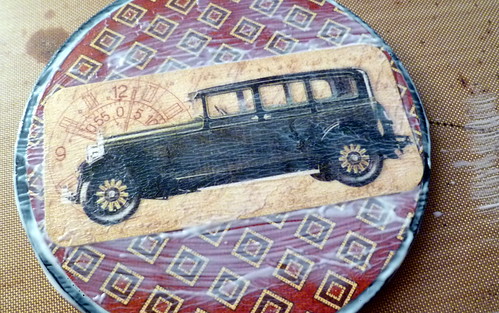
I then added the car I had trimmed out and another coat of Mod Podge.

Mod Podged Car Coasters

You can see where it's starting to dry in this photo.

Mod Podged Car Coasters

All four are ready to completely dry.

Mod Podged Car Coasters

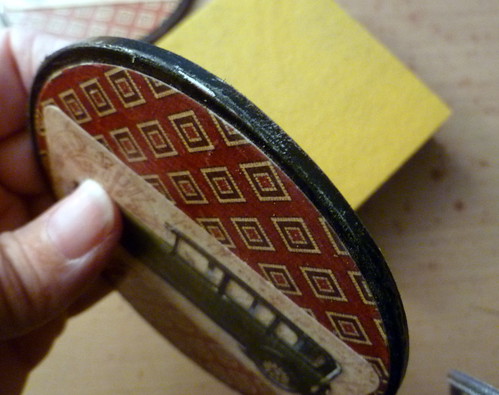
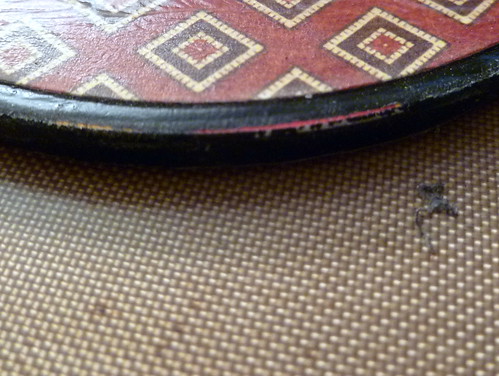
I wanted to rough up the edges a little, so I sanded them.

Mod Podged Car Coasters

I sanded them so that the original color would start to peek through. You couldn't even tell that it was pink. After the coasters were completely dry, I sprayed them with a clear acrylic sealer from Plaid.

I love working with Mod Podge! Coming up in another post is a canvas I made for one of my daughters for Christmas.

I hope everyone is enjoying the holidays!

Products I used for this project: Purchased coasters, Claudine Hellmuth Studio Paint, Gesso & Extra Time, Graphic 45 Patterned Paper - A Proper Gentleman Collection: On The Boulevard & Haberdasher, Mod Podge.

This post is linked to these parties: Made by you Monday, Tip Me Tuesday, Whatever Goes Wednesday
09 10