Showing posts with label Chipboard. Show all posts

Monday, November 25, 2013

12 Days Of Christmas Mini Book


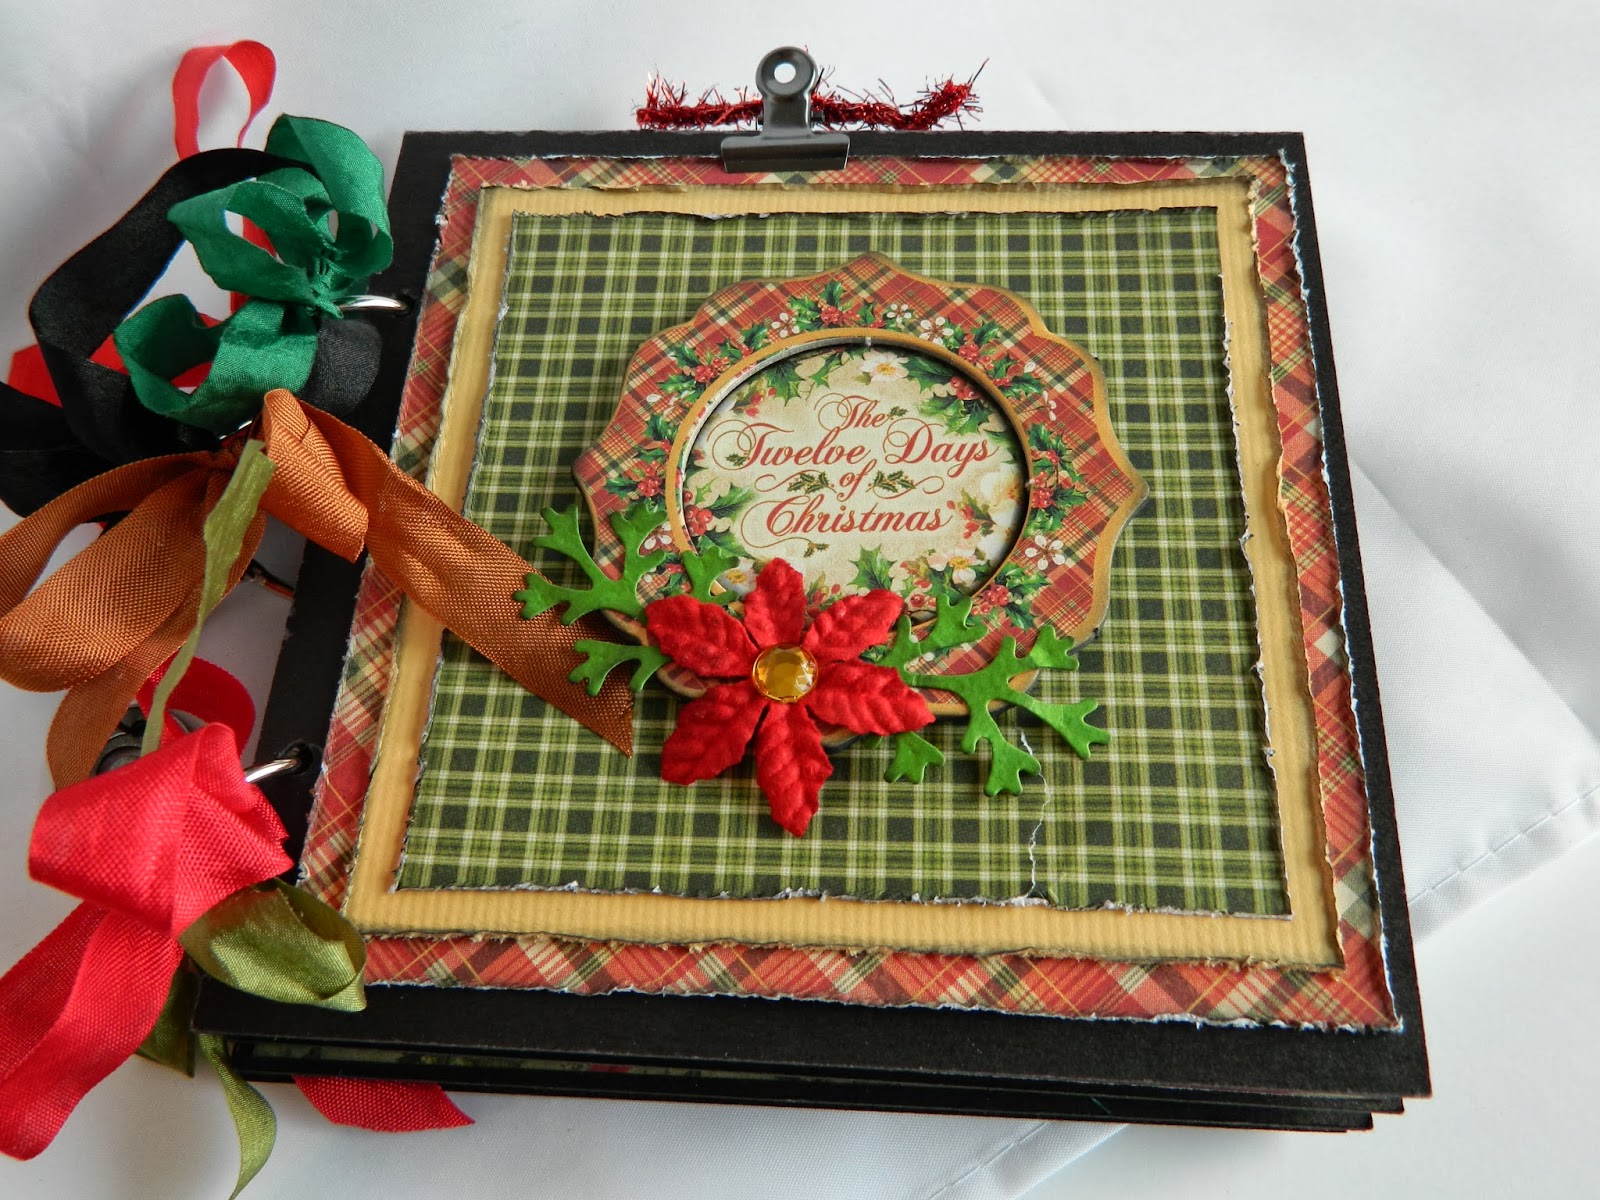
I finally finished the first mini album I've been able to make in months! I have quite a few collections that have been waiting patiently for me to be able to create with. With this Graphic 45 12 Days of Christmas collection I decided to make four books. Two will be 6x6 and two will be 4x6. I'll use the scraps if there are any left for card making. 


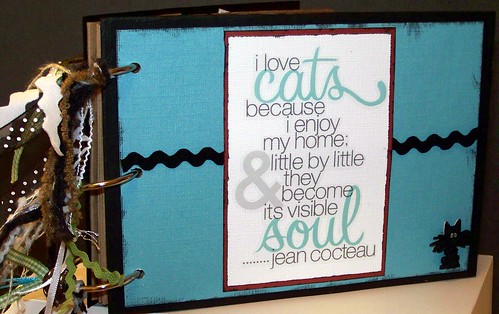
I decided to go with a ring binding. For some reason that I can't explain, this is my favorite binding to use for books. I can do other types, but always come back to this type. I used chipboard from the collection for the image on the front cover. The foliage is a die cut I made from a Spellbinders die. The poinsettia is from Hero Arts that I had in my stash. The gemstone in the center and throughout the book were from a package I picked up at the Dollar Store when I lived in Wisconsin. Seam binding is tied onto the rings that I purchased from Really Reasonable Ribbon. In the first photo you can see the Tim Holtz Swivel Clasp with the Muse Christmas token that I've hung from the rings on the binding.   


There are a total of eight pages which include the inside of the front and back cover. I've added mats for photos throughout the book. The left page above shows one of the pockets from the collection that holds a small tag. The right page shows one of the banners from the collection.


The page on the left holds mats that are kept closed by a magnet closure. You can see another view below. The tabs were punched using my We R Memory Keepers Tab punch. The flowers on the right page are from the collection.


I created a small pocket to hold mats and tags for photos or journaling. The edge of the pocket was cut using the Torn Notebook On The Edge Die from Tim Holtz. The page on the left holds a tri-fold photo mat. The two photos below show more detail.


The page on the left has been left to hold a larger photo. The left page holds a large photo mat with a pocket behind it. The photo below shows the mats and tags that it holds.


The back cover has been left with just patterned paper. This could also hold a photo.


This is really a beautiful collection! I've got a few more things to finish on the other books and then I'll share them with you too!

This post is linked to these parties: All Things Fee, Craft-O-Maniac Monday, A Round Tuit, Marvelously Messy, Made by You Monday

Thanks for stopping by!


Saturday, December 1, 2012

Maya Road Warehouse Sale

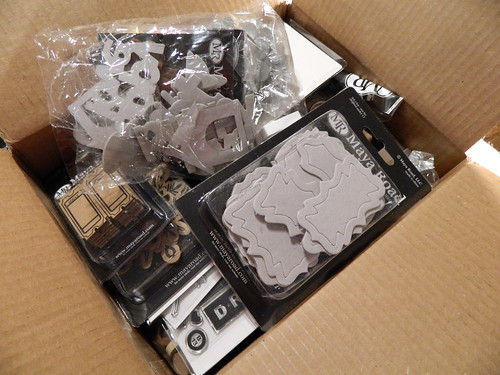
Maya Road Warehouse Sale Box 

I received my Maya Road Winter Wonder Warehouse Kit today! I love it! This was my first time ordering one and I'm pretty positive I will do it again the next time they offer them. It's loaded with chipboard products. It contains a lot of chipboard books plus a canvas and an acrylic one. There's also some flowers, stamps, tickets, letters and other assorted chipboard and canvas items. I thought it was well worth the money. They do have some still available here.

Here's a video showing more of the product:


If you make books I think this is a great deal. If you don't then you may not be as excited about it.

Thanks for stopping by!

Friday, July 27, 2012

Chipboard Mini Album


Here's another mini book using up my scraps of paper from Graphic 45's Christmas Emporium collection from last year.


It was such a fast book to put together. I used five 6 x 6-inch pieces of black chipboard and used my Cinch for the binding.


There are a total of eight pages including the inside of the front and back covers.


Two pages have a pocket that holds two tags that have room on the back of each for a photo and one tag for journaling.


This page has a flip up mat that holds two photos. I added red jute around it to keep the mat closed.


The rest of the pages are ready to just adhere a larger photo or multiple smaller ones.


I've left the back cover plain rather than adding patterned paper.

I still have a few sheets of 12 x 12 paper left, but not enough for another book. I'll use those and the rest of the 8 x 8 paper  for cards or layouts.

This post is linked to these parties: Delicately Constructed Friday, Chic and Crafty Party, Pity Party, Find a Friend Friday

Thanks for stopping by! Have a great weekend!
Thursday, January 27, 2011

Tacky Memo Pad

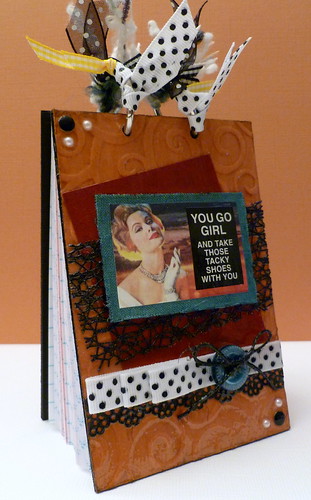
Recently I made a plaque for my daughter's desk at work. I was going to make her another one, but she said she wanted a memo pad like I made here instead.
This is what I came up with:
Tacky Shoes

I was going to bind it together using my Zutter Bind-It-All, but decided to use rings instead. I thought that was a better choice when she runs out of paper. That makes it refillable. She can just cut some (or I can!), punch two holes, insert the paper and it's ready to go.

To make this memo pad I cut chipboard to the size I wanted and then ran it through my Sizzix Big Shot using the Cuttlebug D'Vine Swirls embossing folder. I then covered the chipboard with Gesso and let dry. Using Making Memories acrylic paint, I mixed the colors Spotlight and Nutmeg together and painted over the Gesso. After that dried, I took acrylic paint in Espresso and mixed it together with Mod Podge and painted over the chipboard. I then wiped it off with a baby wipe. When it was completely dry, I wiped Tim Holtz Distress Ink in Vintage Photo over the top.

After I cut the cardstock, sticker and ribbon it was time to assemble all the pieces. I mounted the sticker onto a piece of turquoise SEI Linen. Wow! Do I love the texture of that stuff! Using my distress tool, I roughed up the edges.

I adhered everything to the chipboard with Mod Podge and then covered it with another coat. Once dry, I sprayed it with Mod Podge Clear Acrylic Sealer and added the paper and ribbons.

Here's a closer view:
Tacky Shoes1

My youngest daughter has decided that she'd like a plaque also. I'll probably make her a memo pad too. When they're both finished I'll be sure to share them!

Products Used For This Project:
D'Vine Swirls Cuttlebug Embossing Folder
Chipboard
Gesso
Making Memories Acrylic Paint
Mod Podge & Mod Podge Acrylic Sealer
Tim Holtz Distress Ink
Spiteful & Delightful Stickers
SEI Linen
Creative Imaginations Paper Lace
Hero Arts Pearls & Metallic Decor
Misc Cardstock & Ribbon Scraps

Saturday, July 10, 2010

Gaal Creative July Challenge: Animals!

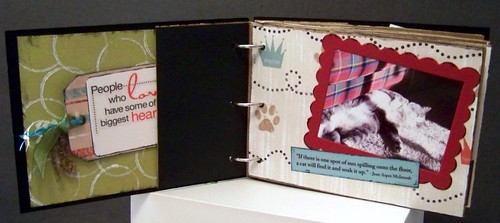
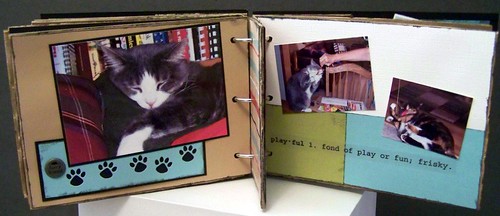
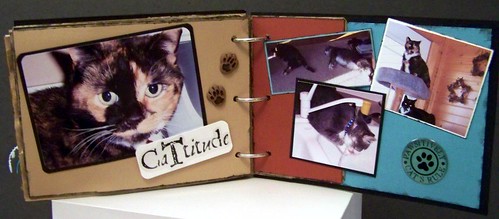
I made this fun mini-book for the challenge going on until July 19th over at Gaal Creative. The winner will have a $30 donation in their name donated to A Place To Bark. What a fantastic organization, if you get the chance check it out.

This paper bag book was relatively inexpensive to make considering I used all the products from my stash. Oh....I did buy a pack of paper bags at the Dollar Store for you guessed it.... $1. I love all the extra flaps and the fact that there are pockets on every page. I glued my pockets together since I didn't plan on putting anything in them. I still have room to add a few extra pictures if I choose to, but for the most part it's finished.


Cat Mini Book


Cat Mini Book

Calvin is the gray and white cat. He's no longer with us and was the most photogenic of all the cats. He always posed for pictures!

Cat Mini Book

The black and white cat is Oscar. He's a sweet cat, but a little of Oscar goes alooong way! This cat took to me from the day we brought him home and he's constantly glued to my hip.

Cat Mini Book


Cat Mini Book


Cat Mini Book

Carmel (a.k.a Baby Girl) is the calico. This cat has an attitude! Even the dog is afraid of her. She's very sweet by nature and always wants to sit on your lap. She never liked me until all the kids moved out.....now she thinks she's my best friend.

Cat Mini Book

After completing the book, I do have a new appreciation for stickers. I've never been a fan of stickers and don't use them very often. I have a ton of them! When I first got into scrapbooking I bought them whenever I saw them. They sure came in handy in making this book.

I really enjoyed making this project and now I'm all fired up to make a book for my dog. Since we're moving in a few weeks, I'll have to try to complete it before I pack up my scrapbook room.

Products Used:
Paper Bags, Chipboard, Bazzill Cardstock, Patterned Paper By Autumn Leaves, Stickers From Various Manufacturers, Ribbon, Gesso, Making Memories Acrylic Paint, Challenge from Gaal Creative.

Thanks for stopping by!
Thursday, June 10, 2010

A Walk Up The Strip

I actually had a sketch picked out for this layout before I had even chosen my photos. Once I had everything together, I just couldn't make it work though. I tried in vain to find another sketch that might work better, but I wasn't having any luck. So, I just flew by the seat of my pants and this is what I came up with!

A Walk On The Strip


It was a beautiful day when I took these pictures of my husband, stepson Kyle and his friend Josh as we walked up Las Vegas Blvd on our long trek to the Stratosphere Hotel & Casino. We made the trip thinking that the boys might want to ride the Big Shot. They chose not to. Hey, I don't blame them. You couldn't pay me to do it! But then I'm a chicken and don't go for that sort of thing. My idea of a ride is to take a train ride around an amusement park, so I stay as close to the ground as possible! I knew that the hubby wasn't going to do it again. We got married in Las Vegas and he rode it then with my brother and our maid of honor the day after our wedding. It's 110 stories to the observation deck, so I declined to even go up there this time. Steve did get some great pictures of the strip from the top for me to use in scrapbooking, so that's a plus.

Supplies used for this layout: Bazzill Cardstock, Crepe Streamer in Apple Red, Chipboard, Diecut Sticker by Reminisce, Bazzill Jewels, Creative Imaginations Foam Alphabet Stickers.

Thanks for stopping by!
Thursday, April 29, 2010

Note Pad Holders

Wow, time has just flown by this week. I never did get to participate in any of the challenges I had planned on. When I finally had some time to sit down today, I wasn't feeling very creative to make cards. I thought I'd try making some post-it note holders.

Notebook


For the one above I used a small composition notebook. I also inked and sanded the edges. I inked some lace for the edging and used my Sizzix Wingo Zingo alphabet for the letters. While I was in the process of using my Big Shot with the die my cutting pad broke into a few pieces. I've never had that happen before.

Binder Clip Note Pad Holder


I love this one! To make my base sturdy enough, I used three pieces of chipboard. I also used Coredination's Cardstock in Burnt Sugar and inked and sanded the edges. Instead of using ribbon, I used some Boucle Yarn.

Note Pad Holder


Note Pad Holder


This one was super easy. I just scored my Bazzill Cardstock leaving a little extra space on the left side, embellished it and used removable glue dots for the pad inside so that the cover can be reused.

Friday, January 22, 2010

Pals Paper Arts Challenge PPA26

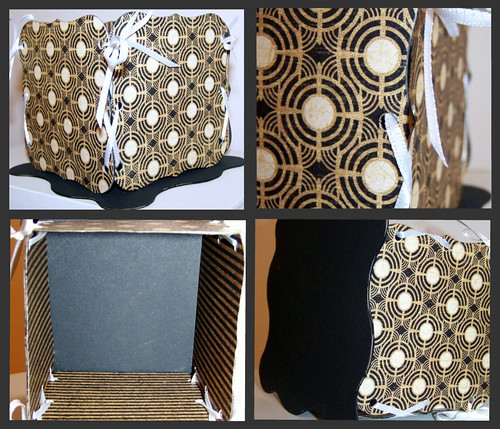
Over at Pals Paper Arts this week, there's a challenge going on for Anything BUT A Card - PPA26. It just so happens that I just finished a box I had been working on, so I was able to enter the challenge.

To create this box I used chipboard, Nestabilities - Labels One, ribbon, Crop-A-Dile and patterned paper from Graphic 45's Communique Collection called Shutter Speed. I used my Creative Memories cutting system for the bottom of the box.

Box


I haven't exactly figured out what I am going to use this box for yet. I'll more than likely keep it on my scrapbook table and use it for cardmaking related items.

09 10