Showing posts with label Your Book Of Memories. Show all posts

Friday, June 14, 2019

Oh Happy Day Folio

Oh Happy Day Folio 

Another winning tutorial from France Long over at Your Book Of Memories!

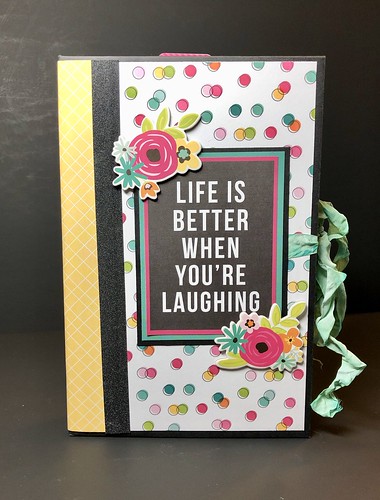
I used the Oh Happy Day! collection by Simple Stories for this folio. 

This paper collection is so bright and cheerful, I love it!

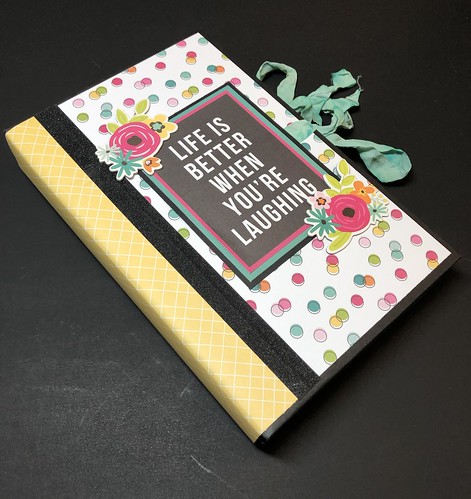
On the cover I used some of the chipboard pieces and one of the cut-parts. 

Oh Happy Day Folio 

On the back cover I used another cut-apart from the collection and some of the chipboard hearts. 
Oh Happy Day Folio 

For my tie closure, I took some white seam binding and dyed it with some evergreen bough distress ink from Tim Holtz. 

Oh Happy Day Folio 

On the front and back cover I used some black washi tape from Tim Holtz.

It has a little sparkle to it. 

Oh Happy Day Folio 

This book measures around 5-1/2 inches wide by 8-1/2 inches tall.

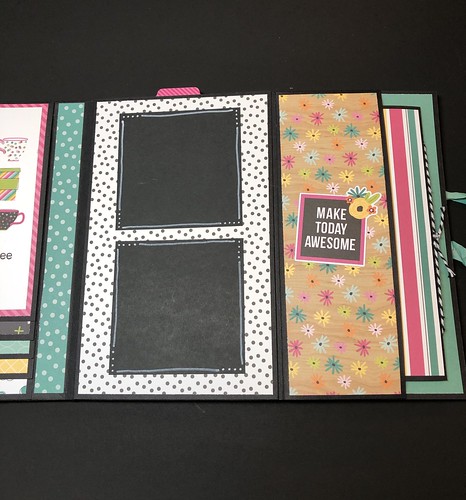
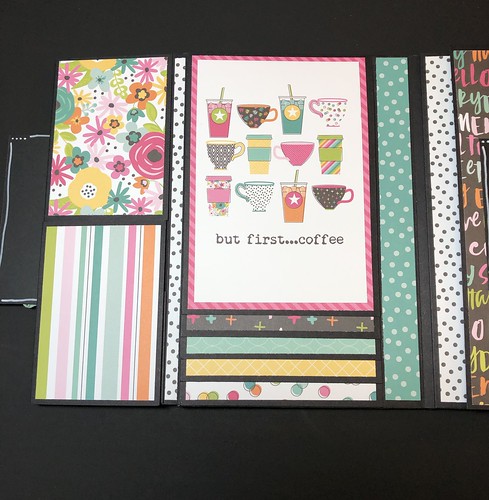
On the right side there's a flap that opens to the right and to the left.
Oh Happy Day Folio 

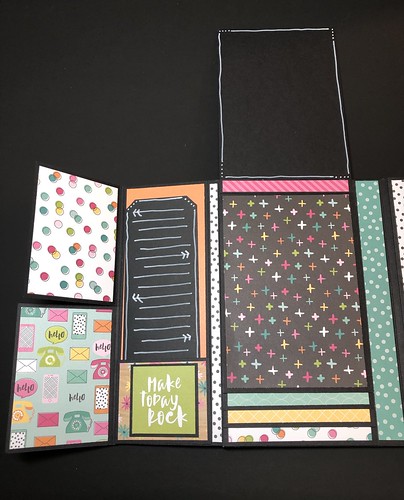
When the right flap opens there are two smaller flaps that open to show a small pocket with a journaling tag. There's also a waterfall that holds eight photos. 
Oh Happy Day Folio 

Oh Happy Day Folio 

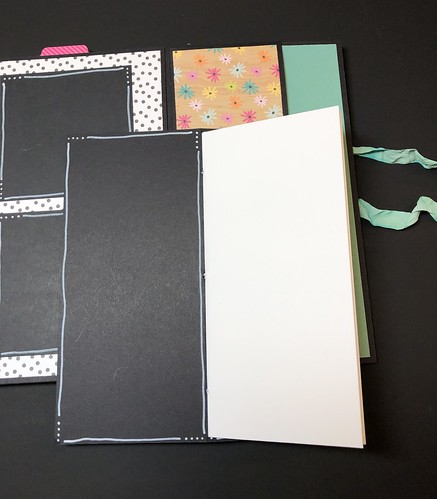
The left side opens to reveal a pocket.

Oh Happy Day Folio 

This pocket holds a booklet that has eight pages for journaling or photos can be added.
Oh Happy Day Folio 

Oh Happy Day Folio 

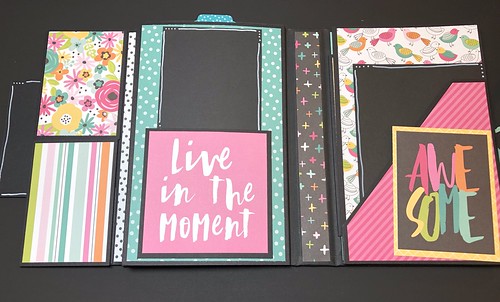
The next section has a small pocket with a photo mat.

Oh Happy Day Folio 

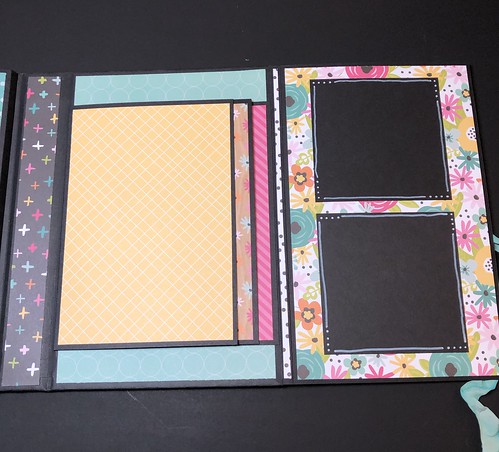
There's also a large pocket that houses a larger photo mat.

The next page has another pocket that holds another photo mat. 
Oh Happy Day Folio 

When this page is opened to the left it reveals another waterfall that will hold five photos.

There's also a page for two small photos. 

Oh Happy Day Folio


Even though I've make larger books, I much prefer creating smaller ones. It's not that they're easier, I just love how you can pack so much into such a small book. 

This book would be perfect for just random photos of everyday life. There are so many fun sentiments in this collection that will look great added on top of photos once they are adhered to the photo mats. 

Thanks for taking the time to stop by!

Saturday, June 8, 2019

Travel Gatefold Folio

fullsizeoutput_2ada

I've finally finished this Gatefold Folio that I started working on the end of April.

I'm so happy with how it turned out! This book for my daughter. I told her I would make a book for her and had planned to make it as Christmas gift. Well, that didn't work out. I knew what paper collection I wanted to use, but I didn't know what type of book I wanted to create. 

I purchased this paper collection from Paper Phenomenon called Flight 2715 quite a while before I decided on a project. I finally settled on the Gatefold Folio that Frances Long from Your Book of Memories created. 

It probably wouldn't take a normal crafter as long to finish it as it did for me. Working full-time and only maybe getting an hour or so each evening if that to craft isn't much time. I try to get as much done on the weekends as I can, but that doesn't always pan out either. The good news is that I'm not working anymore so hopefully I will have more time for crafting!

I followed the tutorial pretty much exactly as Frances created it, but there were a few things I did a little differently. After making this, I know that next time I may change up a few other things. That's the beauty of her tutorials. You're mind is always thinking of different ways to either add or take away something. 

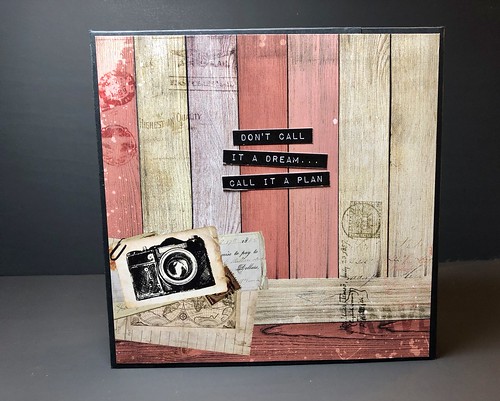
I decided to add a collaged piece to the front. I added magnets so that the whole piece just lifts off. 

fullsizeoutput_2adc

This is the patterned paper I used of both sides of the spine.

fullsizeoutput_2ade

On the back cover I adhered some words I cut apart from the collection.

fullsizeoutput_2ae0

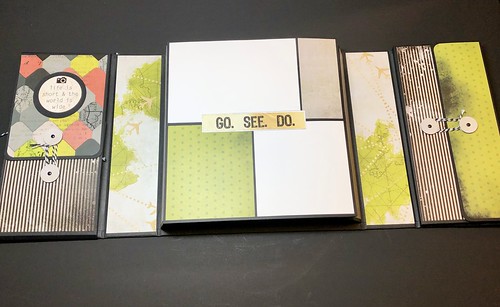
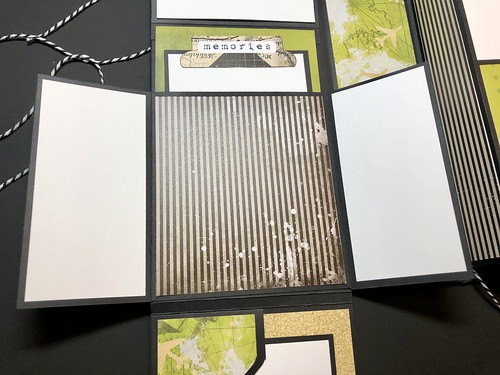
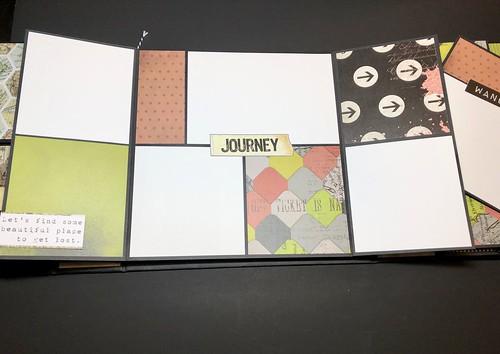
When you open the folio you see each side and the center.

fullsizeoutput_2ae2

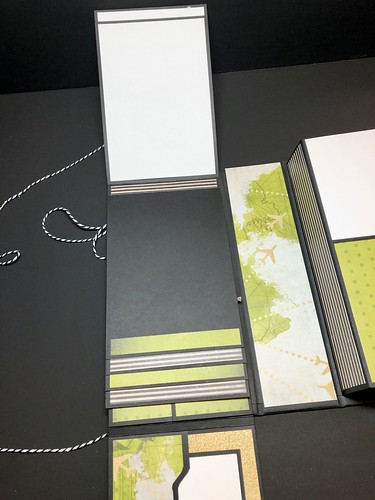
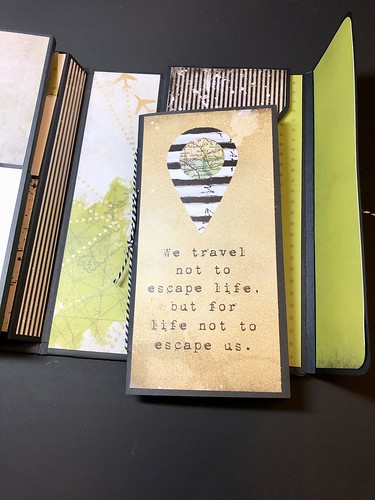
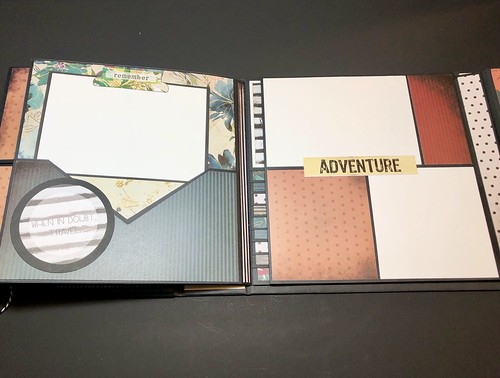
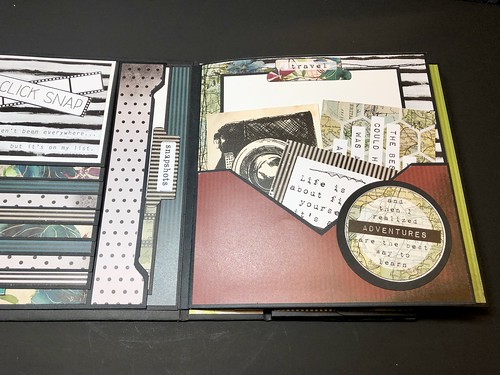
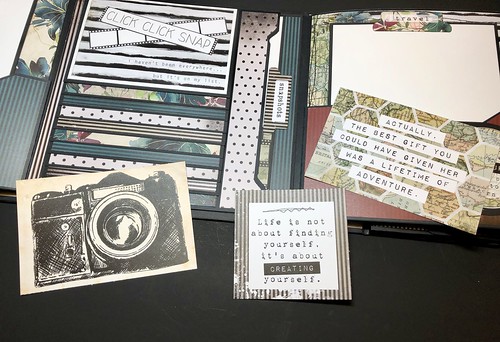
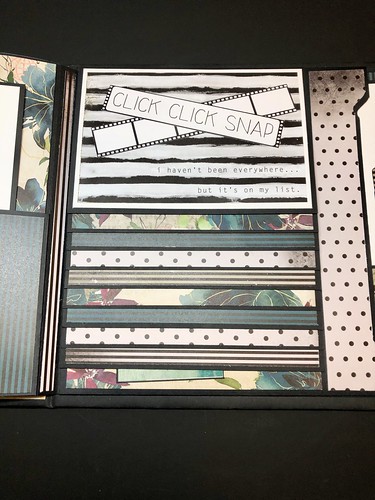
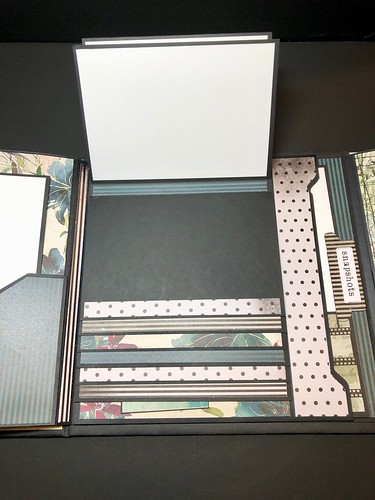
The left side opens to show a vertical waterfall with a pocket on each side that holds a photo mat.

fullsizeoutput_2ae4

fullsizeoutput_2b0a

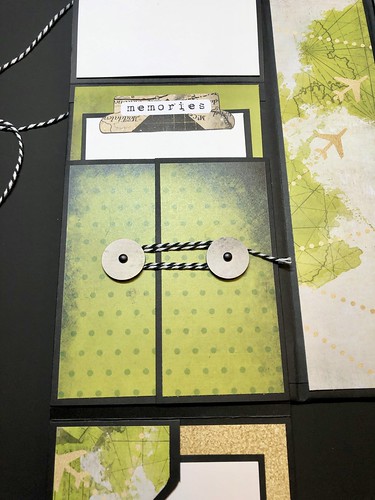
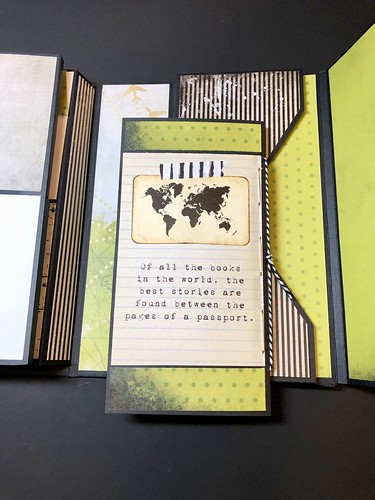
There are two flaps that open to reveal another pocket with a mat and places for journaling. 

fullsizeoutput_2b0c

fullsizeoutput_2ae6

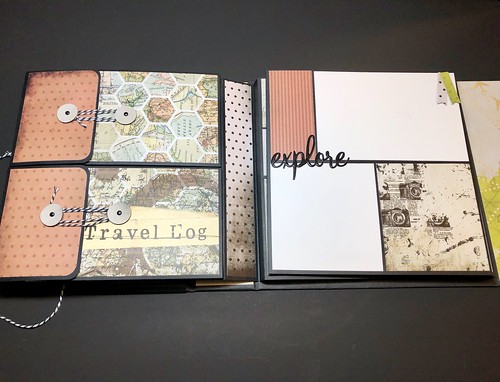
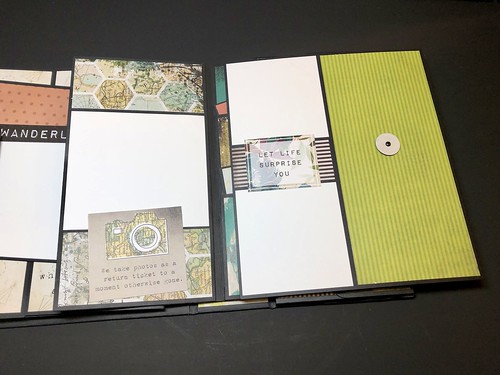
On the right side there's a pocket that opens to reveal a booklet for journaling. 

fullsizeoutput_2ae8

fullsizeoutput_2aea

fullsizeoutput_2aec

fullsizeoutput_2aee

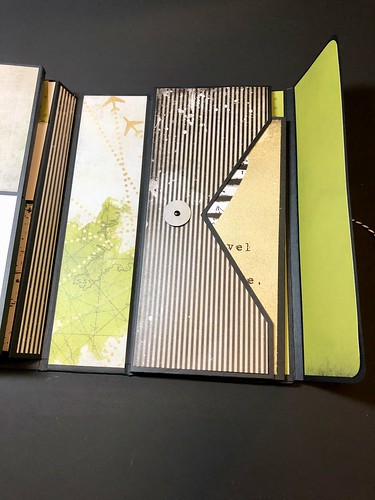
The first flap opens to the right and reveals two expandable pockets that will hold photos or memorabilia.

fullsizeoutput_2af0

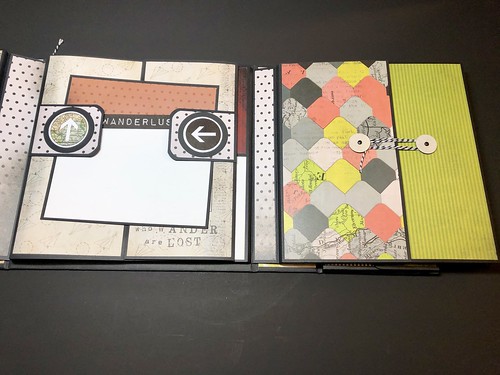
The next flap opens to reveal a page that opens to hold more photos.

The flaps with the arrows hold the photo mat in place to keep the page closed.

fullsizeoutput_2af2

fullsizeoutput_2af4

The next flap opens up to reveal more photo spaces.

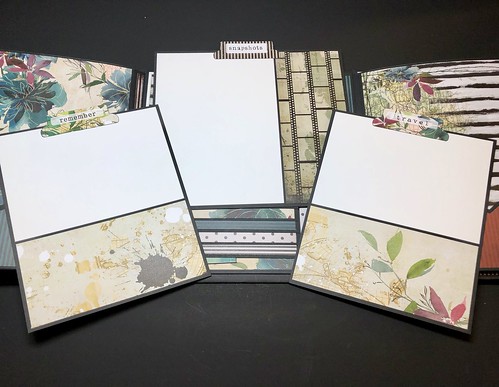
There are also two stacked pockets with photo mats inside.

fullsizeoutput_2af6

fullsizeoutput_2af8

fullsizeoutput_2afa

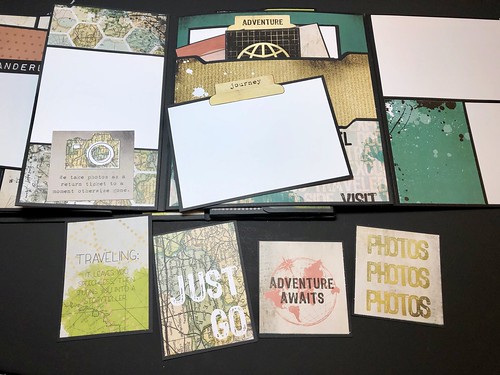
The next flap opens to the right and another one to the left. There is a pocket on each side.

Each pocket holds more photo mats. 

fullsizeoutput_2afc

fullsizeoutput_2afe

fullsizeoutput_2b00

fullsizeoutput_2b02

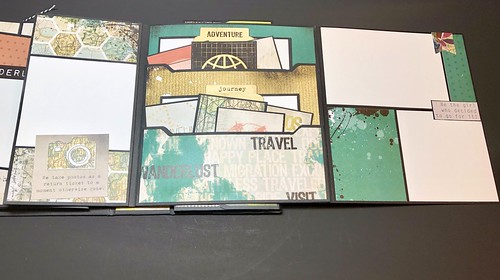
The final page holds a horizontal waterfall.

There's also another pocket to the side that holds a photo mat.

fullsizeoutput_2b04

fullsizeoutput_2b06

I cut apart one of the sentences on one of the ephemera sheets and adhered it to the back of the waterfall. 

I loved making this Gatefold Folio and will definitely make another one. I love Frances Long's tutorials!

I didn't have a lot of ephemera to decorate with. I spent time looking for stickers and other items prior to and while I was working on this. The paper collection didn't come with any stickers or chipboard pieces. I used the few items I fussy cut out of the paper sheets. The rest of the items I used dies that I had in my stash and a few odds and ends that I picked up either at Michaels or Hobby Lobby. Once may daughter adds photos more stickers and ephemera can be added. 

I know this post was a little photo heavy but it's the only way to show each page in detail.

Thanks for taking the time to stop by!

Wednesday, April 24, 2019

8 X 8 Baby Boy Album

8x8 Baby Boy Book 

I finally finished this album!! 

This baby album took a little longer than I anticipated.  My cousins wife saw a baby girl album I made about three years ago. She asked me if I would make one for her son when they had a baby. They are having their first baby in June. I got it finished in plenty of time. 

When you are working on a project and you only have an hour (if even that) at night after work and weekends to work on it, it seems like it takes longer than it should to finish it. I cannot wait for the day when I'm either not working or working part-time so I have more creative time!

I followed a tutorial from Your Book of Memories for this book. I did do a few things a little differently but that's the beauty of tutorials. They are just a guide and you can make whatever your working your own. I want to give a big shout out to Frances from Your Book of Memories because she is an excellent teacher! I will be making more of these books in different themes. 

This post is very photo heavy. I used the paper collection Bundle of Joy from Echo Park for this book. I used two collection kits. From my stash I used white seam binding, string, a die from Sizzix called squares framelits and the double stitched circles from Our Daily Bread. 

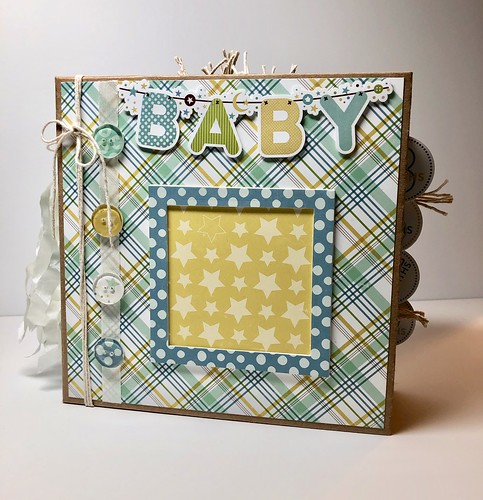
For the buttons on the front cover I had a horrible time trying to search through my collection to find just the right ones to use. I finally gave up for the night when I was working on this part because I couldn't make a decision. The next morning I had a brainstorm while having coffee but I could do anything because I had to go to work. All day I thought about what I wanted to do. When I got home I went straight to my craft room and looked for some clear buttons I have from Hero Arts. I glued them to some of the paper scraps. I then went about doing other things I had to get done. Later when I had time to craft I used my craft knife to cut around the buttons and sanded them little. I love how they turned out and they match the collection!

For the frame on the cover, I die cut several pieces using a Sizzix framelits die and stacked them together. The right side is open so a photo can be inserted.

8x8 Baby Boy Book 

I made a tassle of sorts for the spine. 

I love using crinkled seam binding. 

8x8 Baby Boy Book 

I ended up making seven buttons. Four for the cover and three for the spine. 

I didn't wrap the spine like Frances did in the tutorial. 

Sometimes I will use sticky back canvas not the spine, but I liked this one without doing that. 

8x8 Baby Boy Book 

The back cover is pretty plain. I used a cut apart from the collection and mounted it on cardstock.

8x8 Baby Boy Book 

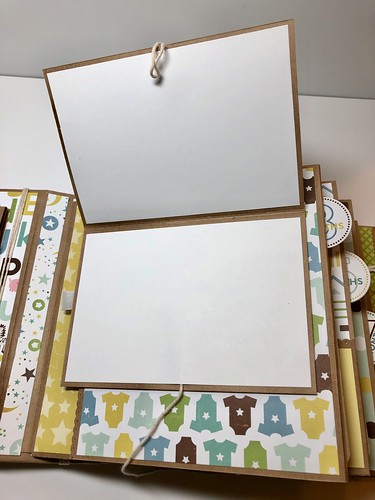
The from inside cover gave me a few issues. 

I had no luck adding the expandable pocket as shown in the tutorial.

I ended up doing it a different way. It worked and I'm happy with how it turned out. 

8x8 Baby Boy Book 

There are many flips and flaps in this book. I love it!

8x8 Baby Boy Book 

8x8 Baby Boy Book 

Lots of pockets and places for tags and photo mats!

8x8 Baby Boy Book 

8x8 Baby Boy Book 

8x8 Baby Boy Book 

There are tons of journaling spots!

8x8 Baby Boy Book 

8x8 Baby Boy Book 

8x8 Baby Boy Book 

8x8 Baby Boy Book 

8x8 Baby Boy Book 

8x8 Baby Boy Book 

8x8 Baby Boy Book 

8x8 Baby Boy Book 

The photo above and the ones below are the photo mats that pull out of the pocket on each page.

I've shown both front and back.

8x8 Baby Boy Book 

8x8 Baby Boy Book 

8x8 Baby Boy Book

If you are interested in this tutorial, here's a link to it. 

I have to put a few finishing touches on some smaller books I have. 

One I started last October. The book is finished I just have to embellish it. 

After that I'm starting a travel album for my daughter. 

If you follow me on social media, I share updates of my projects as I work them. 

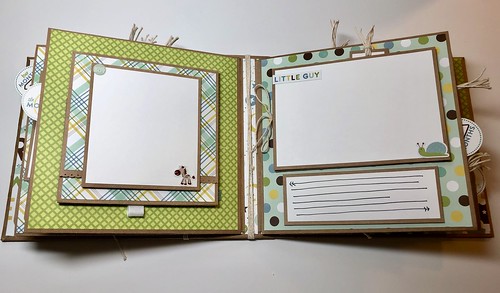
I love this little chunky book! It's kinda heavy too!

Thanks for stopping by!
09 10