Showing posts with label Mini Album. Show all posts

Tuesday, July 2, 2019

Mini Junk Passport Book

Mini Junk Journal 

I have been collecting ephemera for making junk journals for years.

When I lived in Wisconsin I used to wander around the Antique stores looking for anything that could be used in a junk journal, even though I hadn't really started making them yet. 

In 2012 when I was visiting relatives in Kentucky we went to the Milton Flea Market in Milton, West Virginia. We had first gone there in 2007 and loved it! I picked up quite a few old books that I've kept stashed away in my craft room. I take pages out of the books every now and then to use in projects. My plan is to take all the pages out of each book and makes signatures to add inside and then embellish the books. I'm going to be visiting that Flea Market very soon!

When I moved back to Minnesota after my husband passed away in 2013, I went to Junk Bonanza. I found a dealer that was selling ephemera packs. I was thrilled! I picked up five of them. They've been sitting in a drawer patiently waiting to be used in junk journals.

I've also been collecting ephemera from Tim Holtz and I've got some in my stash from 7Gypsies. Actually I collect anything that looks like it will fit in my idea of what should go in a junk journal. 

I started this book about a week and a half ago. I took a break from crafting for a few days and just finished it last night. For this little junk journal I used the Sizzix Scoreboards XL die by Eileen Hull called Passport Book. I have two other journal dies by Eileen that I'll be using soon. I've had these dies for awhile because I've been collecting! I did buy some Sizzix Little Sizzles Mat Board, but for this project I just used chipboard. 

I used the Engraver collection by Prima for this book. I have all the embellishments for the collection but I only have the 6x6 paper pad which means whatever I create has to be a small project. I didn't use much for this book so I have plenty of paper left to use. This collection has been retired but can easily be interchangeable with paper from Tim Holtz. You can tell I've had it for awhile since it's retired!

For my cover I used embellishments from the Prima collection and filled in with a quote chip from Tim Holtz, some steampunk buttons (not sure where they came from), and a key that I have a small bag filled full of. Inside the decorative frame, I used some of the package backing. I just cut out the part I wanted and adhered it to the back. 

Mini Junk Journal 

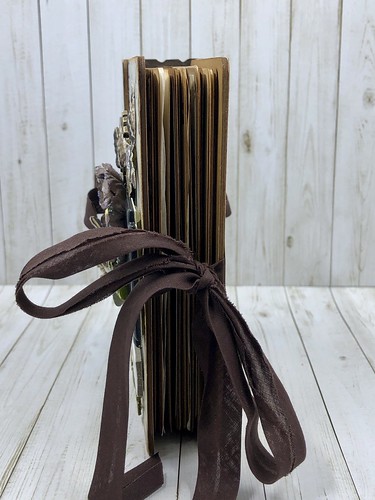
The charm on the spine of the book is one of the Vintage Trinkets from Prima.

The brown seam binding I used for the closure and on the spine came out of one of the ephemera  packs I have. 

Mini Junk Journal 

Mini Junk Journal 

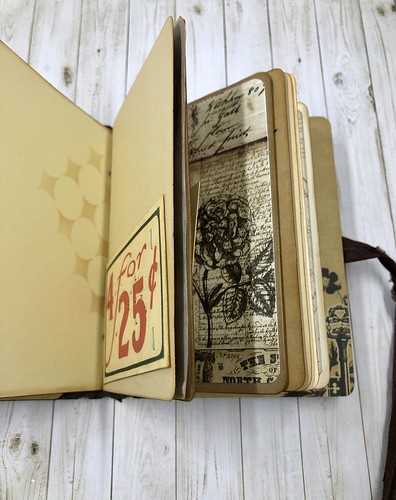
There are three signatures inside this book. 

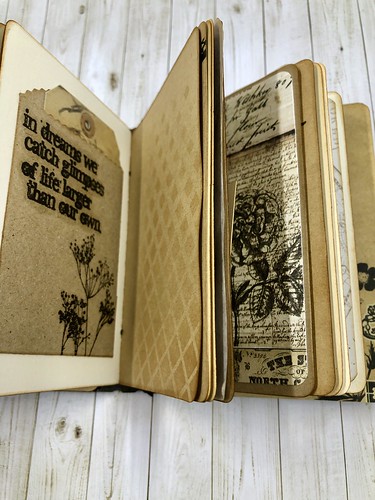
Inside each signature there are pages that I have covered with patterned paper and I've added papers from some of the ephemera packs. I've also added deli paper. Not all the pages have patterned paper added. I've added a pocked here and there using mini paper bags. I've stapled a few items to some of the pages. It's really pretty random. I also used some Tim Holtz washi tape to adhere some tickets to the pages. 

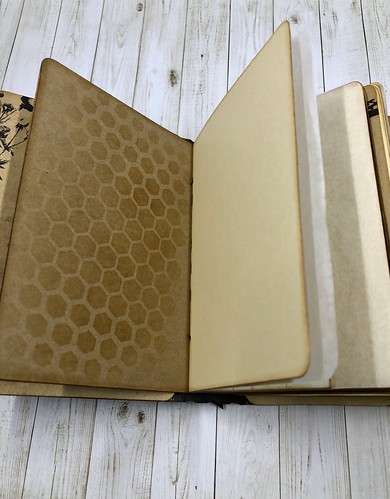
I used several layering stencils from the Stampers Anonymous Tim Holz collection throughout the book with Ranger vintage photo distress ink. I also inked all the edges with this ink. 

The signatures were attached using round electric cord.  

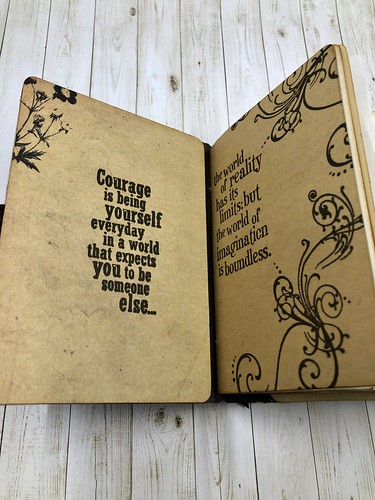
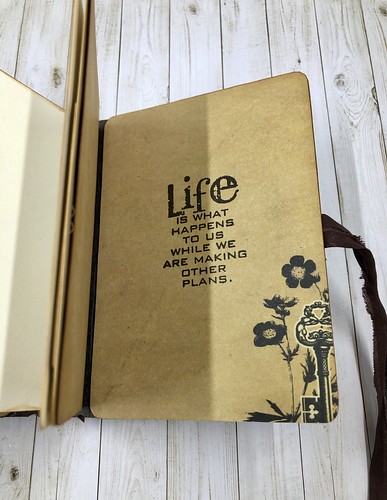
I used several clear and rubber stamp sets that I have in my stash from Stampers Anonymous/Tim Holtz. I stamped on several of the pages and on the covers of each of the signatures. 

Because I couldn't get the pages to lay flat for photos, below I have added a few so that you have an idea of what the inside looks like. 

Mini Junk Journal 

Mini Junk Journal 

Mini Junk Journal 

Mini Junk Journal 

Mini Junk Journal 

Mini Junk Journal 

Mini Junk Journal

Mini Junk Journal

I just love little junkie books so much! 

If you're wondering what you would use these for, they can be used to add photos & journaling. You could also add bits and pieces of memorabilia. 

I have another one that I'm working on, but I haven't decided what I'm going to use for a closure so I've just set it aside for now. I've got about eight projects going on right now! I know that would make some people crazy, but I get bored or my creative process stops and it seems like if I have something else to work on it helps me when I go back to another project. I'm also in the process cutting all the cardstock for two gatefold books. I always get everything done! 

What I'm really enjoying is that I have TIME to finally do things that I enjoy and that's all that matters to me!

Thanks for stopping by!


Friday, June 14, 2019

Oh Happy Day Folio

Oh Happy Day Folio 

Another winning tutorial from France Long over at Your Book Of Memories!

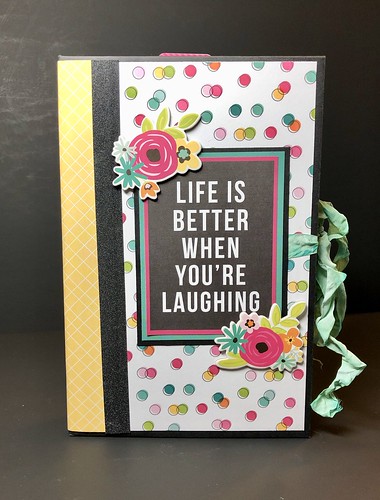
I used the Oh Happy Day! collection by Simple Stories for this folio. 

This paper collection is so bright and cheerful, I love it!

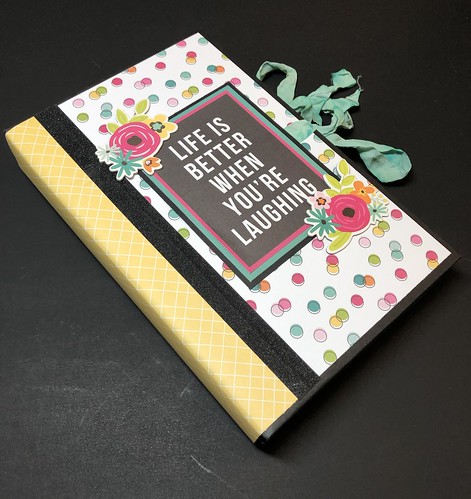
On the cover I used some of the chipboard pieces and one of the cut-parts. 

Oh Happy Day Folio 

On the back cover I used another cut-apart from the collection and some of the chipboard hearts. 

Oh Happy Day Folio 

For my tie closure, I took some white seam binding and dyed it with some evergreen bough distress ink from Tim Holtz. 

Oh Happy Day Folio 

On the front and back cover I used some black washi tape from Tim Holtz.

It has a little sparkle to it. 

Oh Happy Day Folio 

This book measures around 5-1/2 inches wide by 8-1/2 inches tall.

On the right side there's a flap that opens to the right and to the left.

Oh Happy Day Folio 

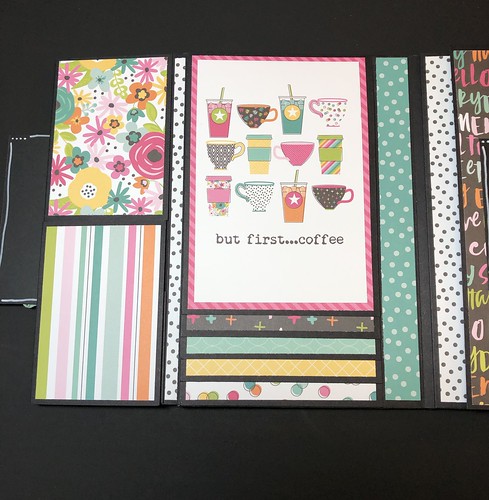
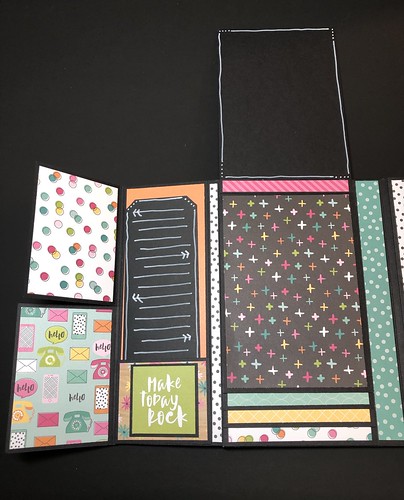
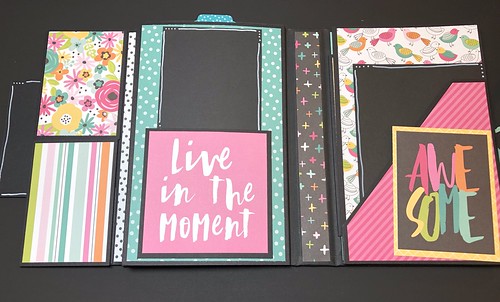
When the right flap opens there are two smaller flaps that open to show a small pocket with a journaling tag. There's also a waterfall that holds eight photos. 

Oh Happy Day Folio 

Oh Happy Day Folio 

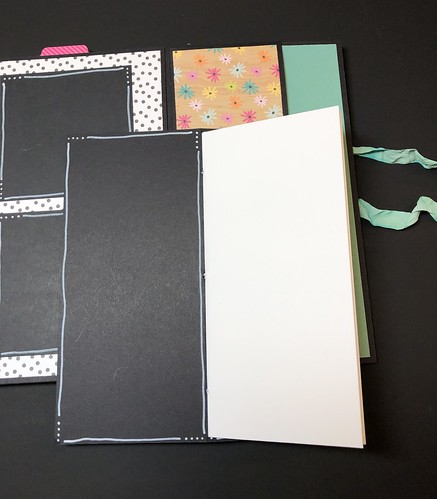
The left side opens to reveal a pocket.

Oh Happy Day Folio 

This pocket holds a booklet that has eight pages for journaling or photos can be added.

Oh Happy Day Folio 

Oh Happy Day Folio 

The next section has a small pocket with a photo mat.

Oh Happy Day Folio 

There's also a large pocket that houses a larger photo mat.

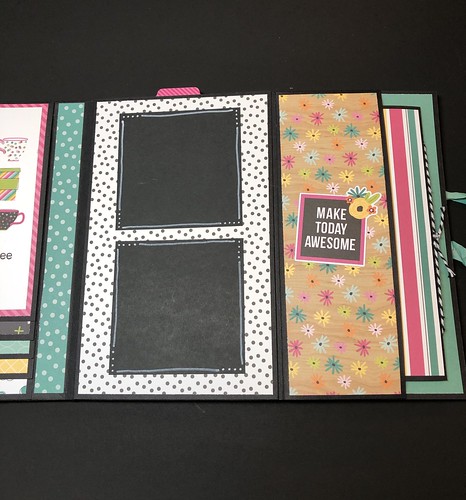
The next page has another pocket that holds another photo mat. 

Oh Happy Day Folio 

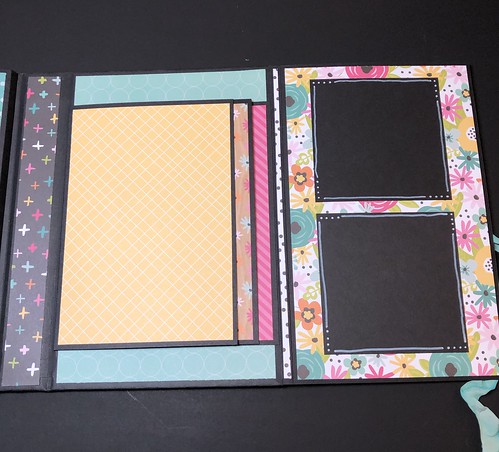
When this page is opened to the left it reveals another waterfall that will hold five photos.

There's also a page for two small photos. 

Oh Happy Day Folio


Even though I've make larger books, I much prefer creating smaller ones. It's not that they're easier, I just love how you can pack so much into such a small book. 

This book would be perfect for just random photos of everyday life. There are so many fun sentiments in this collection that will look great added on top of photos once they are adhered to the photo mats. 

Thanks for taking the time to stop by!

Sunday, March 24, 2019

Double Waterfall Folio

Double Waterfall Folio 

It's been awhile since I've posted!

That's because I broke my wrist February 8th. It was my right wrist and of course I'm right handed!

I was off work for 4 weeks, which in hindsight wasn't enough time. I should have been off at least another two weeks. I started taking the cast off last week and now am just wearing something around my wrist to keep it stable. I still wear the cast overnight. 

I still have some pain and I don't have full mobility yet. I still struggle with some every day things. 

I'm dying to start crafting again! Friday night I thought I would try to cut some chipboard to see if it bothered my wrist. Low and behold it didn't so I made this book! 

The moral of my story is....if you dog shits and it's icy out.....don't pick it up!

Now on to my book.....

This isn't my own design. I just want to get that out there right from the start.

This Folio design is by Frances Long from Your Book Of Memories. 

She is awesome! If you've ever wanted to make a book from scratch and haven't I encourage you to check out her site and see if she has something that you would love to create. I've made tons of books, some my own design and some I've followed tutorials. I've followed Frances for a long time and just recently bought some of her tutorials. She is an excellent teacher. If you've never made a book before she will guide you through the process. You can also find her on YouTube and watch her walk-through's of her books. She links you to her site if you're interested in the tutorial.

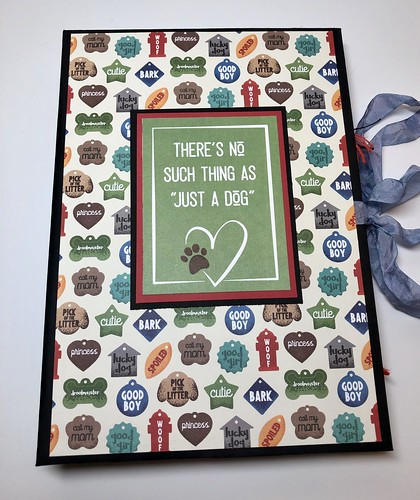
For this book I used the paper collection Fetch by Photo Play.

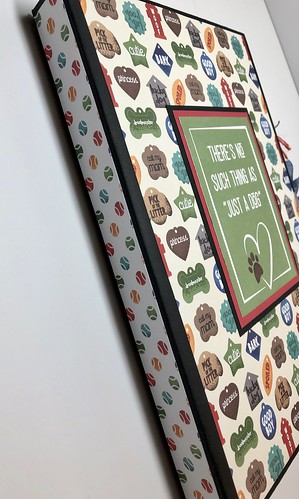
On the cover I used one of the cut-apart's from the collection. 

For my ribbon closure I used seam binding. I took faded jeans distress ink and dyed it. 

Double Waterfall Folio 

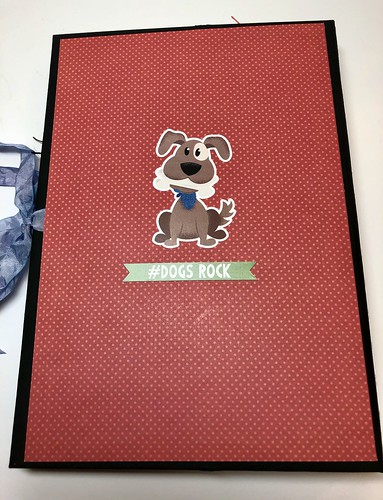
On the back cover I used two stickers from the sticker sheet. 

Double Waterfall Folio 

This Folio measures 6 - 9/16th inches wide by 9 - 1/2 inches tall.

Double Waterfall Folio 

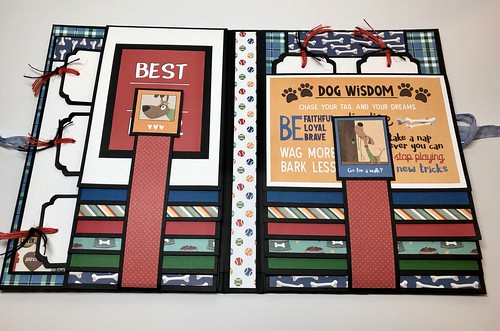
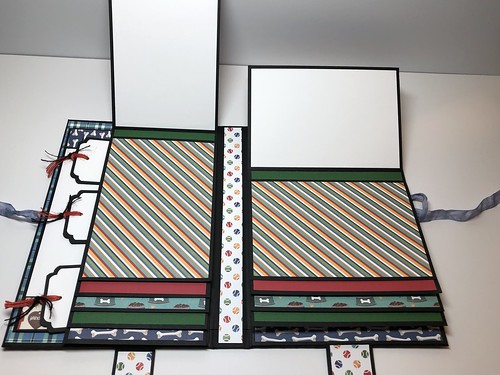
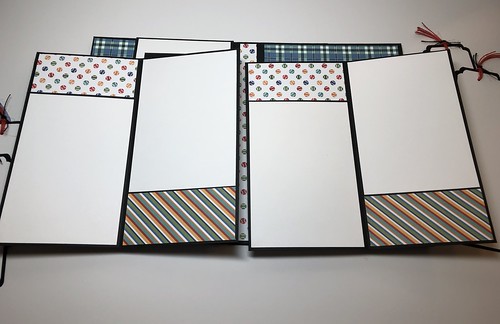
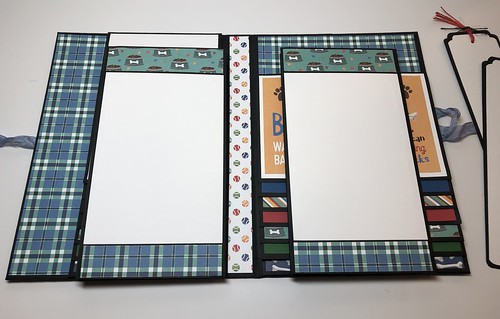
The double waterfall will hold 26 photos. All photo mats are made for 4 x 6 photos.

I cut out the two dog photos above from one of the cardstock sheets and mounted them on black cardstock. On the first two photo mats on the waterfall I used cut-parts so those spots wouldn't be used for photos.

Double Waterfall Folio 

Double Waterfall Folio 

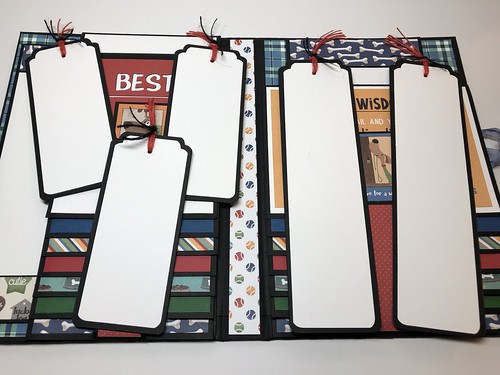
There are five tags that can be used for journaling. Both sides are white. 

Double Waterfall Folio 

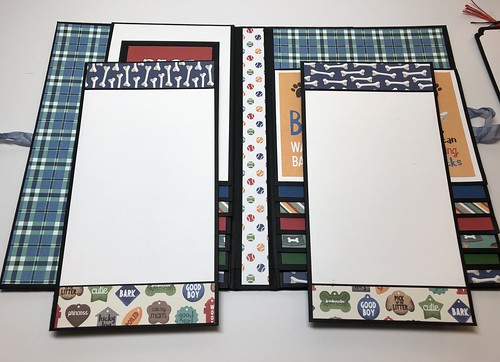
I added two booklets that will each hold an additional four 4 x 6 photos. 

That brings the total of photos that this folio holds to 34!

Double Waterfall Folio 

After I took this photo I noticed that I have the bones on the photo on the left going in a different direction. I thought about fixing it, but the bones can go in either direction!

Double Waterfall Folio 

Double Waterfall Folio

That's it! 

I love making Folios! They are my favorite. I will be making more of these in all kinds of themes!

Thanks for taking the time to stop by!

Saturday, November 25, 2017

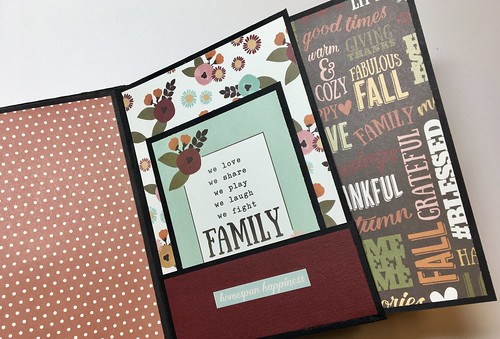
Vintage Blessings Mini Album

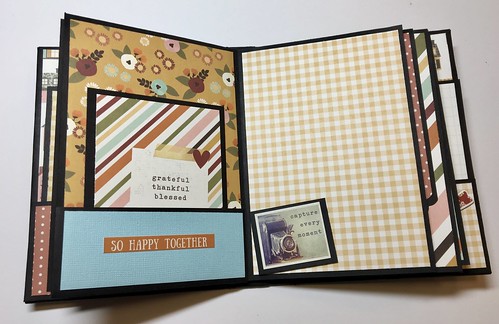
Vintage Blessings Album 

This was such a quick, easy little book to make!

I made the cover one evening last week. The pages were made another evening. I can only get a little done in the evening after a stressful day of work. Thursday evening I matted all the pages and yesterday I put it altogether. 

The collection I used is called Vintage Blessings from Simple Stories. I bought the collection kit and the chipboard sticker pieces. 

I followed a tutorial from Ginger over at My Sisters Scrapper. I cut my paper for my cover a little different than she did and I leave a bigger gap between my cover and spine. I have issues with cracking cardstock if I don't leave a big enough gap. I also added an extra flap to one of the pages. 

I love Ginger's tutorials. When you've been making books for awhile you can customize what you like. Over the years of being inspired by all my favorite book makers I can usually look at one of their projects and know how I want to customize it. I take bits and pieces of all the things I've learned from all of them and put a little of this and a little of that in my books. There are so many people out there that share their knowledge and I'm so grateful for that! I can now adjust sizes for my pages, covers and spines to create almost any size book. I tend to stay toward the smaller sizes. I like those best. 

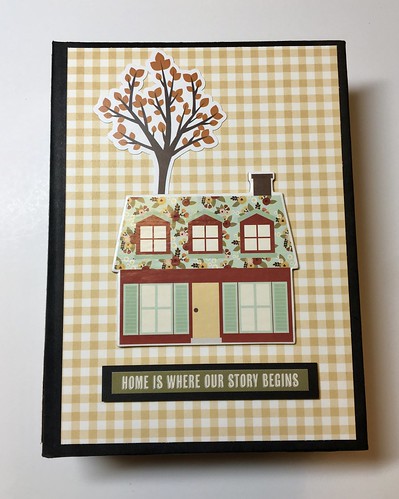
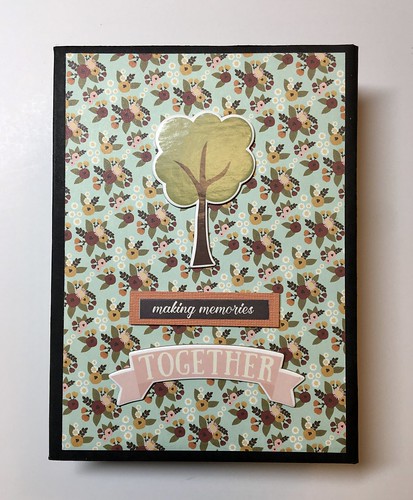
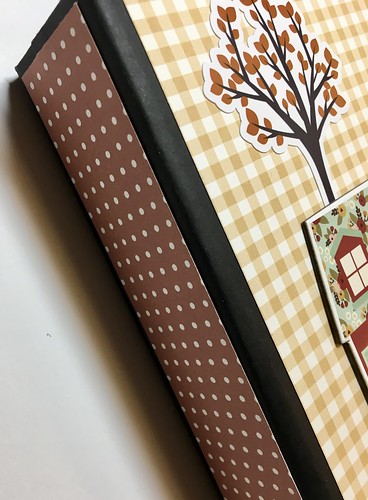
On the front and back covers above and below,  I used some of the chipboard stickers and some of the stickers that were included in the kit. I matted the wording and used foam tape to adhere to the book for some dimension.

Vintage Blessings Album 

Vintage Blessings Album 

I left the spine blank, just using patterned paper. 
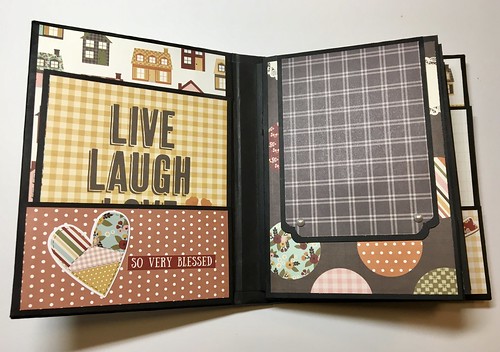
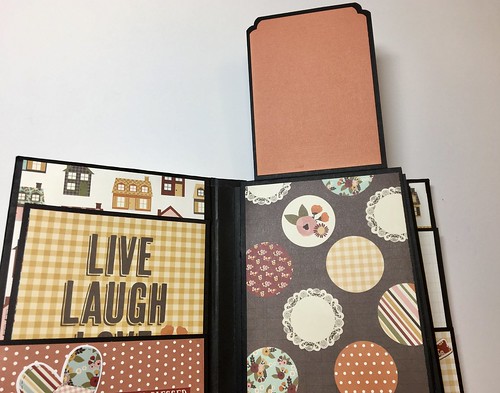
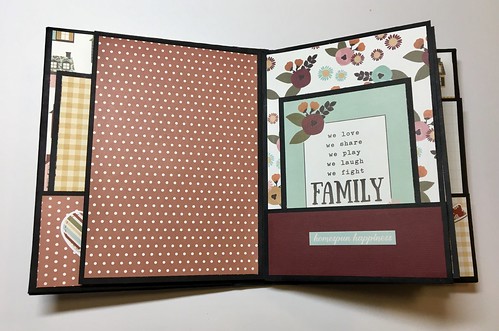
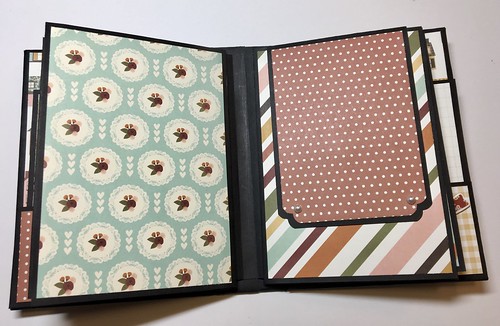
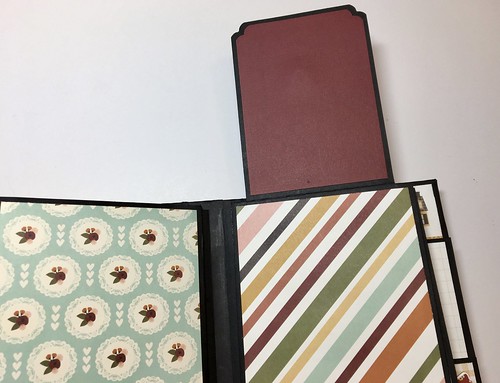
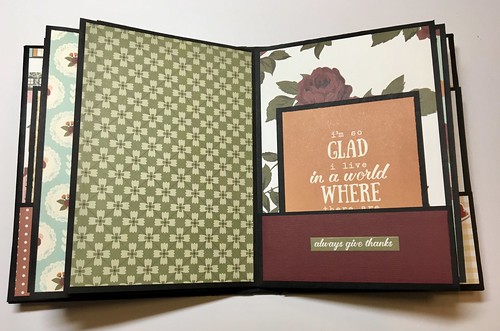
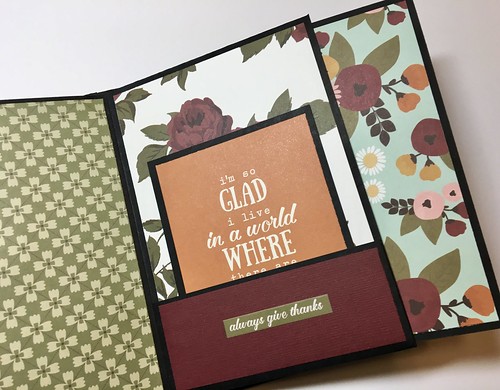
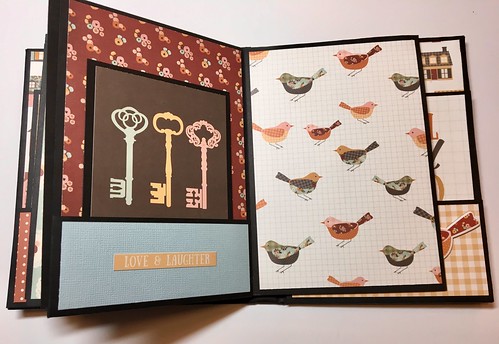
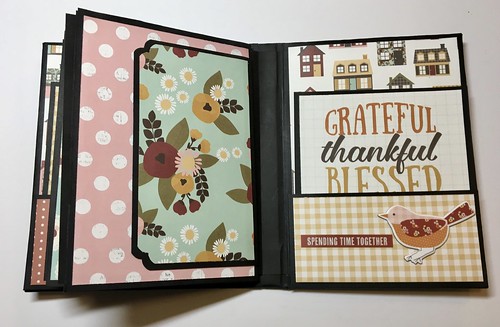
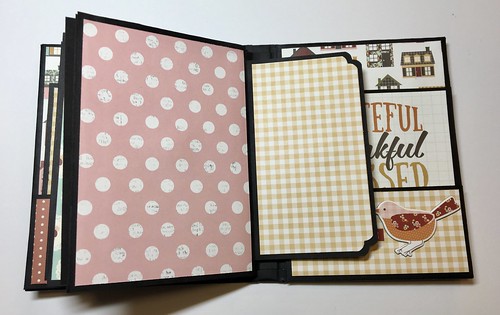
Below are all the photos of the inside pages. 

For my mats for the pockets I cut apart images from the collection and matted them on black cardstock. There are two side pockets for a photo mat. I used patterned paper from the collection and left the backs plain. 

Vintage Blessings Album 

Vintage Blessings Album 

Vintage Blessings Album 

Vintage Blessings Album 

Vintage Blessings Album 

Vintage Blessings Album 

Vintage Blessings Album 

Vintage Blessings Album 

Vintage Blessings Album 

Vintage Blessings Album 

Vintage Blessings Album 

Vintage Blessings Album

This is a very cute collection! I believe I have enough paper left to create another small book. 

Thanks for stopping by!
09 10