Showing posts with label Baby Boy Mini Books. Show all posts

Wednesday, April 24, 2019

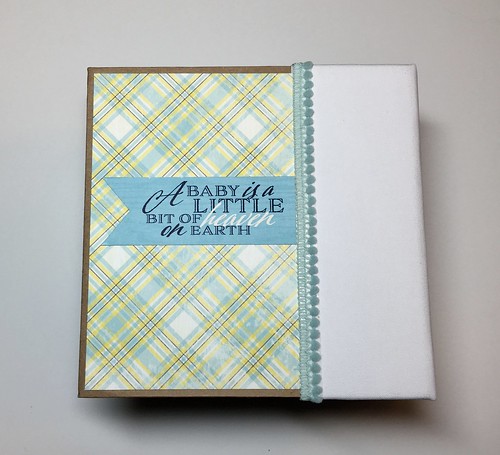
8 X 8 Baby Boy Album

8x8 Baby Boy Book 

I finally finished this album!! 

This baby album took a little longer than I anticipated.  My cousins wife saw a baby girl album I made about three years ago. She asked me if I would make one for her son when they had a baby. They are having their first baby in June. I got it finished in plenty of time. 

When you are working on a project and you only have an hour (if even that) at night after work and weekends to work on it, it seems like it takes longer than it should to finish it. I cannot wait for the day when I'm either not working or working part-time so I have more creative time!

I followed a tutorial from Your Book of Memories for this book. I did do a few things a little differently but that's the beauty of tutorials. They are just a guide and you can make whatever your working your own. I want to give a big shout out to Frances from Your Book of Memories because she is an excellent teacher! I will be making more of these books in different themes. 

This post is very photo heavy. I used the paper collection Bundle of Joy from Echo Park for this book. I used two collection kits. From my stash I used white seam binding, string, a die from Sizzix called squares framelits and the double stitched circles from Our Daily Bread. 

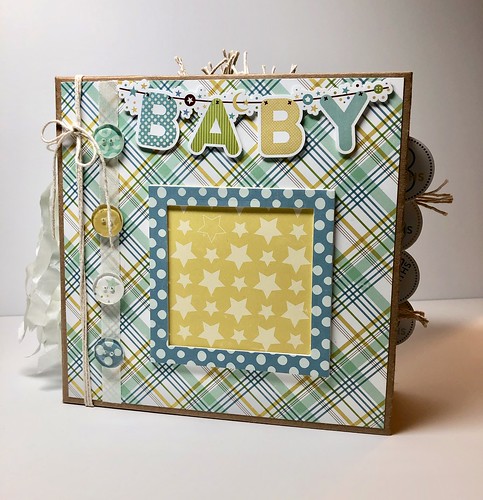
For the buttons on the front cover I had a horrible time trying to search through my collection to find just the right ones to use. I finally gave up for the night when I was working on this part because I couldn't make a decision. The next morning I had a brainstorm while having coffee but I could do anything because I had to go to work. All day I thought about what I wanted to do. When I got home I went straight to my craft room and looked for some clear buttons I have from Hero Arts. I glued them to some of the paper scraps. I then went about doing other things I had to get done. Later when I had time to craft I used my craft knife to cut around the buttons and sanded them little. I love how they turned out and they match the collection!

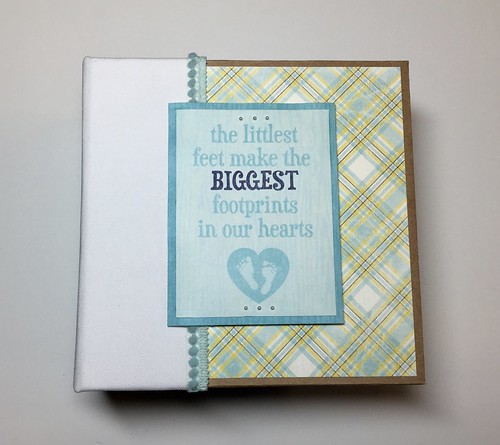
For the frame on the cover, I die cut several pieces using a Sizzix framelits die and stacked them together. The right side is open so a photo can be inserted.

8x8 Baby Boy Book 

I made a tassle of sorts for the spine. 

I love using crinkled seam binding. 

8x8 Baby Boy Book 

I ended up making seven buttons. Four for the cover and three for the spine. 

I didn't wrap the spine like Frances did in the tutorial. 

Sometimes I will use sticky back canvas not the spine, but I liked this one without doing that. 

8x8 Baby Boy Book 

The back cover is pretty plain. I used a cut apart from the collection and mounted it on cardstock.

8x8 Baby Boy Book 

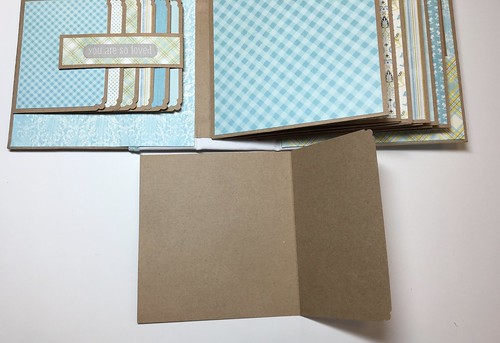
The from inside cover gave me a few issues. 

I had no luck adding the expandable pocket as shown in the tutorial.

I ended up doing it a different way. It worked and I'm happy with how it turned out. 

8x8 Baby Boy Book 

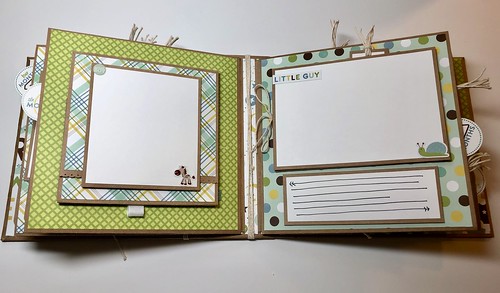
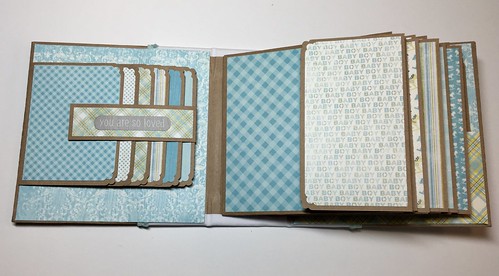
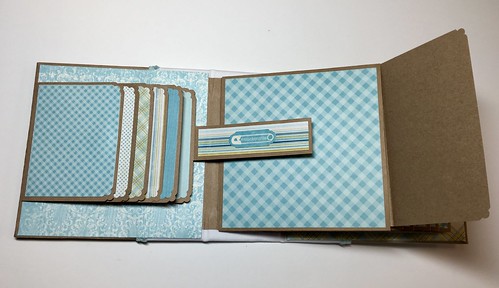
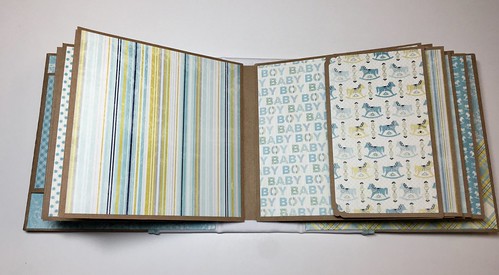
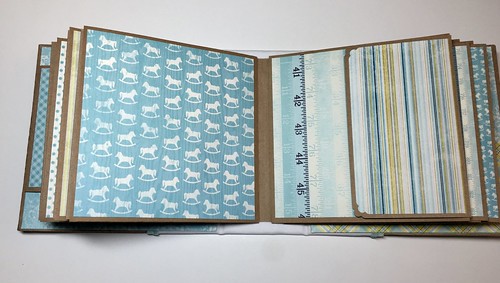
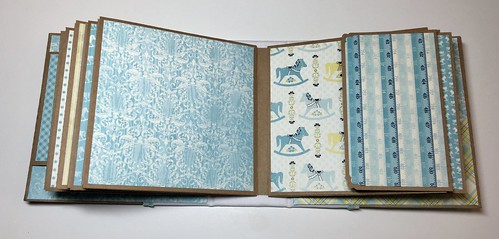
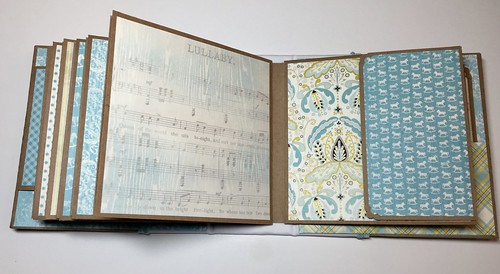
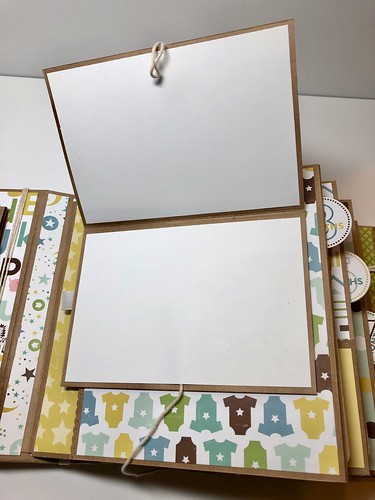
There are many flips and flaps in this book. I love it!
8x8 Baby Boy Book 

8x8 Baby Boy Book 

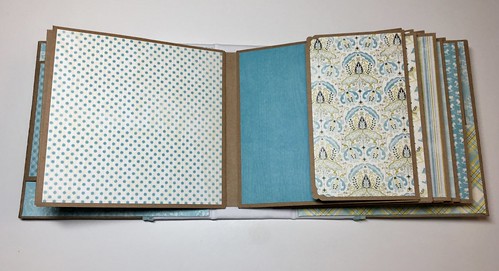
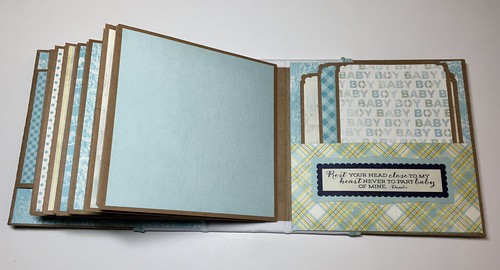
Lots of pockets and places for tags and photo mats!

8x8 Baby Boy Book 

8x8 Baby Boy Book 

8x8 Baby Boy Book 

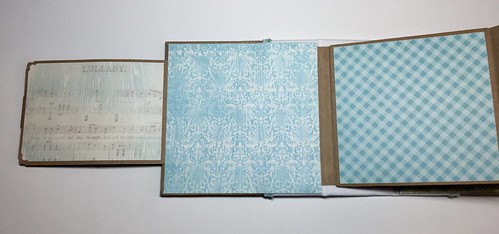
There are tons of journaling spots!

8x8 Baby Boy Book 

8x8 Baby Boy Book 

8x8 Baby Boy Book 

8x8 Baby Boy Book 

8x8 Baby Boy Book 

8x8 Baby Boy Book 

8x8 Baby Boy Book 

8x8 Baby Boy Book 

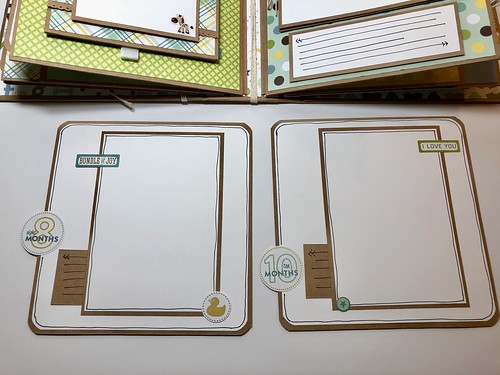
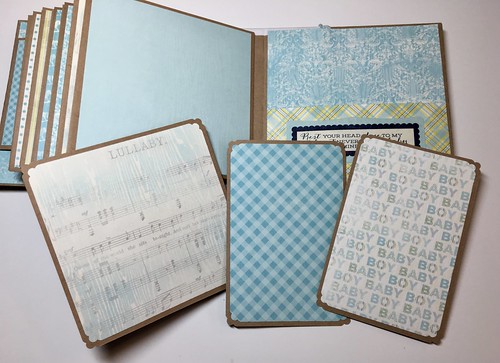
The photo above and the ones below are the photo mats that pull out of the pocket on each page.

I've shown both front and back.

8x8 Baby Boy Book 

8x8 Baby Boy Book 

8x8 Baby Boy Book

If you are interested in this tutorial, here's a link to it. 

I have to put a few finishing touches on some smaller books I have. 

One I started last October. The book is finished I just have to embellish it. 

After that I'm starting a travel album for my daughter. 

If you follow me on social media, I share updates of my projects as I work them. 

I love this little chunky book! It's kinda heavy too!

Thanks for stopping by!

Saturday, November 11, 2017

Authentique Cuddle Boy Mini Album

Authentique Collection: Cuddle Boy Mini Album 

I finished this little book last weekend and today is the first chance I've had to take photos of it!
I used the Cuddle Boy collection from Authentique for this book. I used the 12x12 and the 6x6 paper pads and some of the stickers and cut-apart cards. I didn't add any dimensional items to this book. They can be added later after photos are in the book.

Authentique Collection: Cuddle Boy Mini Album 

I did wrap the spine with canvas. The spine measures 2-1/2-inches.

Authentique Collection: Cuddle Boy Mini Album 

On the back I used one of the stickers from the collection. The covers measure 6-1/4 by 6-1/4-inches.

Authentique Collection: Cuddle Boy Mini Album 

I added a waterfall to the inside cover. 

Authentique Collection: Cuddle Boy Mini Album 

There are 12 pages and six photo mats that pull out of the pocket on each page.

Authentique Collection: Cuddle Boy Mini Album 

The waterfall flips off the page so that a photo can be placed underneath.

Authentique Collection: Cuddle Boy Mini Album 

For each of the photo mats that pull out I only covered the flap that stays out with patterned paper.
I left the small inside flap blank so that journaling can be done on each mat.
The rest of each photo mat have been left blank also for photos.
The next five photos are all the same with the exception of the patterned paper.

Authentique Collection: Cuddle Boy Mini Album 

Authentique Collection: Cuddle Boy Mini Album 

Authentique Collection: Cuddle Boy Mini Album Authentique Collection: Cuddle Boy Mini Album 

Authentique Collection: Cuddle Boy Mini Album 

The inside back cover holds a pocket.

Authentique Collection: Cuddle Boy Mini Album 

I added three photo mats that I covered with patterned paper on one side. 

Authentique Collection: Cuddle Boy Mini Album

This is a very simple little book but it will hold quite a few photos. 
Like I said above, dimensional items can be added later after photos are added. 

Thanks for stopping by!

Sunday, May 13, 2012

Baby Boy Mini Book


My daughter asked me to create a mini album for her friend that just had a baby. My first thought was to use the Little Darlings collection from Graphic 45 that I've had for awhile and am just chomping at the bit to make a project with. After I showed it to her she thought her friend would like something that wasn't quite so vintage. I have to keep reminding myself that not everyone likes vintage as much as I do!

Since I didn't have enough paper from one paper line for a book, I picked up a baby boy collection from Paper Studio when I visited Hobby Lobby while in KY.

Before I show you the book, here's what I used for my covers and pages:


I picked up some children's books at the Dollar Store. The weight of the chipboard is perfect.


I just cut the book apart and trimmed up the raw edges so that all the pages were even. It saved me from having to cut up my chipboard and round all the corners. It made the process go a little faster. The book measures approximately 6-3/4 - inches wide by 7 - inches tall and there are 10 pages.


I added the new baby's name on the cover along with some buttons and a chipboard diecut from K & Company.


I took some Bazzill chips that I had in my stash and made some charms to hang on the rings.


I used my scalloped nestabilities to cut two circles per chip and then added a sticker on each side. I cut a hole with my Crop-a-Dile, threaded ribbon through it and tied a knot.


This photo shows the first two pages. I added a journaling spot that you can pull out behind each circle mat.


Pages three and four I've left open so that either a few small photos or a larger photo can be added.


I've left page five open and added a mat on page six. Another mat pulls out from behind for either another photo or journaling.


Pages seven and eight have been left open also so that either smaller or larger photos can be added.


While page nine has been left open, on page ten I added a little pull out for multiple photos.


There's two spots for photos on one side,


and two on the other side.

This was a very easy book to complete. I am by no means fast when it comes to creating. I don't like to rush. I prefer to take my time. I just got back from vacation this past Tuesday evening and I started working on this book on Wednesday and completed it on Friday. Aside from finishing a project in a class I might take, I set a new record for myself! My daughter will be seeing her friend that this book was made for this Sunday so I wanted to have it finished so that she could take it with her. Otherwise I would have had to mail it and my daughter wouldn't get the chance to see it. While it's not "over the top" I'm please with how fast it came together and how it turned out. I'm also happy that on the rare occasion that I have a deadline I can get a project done on time!

Thanks for stopping by!
This post is linked here: Sew Darn Crafty, Sunday Blog Love, Think Pink Sundays

09 10