
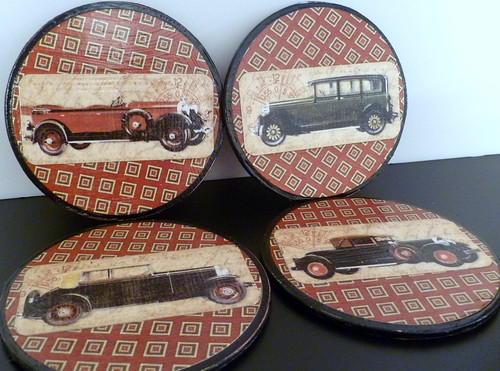
I gave this set of coasters I made to my brother for Christmas. He liked them so much that he asked me to create a set of six using another image for him.

I found these coasters for a steal of a price, but I needed to make them a little more presentable!
My first step was to cover the edges with Claudine Hellmuth's Studio Gesso.
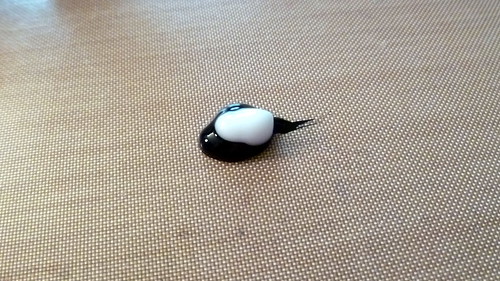
I then added some of Claudine's Charcoal Black Studio paint and some Extra Time Studio Slow-Dry Medium onto my craft sheet.
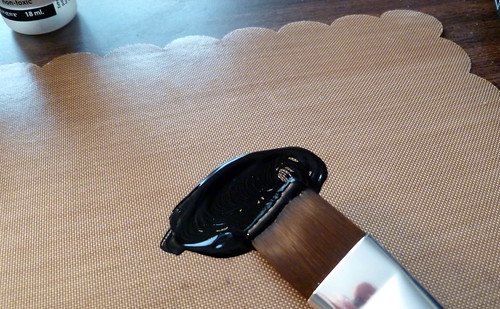
I swirled them together with one of my brushes. I bought the whole set of Ranger brushes at Archiver's and I love them!
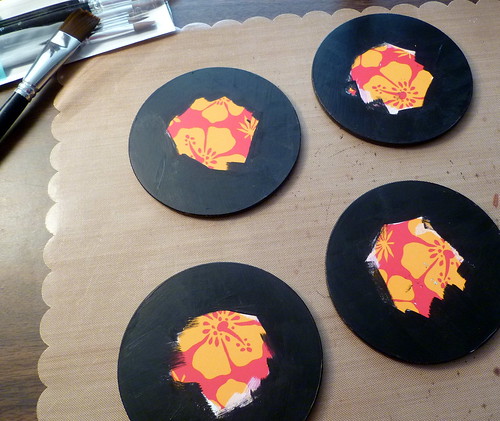
I painted over the gesso with the Studio charcoal black paint. I didn't need to paint the whole coaster because I knew I was going to cover the center with cardstock. I added two coats of paint and made sure it was completely dry before starting the Mod Podge process.

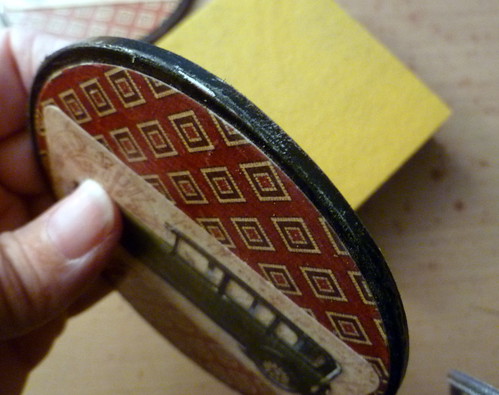
Before I started my project I chose what patterned paper I wanted to use. This is an older collection from Graphic 45 called "On The Boulevard & Haberdasher" from the "A Proper Gentleman" collection. I love all of their collections! I don't care how old any patterned paper is that I use from any manufacturer. I use whatever fits what I'm creating at the time and what I like. Since I'm a paper hoarder, I have to use what I have!

I gathered all my supplies to start the Mod Podge process. That handy dandy roller on the top right in the photo is actually something I bought years ago from Pampered Chef. It's supposed to be used to rolling out pizza dough. I think I used it once! One day I needed something to smooth out a project and well, the rest is history! It's become a handy tool in my craft room. I use it alot!

This is where you have to work quickly because you don't want the Mod Podge to dry. First I spread a layer of Mod Podge onto the coaster.

I added it to the back side of the paper I was putting onto the coaster.
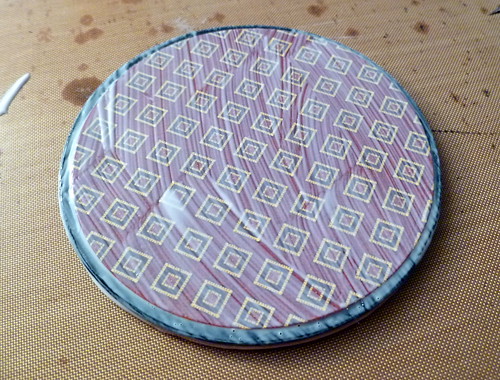
I smoothed the paper on the coaster. I didn't cut my paper to go to the edges since I wanted the black to show. Once the paper was on, I added another coat of Mod Podge.

I then added the car I had trimmed out and another coat of Mod Podge.
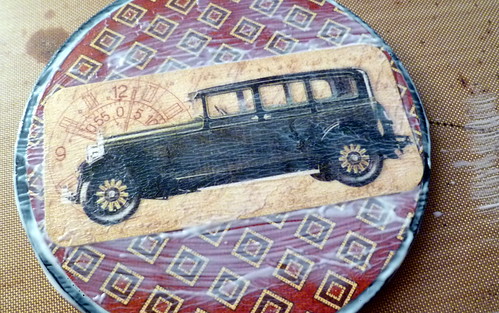
You can see where it's starting to dry in this photo.
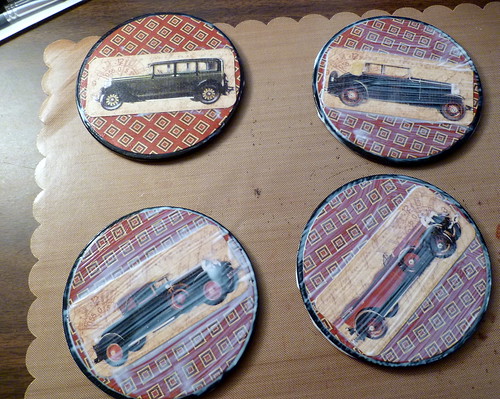
All four are ready to completely dry.
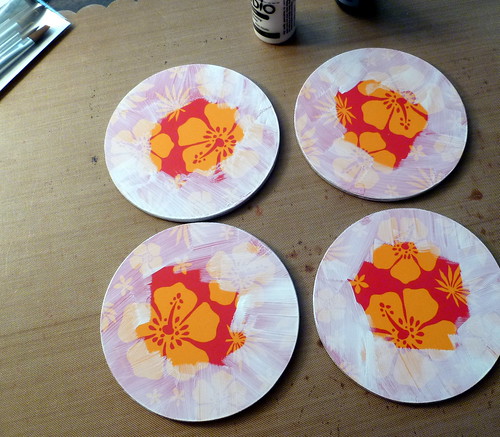
I wanted to rough up the edges a little, so I sanded them.
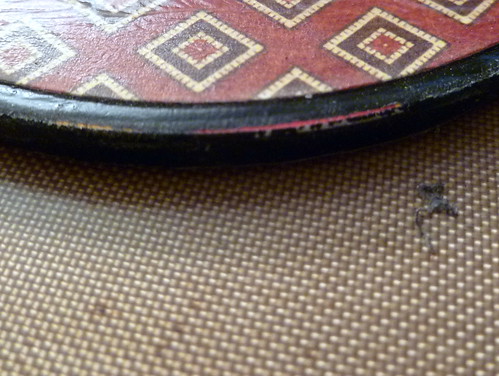
I sanded them so that the original color would start to peek through. You couldn't even tell that it was pink. After the coasters were completely dry, I sprayed them with a clear acrylic sealer from Plaid.
I love working with Mod Podge! Coming up in another post is a canvas I made for one of my daughters for Christmas.
I hope everyone is enjoying the holidays!
Products I used for this project: Purchased coasters, Claudine Hellmuth Studio Paint, Gesso & Extra Time, Graphic 45 Patterned Paper - A Proper Gentleman Collection: On The Boulevard & Haberdasher, Mod Podge.
This post is linked to these parties: Made by you Monday, Tip Me Tuesday, Whatever Goes Wednesday
5 comments:
Very nice, perfect guy gift
I love your blog, and your ideas! Super cute! I saw your blog on Tip Junkie! I am having a linky party too, and would love if you would join! Here is this link http://www.thesouthernproductqueen.com/2011/12/27/the-linky-party-1227-1231/ Thanks for sharing! Happy New Years!
I am crazy about this! I love it!
how great! my boyfriend loves old cars and trucks (he's redoing a 37 chevy pickup) so i love these coasters.
super tutorial! and great project Patty!
Post a Comment