Showing posts with label Heat Embossing. Show all posts

Thursday, November 1, 2018

Watercooler Wednesday: WWC194 - "Anything Goes" Challenge

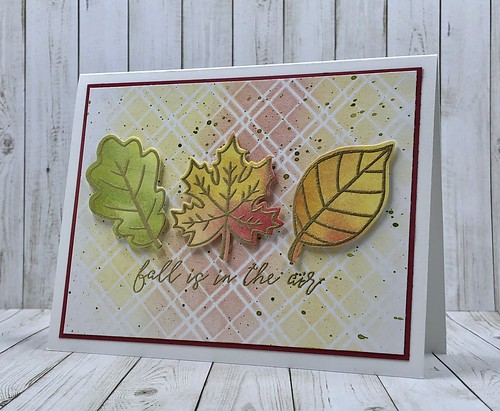
Fall is in the Air

I am linking this card to the Watercooler Wednesday: WWC194 - "Anything Goes" Challenge.


Fall is in the Air

I love fall cards. I think it's because I love all the different variations of color on the leaves.

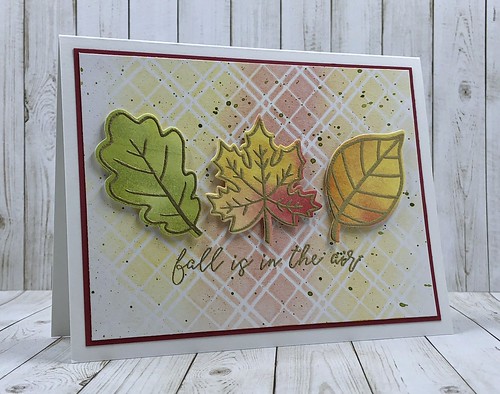
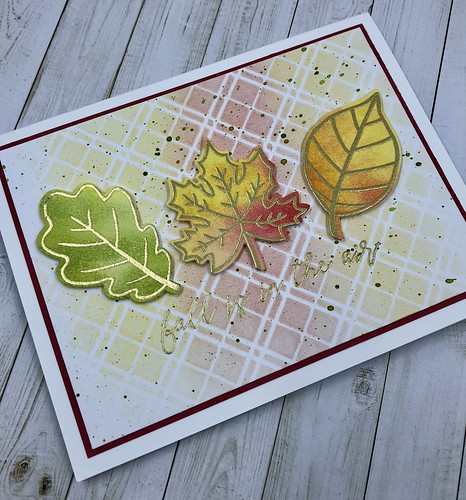
For my background I applied distress ink over the Christmas Plaid stencil from Echo Park. I used barn door and mustard seed distress ink. 

The stamp set and dies are from Reverse Confetti called Fall Foliage. I stamped the images and then heat embossed them with gold embossing powder. Before adhering the leaves I spattered some green distress ink over the background.

Fall is in the Air

Thanks for taking the time to stop by.

Thursday, August 2, 2018

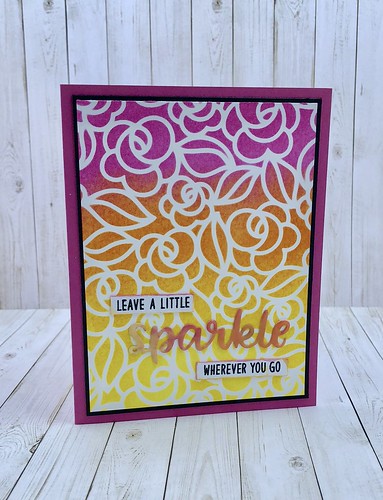
Leave A Little Sparkle

Sparkle 

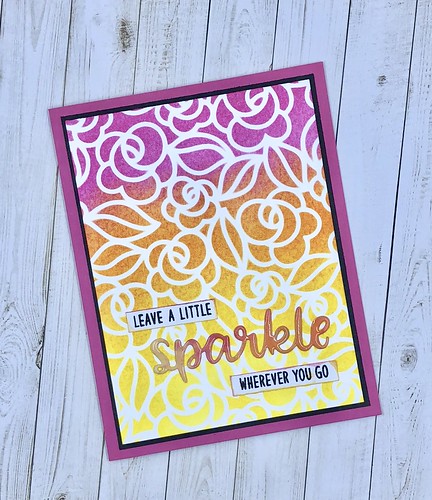
The card I'm sharing today uses a stamp set, die and stencil I picked up in June when I went to the Rubber Stamp Expo held at Canterbury Park. I'm glad we have the two shows, one in May and one in June each year. I'm also glad it's just two times a year! It's so easy to overspend. 

Throughout the year I buy things here and there if I'm able to find them at local stores. However in this day and age most of my purchases are online because you can usually get anything you are looking for!

Sparkle 

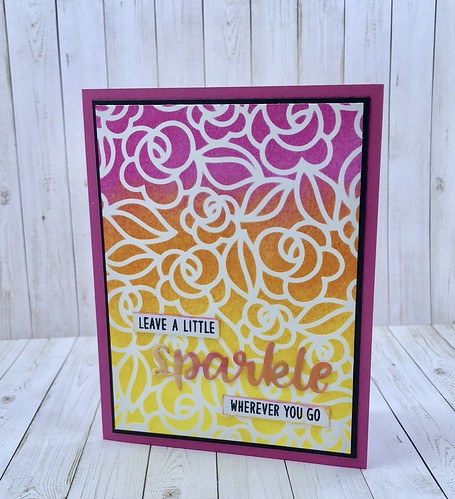
I used a stencil from Taylored Expressions called Blooming Beautiful. 

I used distress oxide inks on the background, but I don't remember what colors I used.

I wrote them on the back of the panel, which wasn't the brightest idea because I remembered that after I had adhered the panel to the mat!

The stamp set is from Sunny Studios. The die is called Sparkle Word and the stamp set is called Born To Sparkle. 

Sparkle

I watercolored a small strip of watercolor paper with the same colors I used for the background. Then I die cut the word sparkle. I used VersaFine ink over the word and embossed with clear embossing powder. I repeated this several times so I had a shiny finish. You can't see that very well in the photo. 

Thanks for stopping by! Happy Thursday!
SaveSave

Tuesday, July 24, 2018

Texture Fades

Life

About a month ago I posted some cards that I had made using a technique from Gina at Gina K Designs. I had purchased a card class from Online Card Classes and this technique is one of the classes. I encourage you to check out their classes. It's nice to be able to watch the videos at your own pace. 

When you do the technique which uses waxed paper and an iron you actually get two cards for each one that you create.  You can see the original post here. 

Life

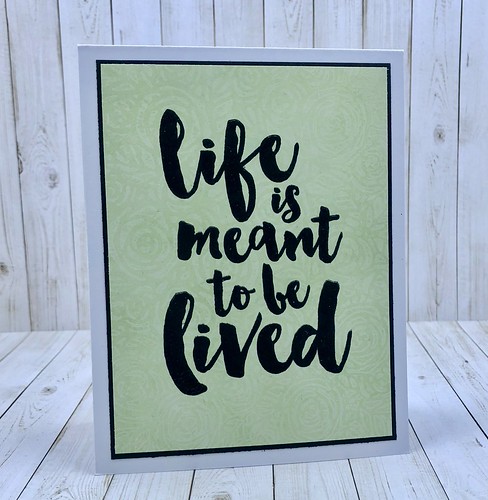
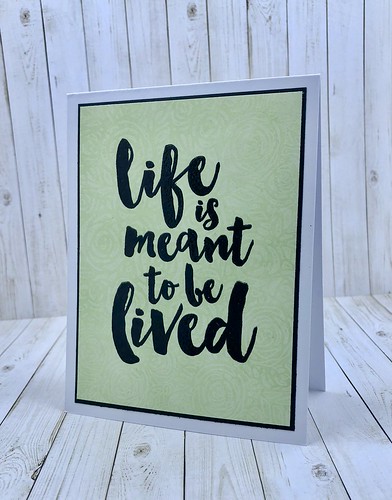
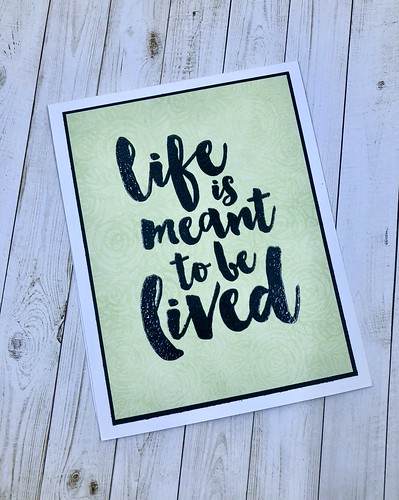
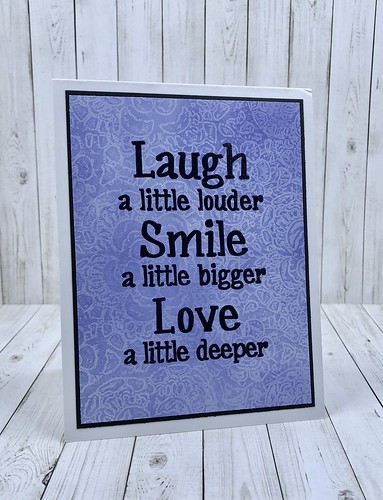
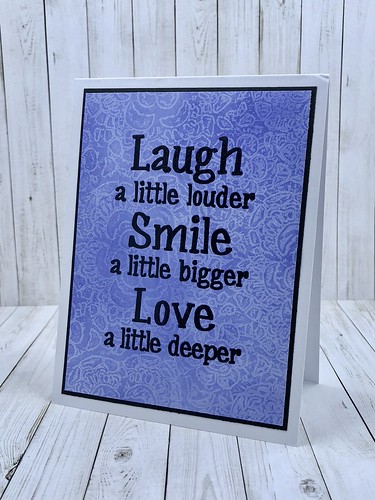
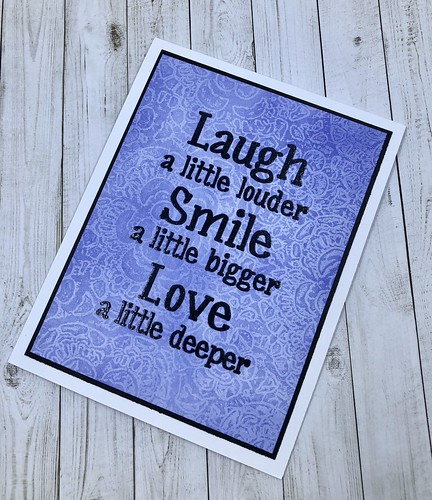
The two cards I've posted today are the extra panels that I created when I made the original cards. 

Life

I used distress oxide ink on both, but I don't remember what colors I used.

I should be better at writing down what inks I'm using.

Sometimes my craft table is such a mess when I crafting I don't know what I'm using!

Laugh Smile Love

The products I used are listed below. Both sentiments are from Visible Image. I love their stamps!

Laugh Smile Love 

Laugh Smile Love

This is a fun technique. I want to try it with more detailed embossing folders.


Products Used: 
Distress Oxide Ink
Sizzix Texture Fades - Tim Holtz - Roses & Lace
Visible Image Stamps - Laugh Louder & Life Is For Living

Thanks for stopping by!

Monday, September 4, 2017

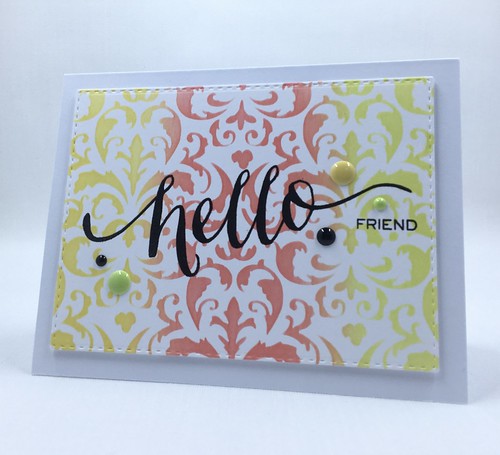
Hello Friend

Hello Friend

I have another card for some challenges today! I was actually planning to use this card for the Color Throwdown challenge. After I had published my post and linked to all the challenges I realized I hadn't linked to the one I was originally going to! I thought no big deal, I'll just create a new card since I still had some time.

I had a whole list of challenges to link to and you can only link so many to some of the challenges. Some are unlimited. I tend to try to only link to one or up to three per card. If I had unlimited crafting time I would create one card per challenge, but I don't always have that kind of time unfortunately.

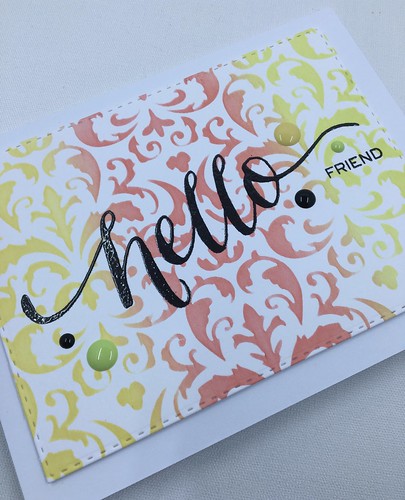
I used a Prima stencil with my Clarity brushes and some Distress Oxide ink to craft my background. I stamped the sentiment with Versafine onyx black ink heat embossed clear embossing powder. All supplies are listed below.


I've linked my card to the three challenges above. Please take time to check them out. There are some beautiful cards on each blog that their design teams have created. 

Hello Friend

Supplies:
Distress Oxide Inks: twisted citron, fossilized amber, candied apple
Prima: Flourish Stencil
Our Daily Bread Designs: double stitched rectangles
Plus 9: Hand Lettered Hello stamp set
Doodle Bug Designs Sprinkles: beetle black, limeade, bumblebee

Thanks for Stopping by!

Saturday, July 29, 2017

You Brighten My Day

You Brighten My Day


Here's my take on the sketch for the Freshly Made Sketches 298 Challenge. I'm also linking up to the Simon Says Wednesday Challenge: Anything Goes.

I love sketch challenges! It's even better when I look at a sketch and know exactly what I want to do. Anything Goes challenges are my favorite too! I love being able to just do my own thing.

I did die cut my "you" three times and adhered it together for more dimension. The rest of sentiment was stamped and heat embossed. I used a stencil for my diagonal strip. Supplies are listed below.

Be sure to take time to check out the beautiful cards on both challenge blogs by clicking the links below. Their design teams do some gorgeous work!


Simon Says Wednesday Challenge: Anything Goes

Supplies:
Cardstock
Stamp & Die  - Avery Elle Simply Said: You
Versafine Onyx Black Ink
Hero Arts Clear Embossing Powder
Distress Oxide Ink: peacock feathers
Tim Holtz Layering Stencil: Tiles
Doodlebug Design Inc: beetle black assortment

Thanks for stopping by!

Color Throwdown #453

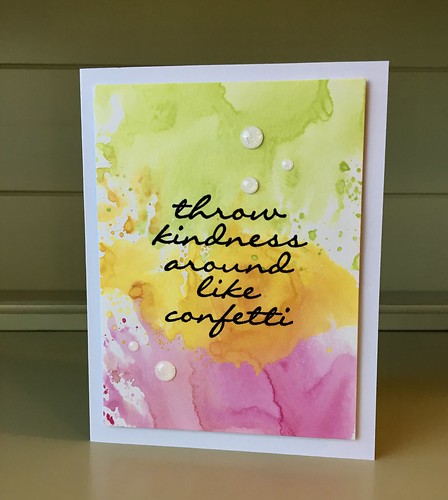
Throw Kindness


I love this color combination, it's so bright and cheery! My card is linking up to the Color Throwdown challenge. 

Super simple card to create. I just added distress ink to my craft mat, smooshed my card into each ink separately and then dried before adding the next color. Sentiment was heat embossed. Supplies are linked below. 


Supplies:
Cardstock
Strathmore Mixed media paper vellum surface
Stamp - Funny Bones by Riley & Company
Versafine Onyx Black Ink
Hero Arts Clear Embossing Powder
Distress Ink: picked raspberry, mustard seed, twisted citron
Doodlebug Design Inc - lily white glitter sprinkles assortment

Thanks for stopping by!

Saturday, July 15, 2017

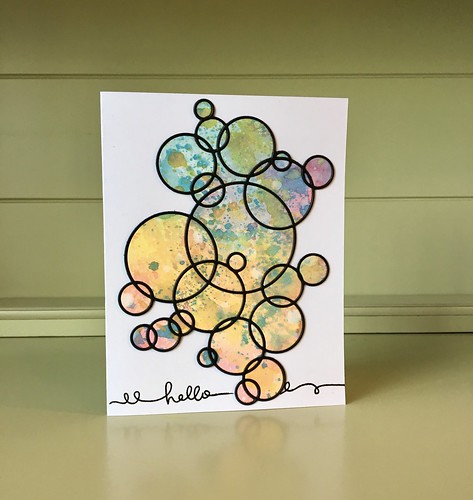
Hello

Hello

I took one of the backgrounds I created with distress oxides and die cut it with a Memory Box die called large ringlets. I picked this up at the Stamp Show I went to last weekend. After I added all the circles of the background (I felt like I was doing a puzzle!) I decided to die cut another piece and add it on top. You can't tell in the photo but with the second die cut on top there is more dimension. The sentiment is from Simon Says Stamp called handwritten borders. I stamped and embossed it.

Have you ever had one of those weeks that you just can't stand? Last week was that week for me! It was a loooooong one that I thought would never end! I was so exhausted and tired of dealing with people. So much so that I made plans not to leave my house all this weekend except to get groceries and gas. It was hot today and I don't like it when the weather is that hot. I made sure to turn my air down so that it stayed nice and cool so I could craft. 

The image below that I found on Pinterest expresses exactly how I felt everyday last week. It should read "There just wasn't enough coffee and middle fingers for my week!"


Thanks for stopping by!
SaveSave

Wednesday, July 5, 2017

Inspirational Cards

Impossible & Intention

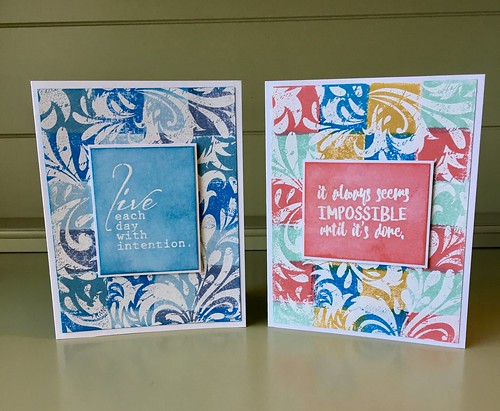
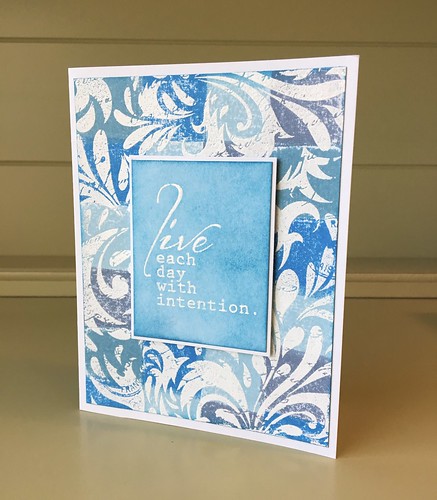
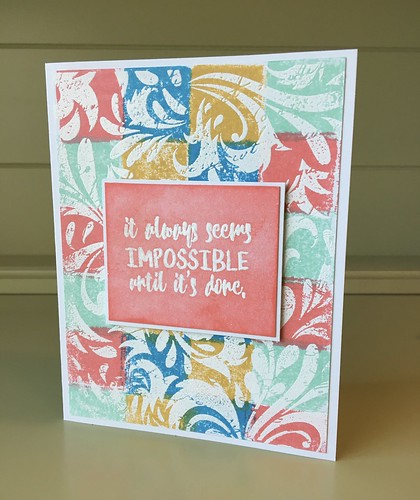
These cards were fun to make. The backgrounds were made quite awhile ago. I pulled them out of my stash once I figured out what sentiments I wanted to use. Once I decided which colors I wanted to use of the mini distress ink cubes I inked the squares next to each other across the cardstock alternating colors. 

Intention

I stamped the Hero Arts Leaf & Floral Background over top of the inked panel with VersaMark ink and then I heat embossed with white embossing powder. I didn't try to stamp an impression that was completely covered with VersaMark. I like the distressed look of not having all the embossing powder covering the background image. 

Impossible

The colored panels that the sentiments are stamped on were inked with distress inks. Both sentiments are from Sweet 'n Sassy and were heat embossed with white embossing powder. They are called Inspirations Word Art 1 and 2.

Thanks for stopping by!

Tuesday, July 4, 2017

Floral Note Cards

Floral Note Cards

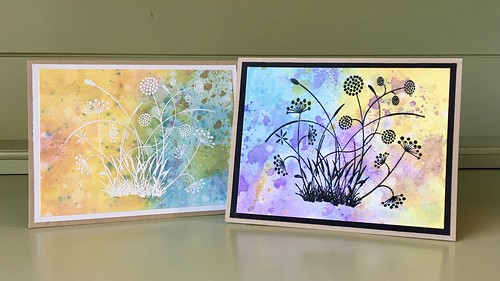
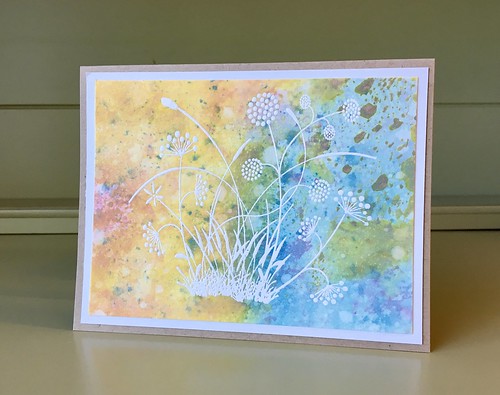
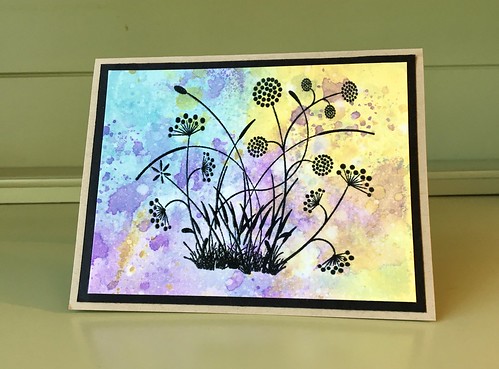
After I had these cards together I kept wondering what sentiment I should add to them. The more I looked at them I realized that they don't need a sentiment. They can be used for almost any occasion or just for a simple note to someone. Sometimes I just like to leave the sentiment off.

I used the floral #10 stamp from Rubbernecker for these cards.  I just picked this stamp up a few weeks ago when I attended Scrapbook Expo in St. Paul at the Minnesota State Fairgrounds. I also took a watercolor class from Art Impressions that day. Loved it! I would definitely take another one of their classes again. I'm hoping they offer one again next year. Back to the card.....I used distress oxide inks in fossilized amber, wilted violet and broken china on both cards. On the card with the white embossed floral image I also used worn lipstick. I can't wait to get the next set of 12 oxides! I need more colors!

Floral Note Cards 

Floral Note Cards 

The white floral image was stamped with VersaMark and the black image with VersaFine ink in onyx black. I heat embossed with clear embossing powder on the black one and white on the other one. Both images were stamped using my MISTI. What I didn't realize is after I heat embossed the white one I was missing part of one of the flowers. I remembered that a long, long time ago I purchased the VersaMarker watermark pen. I pulled it out and went over the area I missed and heat embossed it. I've had that thing forever and have never used it! Going forward that little pen will be in my most used stash of products. It was a lifesaver. I'm surprised it wasn't dried out since I'd never used it.


The background were made by adding ink to my craft mat and dabbing my cardstock through it.  Sometimes I dried it with a heat tool in between layering the inks and sometimes I let it air dry. Normally I use Strathmore 140lb Watercolor Cold Press paper for all my backgrounds that are wet. I picked up some Strathmore 140lb Mixed Media vellum surface to try and I love it! I specifically purchased this paper to use when I stamp Art Impressions Girl Friend stamps to watercolor. I wanted something with a smoother surfaced. I usually use the back of the watercolor cold press paper. I haven't had a chance to try it yet, so I'm not sure how it will work yet.

Thanks for stopping by!
Have a happy and safe 4th of July!
09 10