Showing posts with label Simon Says Stamp. Show all posts

Monday, September 9, 2019

Six New Cards

Life Doesn't Have To Be Perfect 

I finally had time to take photos of the recent cards I created!

I was working on them before I went on a road trip over Labor Day to Kentucky to visit family. I just didn't get a chance to photo and blog them.

I'm happy to be back in the North where we don't have the humidity that they have in the South. It just about kills me, I hate it! I know we have humidity here in Minnesota, but nothing like they have there. Normally when we visit we either go in May, June or July when it's even worse. We had one day that we could tolerate and that was the first day we were there! Anyway, it was nice to see family.

Moving on.....my first card the background was created blending distress oxide inks - fired brick, worn lipstick and fossilized amber. I then spritzed the background with water to get the droplets where the water reacted. The leaves are from a die called Outline Clustered Leaves from Simon Says Stamp. The sentiment is from a stamp set by Reversed Confetti called The Most Beauty.
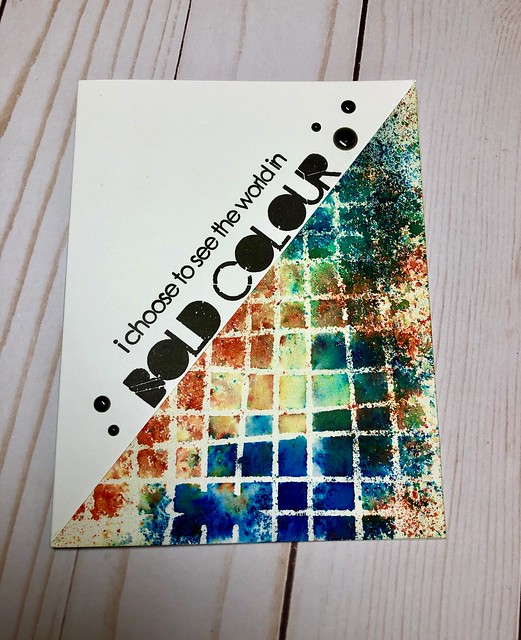
Bold Color 

For the card above and below I used a stencil called Wonky Grid from Altenew. 

I used Brusho Crystal Colours (which are similar to Ken Oliver's Color Burst). I used the colors gamboge, turquoise and cobalt blue. I laid my stencil down then sprinkled the power over the stencil and spritzed watered over it. I set a stamp block on top for a few minutes then lifted it. I cut the panel in two for two cards. The stamp used on the top card is called Bold Colour by Visibile Image. The sentiment used on the bottom card is from Simon Says Stamp called Handlettered Encouragement.

Feel Better 

Make Me Laugh 

For the card about and below I used a stencil from Altenew called Ombre Stripes.

I applied distress oxide inks over the stencil on both. The colors used for the top card are cracked pistachio, salty ocean and blueprint sketch. For the card below I used blueprint sketch, hickory smoke and wilted violet. After I blended the inks I spritzed both cards with water to get the inks to react. 

The top card uses a sentiment from Visible Image called So Much Stronger. The card below uses a stamp for Gina K Designs called Lettered and Lovely. 

Thank You 

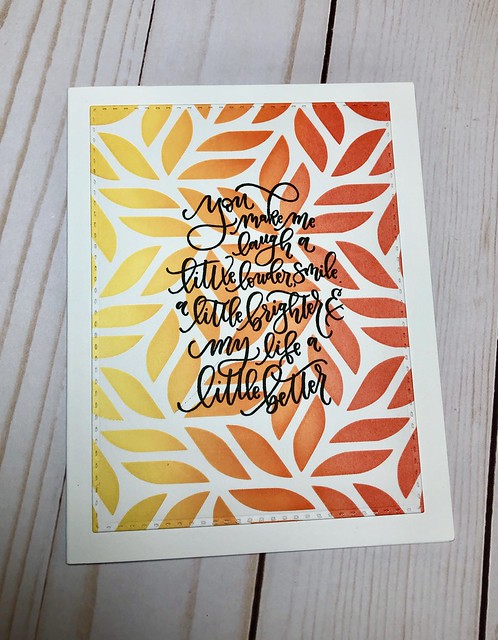
You Make Me Laugh 

For my last card I used a stencil from Gina K Designs that I applied distress oxide ink through. The colors I used are fossilized amber, ripe persimmon and candied apple. I die cut my panel using a die called double stitched rectangles from Our Daily Bread (they've changed their name to Divinity Designs LLC now). The sentiment is from Gina K Stamps called Lettered and Lovely.

fullsizeoutput_3668

I am working my way through the pile above. I'm basically just deciding what sentiments to use on them. I may decide at last minute to add stenciling, embossing paste or die cut into flowers......the possibilities are endless...... I'm trying to keep the pretty clean and simple.

I've been working on the details for a crop I'm hosting the end of October/beginning of November. This will be our second year going to this particular retreat. It's always so fun to get together with others for three nights. I never get anything done, but that's okay! I hope we keep going year after year. The place is always booked so you reserve it a year in advance. 

This year I'm going to be doing a very casual card class. So, I'm thinking of ideas so that I can make a few sample cards for them look at. We'll be doing watercolor, stencils, paste etc so all cards will turn out different. 

We also have one of the ladies doing a Chalk Couture class, so that will be fun. I took her class back in April and loved it!

That's it for now! Thanks for stopping by!

Tuesday, July 9, 2019

Altered Notebooks

fullsizeoutput_34a1 

About a week ago I picked up two fifty cent notebooks with the intention of altering the covers. This past Sunday I saw a blog post from Simon Says Stamp that showed an altered notebook and that's all it took for me to be inspired to try one! I went through my stash and picked things out to use. I was so inspired that I made two!

I flippin' love how both turned out! I haven't done anything to the back covers or the inside front and back covers. I'm not sure yet if I plan to or not. If I do I'll just cover them with patterned paper from one of my Tim Holtz papers. If I was giving them away I would, but if I'm going to use them I don't really need to. When the paper's gone I just have more art for my craft room!

fullsizeoutput_349b 

I've posted photos below of my progress along the way creating both of these notebooks. 

It takes awhile with all the drying time. 

fullsizeoutput_3485 

I added gesso to both covers. 

fullsizeoutput_3487 

I went through my stash and added patterned paper, dictionary paper and ephemera using distress collage medium.

fullsizeoutput_348f 

After the collage medium dried, I added some white paint. 

fullsizeoutput_3493 

After the paint dried, I used stencils to add distress grit-paste. 

fullsizeoutput_3495 

When all was dry, I added several different acrylic paint colors. 

I spritzed a lot of water to move the paint around and dried in between the colors. 

fullsizeoutput_3499 

After all the paint dried I added some distress crayon with my finger in vintage photo with my finger. 

fullsizeoutput_3483 

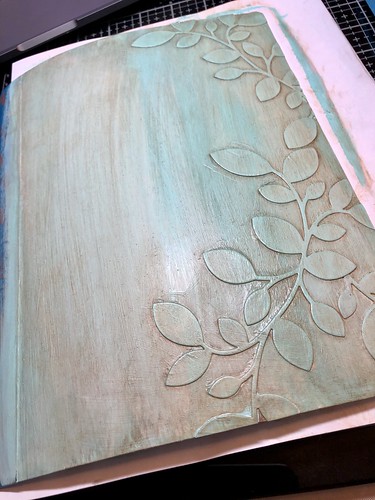
For the second notebook, I added gesso first and then die cut some leaves using a die from Simon Says Stamp and added acrylic paint. After the paint dried, I added the leaves using collage medium. 

fullsizeoutput_348b 

Once the paint dried, I added more paint drying in between layers. 

fullsizeoutput_345f 

When all paint layers were dry, I smudged some distress crayon in places with my finger. 

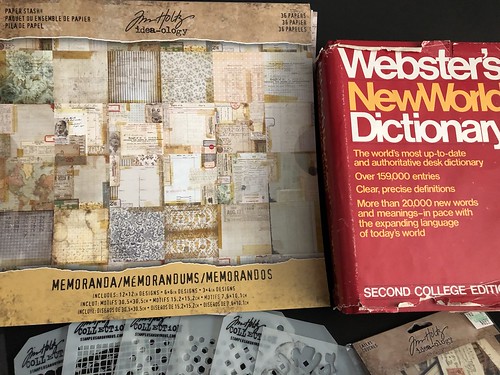
Below are the products I used. I missed adding a few products in the photos, but I've listed all the names below. 

p8Pg7z6ZR%2oyW+HgKsVDA 

g4eO3Tr9S8eMI+8VUeo5Iw 

gjsTFkveTBmOpbHDQ+r+qw 

nLTBvySNRNCU6ZaLKo+ilQ

I thought I had lost the dictionary pictured above! I would have been so sad if I hadn't been able to find it! I use dictionary paper for a lot of projects.

I cleaned my craft room a few months ago and put things where I thought they should go. Three times now I have been looking for a particular item and haven't been able to find them. When I clean I purge a lot and I'm always thinking I've gotten rid of something that I want to use. Thankfully, I have had to rip my room apart on several occasions but I have found the items that I've been looking for!
Thanks for stopping by!


Products used:
These were the products not pictured:
Simon Says Stamp: Clustered Leaves die
Tim Holtz Distress Paint - Vintage Photo
Tim Holtz Distress Oxide Ink - Vintage Photo

Products that were pictured:
Tim Holtz Distress products:
Crayons - Vintage Photo
Grit-Paste
Collage Medium
Paint - Picket Fence
Paint - Vintage Photo
Tim Holtz Idea-ology products:
Quote Chips
Hardware Heads
Fragments
Ephemera Pack - Snippets
Layers - Collector
Layer - Remnants
Paper Stash
Design Tape: Butterfly
Design Tape: Postal
Tim Holtz/Stampers Anonymous Layering Stencils:
Gradient Hex
Grid Dot
Linen
Gradient Square
Gradient Dot
ARTplorations Stencil: Happy Flowers
Master's Touch Acrylic Paint:
Scarlet
Virdian
Permanent Black
Violet
Yellow Med
Titanium White
Phthalocyanine Blue
Ranger Glossy Accents 


Thursday, December 13, 2018

Christmas Cards 2018

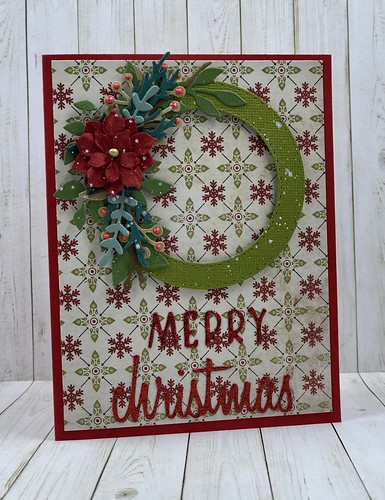
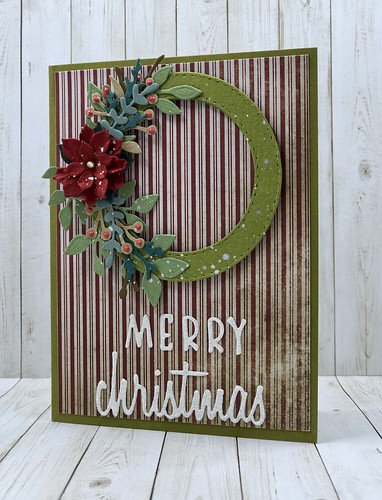
Merry Christmas Wreath

Christmas cards are one of the occasions that I love to create cards for. 

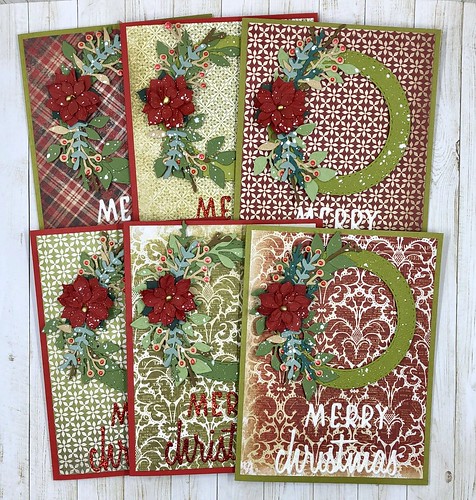
I've downsized my card list considerably. I used to attempt to make every card I sent out different. This year I decided to do something different for me. I created a small amount of one card design and then moved on to another design. 

I created these wreaths but changed up the background paper for each card. I didn't purchase any new Christmas cardstock this year. I just used what I had on hand. All of the cards shown below with the exception of the snowflake cards use Tim Holtz Idea-ology Paper Stash Tidings cardstock. I've had it for awhile and I love it. It's pretty much used up. I'll have to see if I can find another pad of it or see what other Christmas cardstock Tim Holtz has available. I love his products because they are so vintage. 

Merry Christmas Wreath

For my wreaths I die cut circles using the Double Stitched Circles from Our Daily Bread. All of the greenery was die cut using Sizzix Thinlits products. I used Tim Holtz Alterations Retro Merry Christmas, Holiday Words: Script - Christmas and Garden Greens. I used some miscellaneous poinsettia's that I picked up last year at Hobby Lobby. 

I did make my own poinsettia's using a Sizzix die. After I had them all together and I had sprinkled some Papericious Frosting Powder on them, I didn't like them. I just set them aside for another project. 

I used glitter cardstock for the sentiments. 

After the wreaths had been assembled I splattered them with Perfect Pearls. This card was my favorite!

Merry Christmas Wreath

For the next card I used the same paper. 

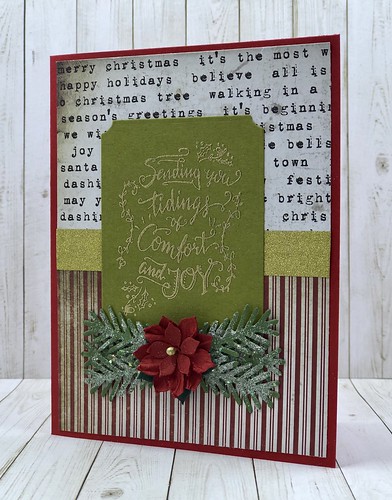
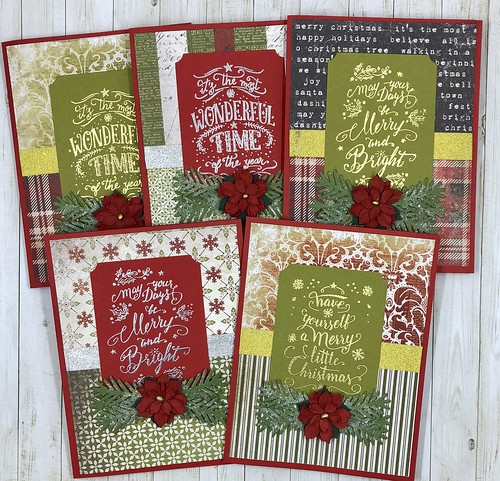
I heat embossed the sentiments using Hero Arts Gold and Silver embossing powder. 

Merry Christmas

All of the sentiments are from the Stampers Anonymous Tim Holtz Mini Doodle Greetings stamp set.

I bought this set and the larger set last year and this is the first time I've used them!

I added a strip of Tim Holtz Idea-ology gold deco tape to each card. 

Merry Christmas

For the greenery on my cards I used Concord and 9th's Take A Bough Die. 

I used Rangers Tim Holtz Distress collage medium that I spread on with a brush and then sprinkled on frosting powder from Papericious. I first saw this stuff at a stamp show I went to this past summer at the Heartfelt Creations booth. The poinsettia is from Hobby Lobby. 

Merry Christmas

This card again uses the same paper as the two cards shown above.

For the sentiment I diecut Merry Christmas using the Sizzix Tim Holtz Alterations Retro Christmas die. The greenery is Holiday Greens and Garden Greenery. The same dies I used above on the wreath card. For both cards I added Ranger Ruby Red Liquid Pearls to the Kraft colored cardstock. I again spritzed perfect pearls over the greenery. 

Merry Christmas

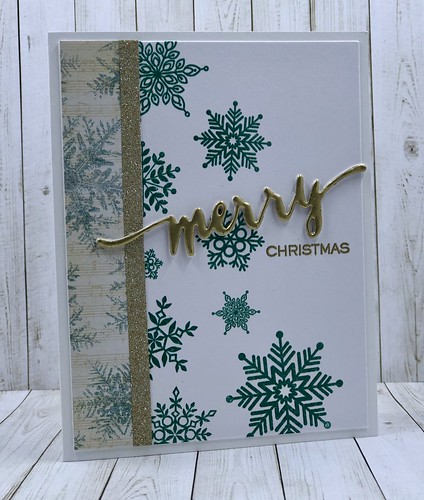
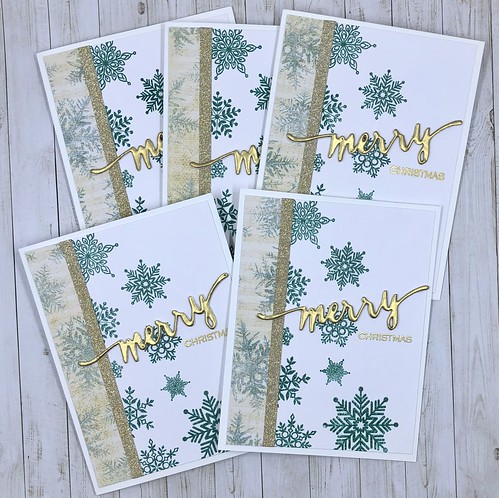
For my snowflake cards I heat embossed snowflakes using the Simon Says Stamp Lots of Snowflakes stamp set. I stamped them with Distress Oxide ink in evergreen bough and then used Hero Arts clear embossing powder. 

I cut a strip of patterned cardstock from a paper pad by The Paper Studio called Old World Winter.

I added a strip of Tim Holtz Idea-ology gold deco tape.

Merry Christmas Snowflakes

The stamp and die are from WPlus9 called Hand Lettered Holiday. 

I cut three Merry die cuts. Using one I added VersaMark several times and kept heat embossing it with Hero Arts gold embossing powder until I was satisfied with how it looked. I then adhered three die cuts together. I then stamped the Christmas sentiment and heat embossed it with gold embossing powder. 

Merry Christmas Snowflakes

I happened to be up in Plymouth last Saturday so I popped into Anchor Paper.

I found this die from Hero Arts called Snowflakes & Ornaments Fancy Die. 

There's another piece to the die so that you can make the snowflake look like an ornament.

I chose not to use that piece for this card. 

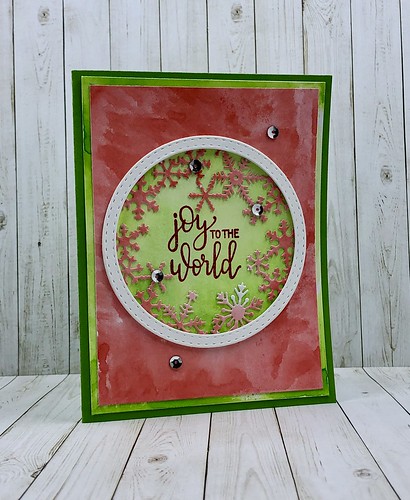
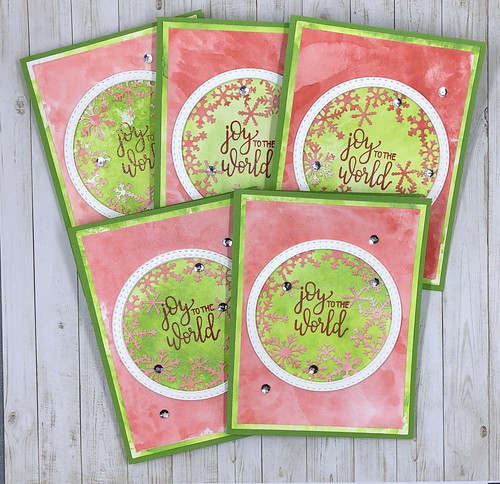
I watercolored two pieces of cardstock. One with Distress ink in candied apple and one in mowed lawn for each card. I die cut the circle snowflake out of the candied apple cardstock and then adhered it to the mowed lawn cardstock. 

I then die cut three circles for each card using white cardstock and the double stitched circles die from Our Daily Bread. After adhering them together I added them to the front of the card piece around the snowflakes.

Joy To The World

I added a few silver sequins to the front of each card and they were done!

Joy To The World

I still have a few cards that I'm working on but this is the majority of the cards I made this year. 

I'll post any others I send out in another post. 

Thanks for taking the time to stop by!

Tuesday, November 6, 2018

Simon Says Stamp Anything Goes Challenge

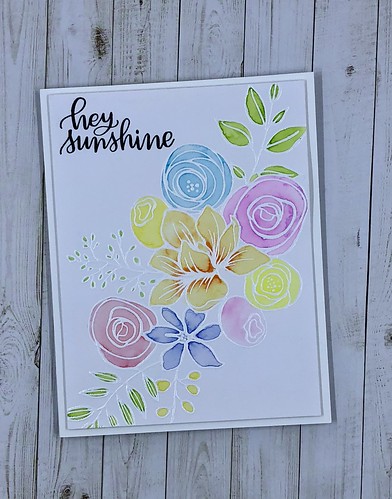
Hey Sunshine 

This weeks Simon Says Stamp Challenge is Anything Goes using their products. 

I definitely don't have to worry about not having any of their products, because I love them!! So I'm linking my card to their challenge!

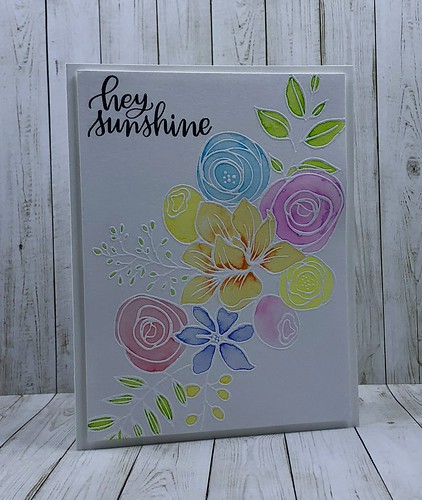
I had created this panel awhile ago. I just didn't know what sentiment I wanted to use with it to make a card. I've looked at it many times and just couldn't make a decision. I also didn't know if I wanted to add color around the image or not. I finally just pulled out a stamp set and randomly chose a sentiment. I don't know why it's so hard to do that sometimes. 

Hey Sunshine 

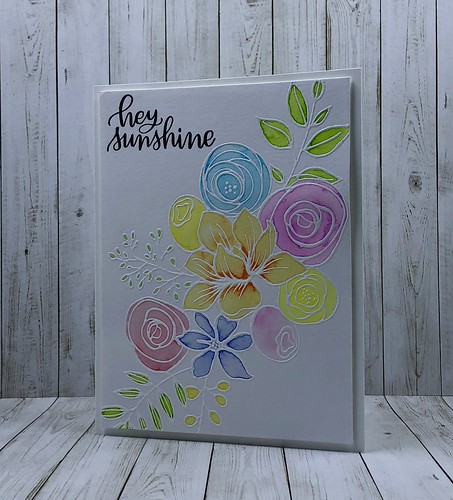
I heat embossed my image with white embossing powder and then watercolored the image with Zig Clean Color markers. I'm still learning when it comes to coloring images, but I think I'm getting a little better. 

The stamp sets I used from Simon Says Stamp are the Handlettered Encouragement for the sentiment and Sketched Flowers for the image. I have seen so many gorgeous cards using the Sketched Flowers stamp set. I'm normally drooling over them because they are just amazing!

Hey Sunshine

Thanks for taking the time to stop by!
Monday, November 5, 2018

Freshly Made Sketches 361 Challenge

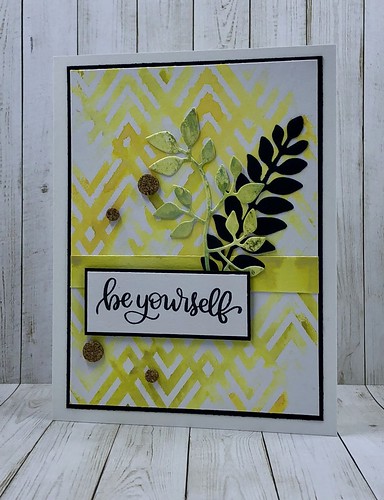
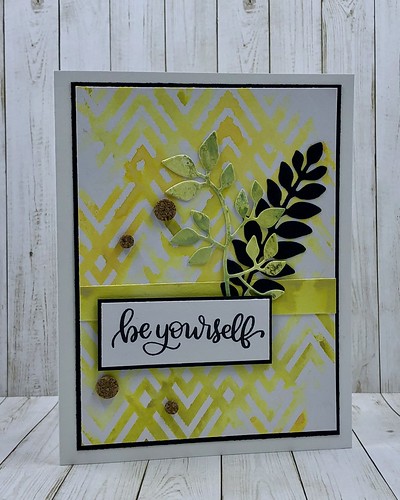
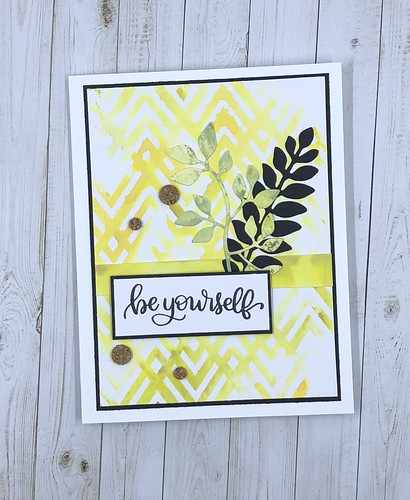
Be Yourself

Another day, another challenge!

Today's card is going to be linked to the Freshly Made Sketches challenge.

The sketch is below and my card is my interpretation of it.


Be Yourself 

Today I'm trying to link all the cards I made at a crop this past weekend to the challenges that are ending in the next day or so. I think right now I have three including this one that I have to link. 

I had to wait until I got home to get decent photos so I could submit them. 

I make a lot of backgrounds when I don't know what I want to do while in my craft room. I usually toss them into a container until I decide if I'm going to use them for a card or die cut sentiments from them. I was able to use a few of my backgrounds this past weekend and create cards!

For this card I used a PaperTrey Ink stencil along with distress oxide ink to create a watercolor background. The colors I used were wild honey and crushed olive. 

I die cut some garden greens using a Tim Holtz thinlet die from Sizzix. I've started die cutting more and just tossing them in a container for use on cards at a moments notice. 

The sentiment is from Simon Says Stamp. The set is called Handlettered Encouragement. I love all stamps from Simon Says Stamp. They are one of my favorite companies.

I finished off the card with some cork bling from Recollections. 

That's it! Now on to the next card!

Be Yourself

Thanks for taking the time to stop by!
Sunday, November 4, 2018

CAS on Sunday Challenge #145

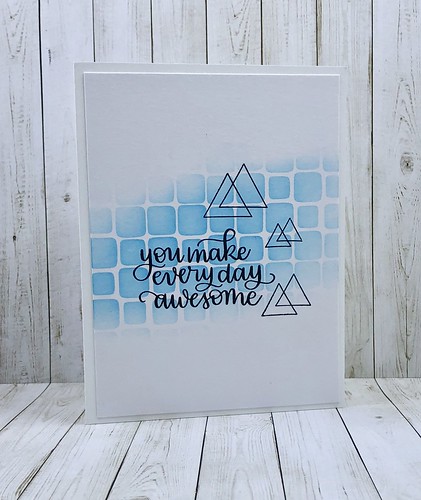
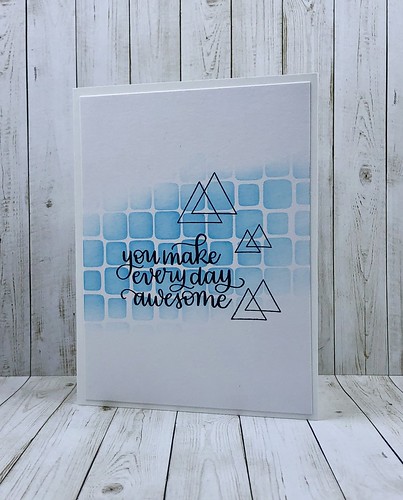
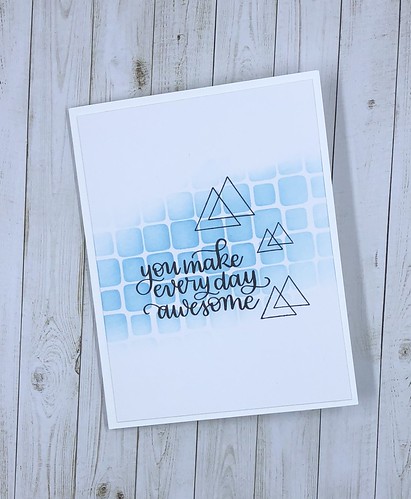
Awesome 

This is my clean and simple card for the challenge going on over on the CAS on Sunday: Challenge #145 blog. 

I was at a scrapbook retreat the last four days with a lovely, lively fun group of women. We had a blast! I don't usually get a lot done at these events because I spend more time socializing than I do crafting. I did get quite a few cards done for some challenges going on this week and this is the first one that I'm posting. Many more to come in the next few days!
Awesome 

I really love clean and simple cards. The theme for this card is to make a card to brighten someones day. That's not hard for me because I have a lot of stamps sets with positive sentiments, which are my favorite!

This card was pretty easy to put together. I applied distress oxide ink in mermaid lagoon over a Tim Holt layering stencil with a stencil brush. I don't have all my stuff put away yet and I neglected to write down the name of stencil. I stamped the triangles using the stamp set from Simon Says Stamp called Perfect Shapes. The sentiment is also from Simon Says Stamp called Handlettered Encouragement. 

Awesome

The crop retreat I was at is in a cute little town in Buffalo, MN. On the first day of the crop I maybe got one card finished. The second day I was gone for quite a while because a few of us took a field trip to St. Cloud, about 50 miles or so away so that we could go to this wonderful craft store called Crafts Direct. The third day the same few of us went shopping around Buffalo, MN where the crop was held because all the stores were open. There are so many fun little boutiques, occasional sales and antiques stores to go through! We didn't hit them all but we did get to quite a few. 

Saturday evening I really got busy so that I would have cards for the challenges I want to participate in. I had a fantastic time, but it's back to reality and that means going back to work! Thankfully I was smart and took an extra day off so I can get all my stuff put away and just rest!

Thanks for taking the time to stop by!

Thursday, October 25, 2018

Simon Says Flicker Challenge 108!


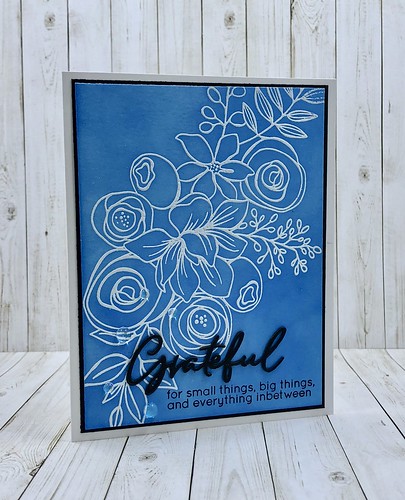
Grateful

I am really getting this card posted to the challenge last minute!

I'm normally running behind, but not this late!

My card is for the Simon Says Stamp Flickr Challenge and it ends at 9am today!

I wanted to submit one more card because the Simon Says Stamp Flickr Challenges are one of my favorites and I love the "Anything Goes" challenges. 

Simon Says Flicker Challenge 108! Anything Goes

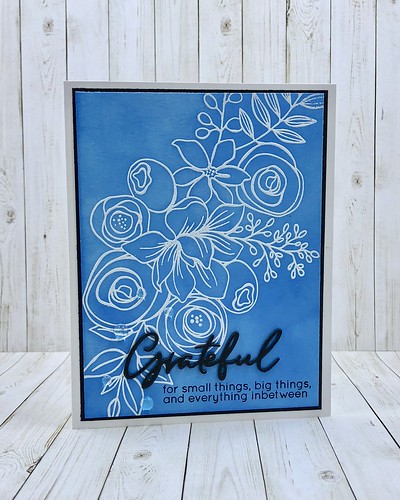
Grateful 

I love this stamp set! 

I actually created this background and two others at the same time. I've posted one card, but didn't know what sentiment I wanted to use on the other two. So this is the second one and I still have one more card to post. 

Grateful 

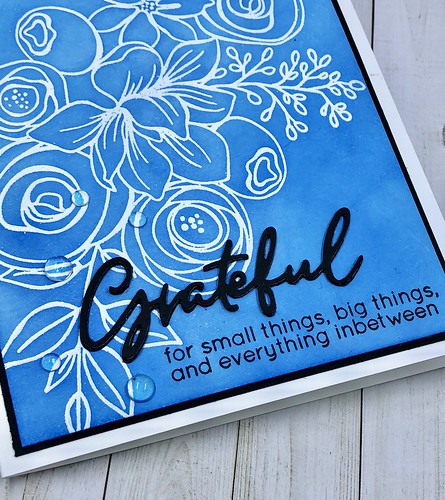
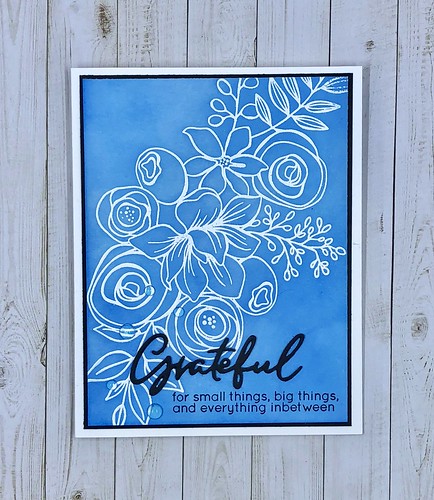
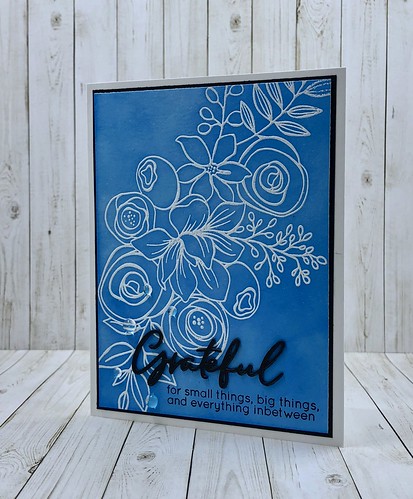
My background was created using distress oxide ink in salty ocean.

I stamped the image with versamark ink and then heat embossed with white embossing powder.

I then added the ink to my craft mat, spritzed water and dipped my cardstock into it and let it dry. 

The stamp set is called Sketched Flowers by Simon Says Stamp.

Grateful 

The die and sentiment is from Sugar Pea Designs called Grateful Greetings.

The stamp set has quite a few sentiments. I love this one!

I added a few clear sparkling droplets to finish off the card. 

Grateful

Thanks for taking the time to stop by!

Thursday, October 18, 2018

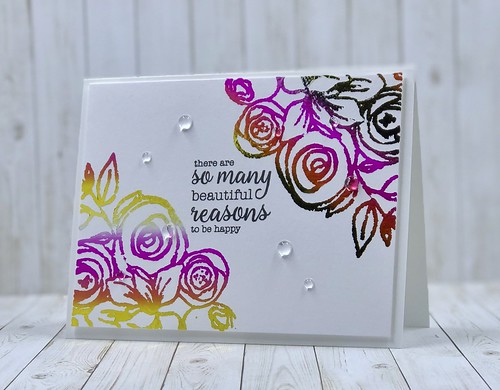
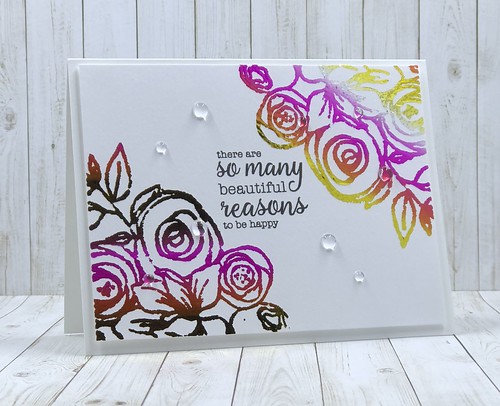
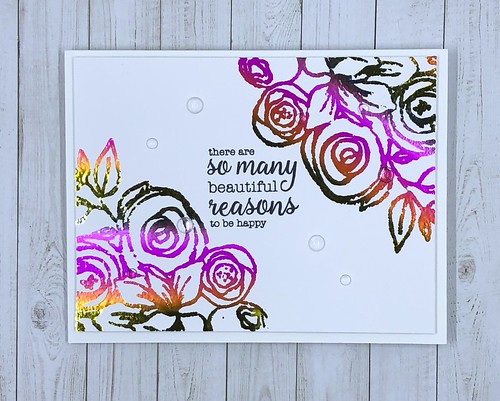
So Many Reasons.....

So Many Reasons

This is my card that I'm linking to the three challenges below.


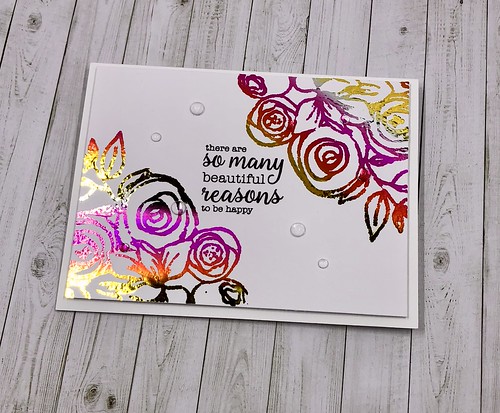
So Many Reasons 

I was scrolling through some YouTube videos on my lunch hour and came across one by Jennifer McGuire where she did some foiling. Unfortunately I didn't save the video and can't find it so that I can link to it. I searched her videos and she has quite a few on foiling. 

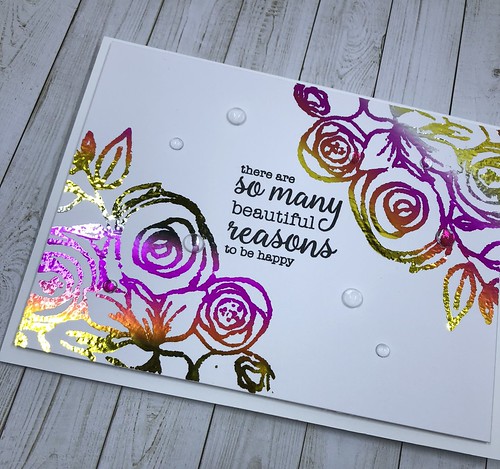
So Many Reasons 

Her directions were pretty easy. She stamped her image with versamark ink and then heat embossed with white embossing powder. After that you add foil on top of the image and then run it through your laminator. Easy peasy. She didn't even use a piece of parchment paper, she just ran it through the machine without it. I followed her directions and was very happy with the results.

So Many Reasons 

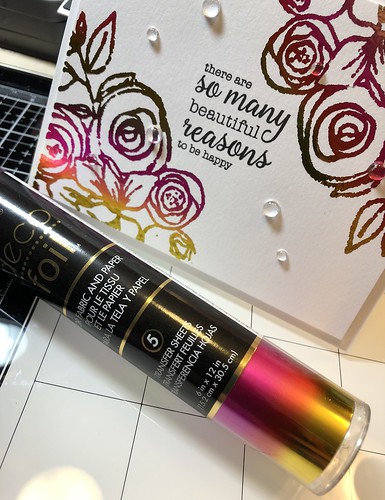
I used Therm-O-Web's Summer Rainbow Deco Foil.

So Many Reasons 

I wish I could have taken a better photo. It's really hard to capture shine from the foil. In my photos some of the images look darker than they really are. 

So Many Reasons

For my image I used the stamp set Sketched Flowers by Simon Says Stamp. The sentiment is also from Simon Says Stamp. The stamp set is called Uplifting Thoughts. I added some clear bling to finish off my card.  

Thanks for taking the time to stop by!

09 10