Showing posts with label Ranger. Show all posts

Tuesday, August 13, 2019

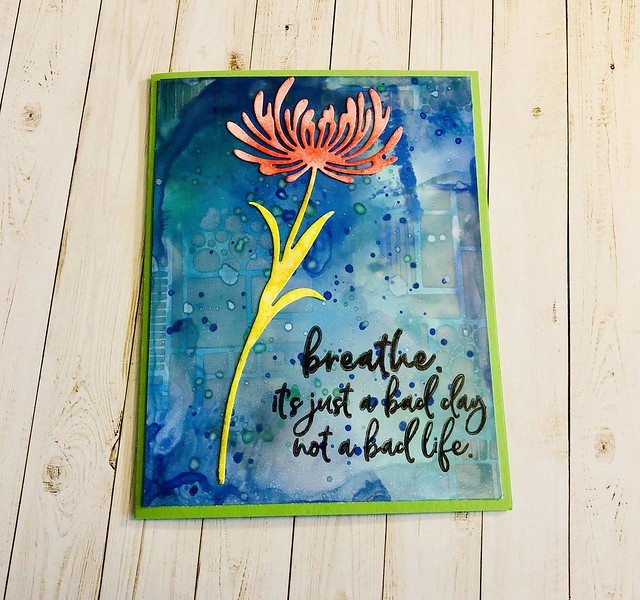
Breathe

Breathe


I'm back again with another card for three different card challenges!

I'm adding this card to the No Patterned Paper challenge for Dragonfly Dreams, the Anything Goes challenge for Dare 2B Artzy and I'm going to add a second card to The Flower Challenge. 

For my background I used four distress oxide inks. I used evergreen bough, hickory smoke, mermaid lagoon and blueprint sketch. I added the ink to my Tim Holtz glass mat and spritzed water over the ink. I took my alcohol ink cardstock and kept swiping into the ink. I used my heat tool to dry in between layers and proceeded until I was happy with the background. 

After the background was dry, I used the Wacky Boxes stencil from Dare 2B Artzy randomly on the background with hickory smoke distress ink. I splattered evergreen bough and blueprint sketch inks over the background with a paint brush. Once I made sure the ink was dry, I went over the background with Distress Micro Glaze. Because I had used oxide inks on alcohol ink cardstock the background looked a little milky. Using the Distress Micro Glaze makes the color more vibrant. It also seals the background. 

The flower is from the Sizzix Tim Holtz Wildflowers dies. To color the flower I used distress ink in these colors: crushed olive, peeled paint, mustard seed, worn lipstick and barn door. 

The sentiment is from Picket Fence called It's Going To Be Okay. I stamped it using my MISTI with Ranger archival ink in black soot. Instead of using a white card base like I normally do, I used a base from Papertrey Ink called new leaf. 


Thanks for stopping by!

Monday, August 12, 2019

Creativity Takes Courage

Creativity Takes Courage

Hello and happy Monday! Is there such a thing as happy Monday?! I didn't used to think so. Now that I don't have to get up and head to work, I believe there is!

I haven't posted anything on my blog for about a month. That's because I really haven't created anything. I'm never not doing something in my craft room, I just either haven't finished a project or I'm putzing around with something. 

I've been in sort of a creative slump lately though. I always know what I want to do, it's just getting it done. I'm also guilty of having too many projects going on at once, which is what I have going on right now. 

I always sift through the emails that I get for card challenges. I love card challenges so much! Over the weekend one caught my eye for The Paper Players. This one is a color challenge. You are to use black, white and one other color. Well, I knew right away that I would be doing this challenge because it's a no brainer for me. These are the kind of challenges I like.  

While I was at it, I looked to see if there were any other challenges I could submit my card to. I found that I would be able to add my card to The Flower Challenge. Flowers have to be the main focal point and my card fits the mold for that one. 

For my card I used an older Tim Holtz embossing folder from Sizzix for the background. I don't know what the name of this folder is as I don't have the packaging and I neglected to write the name on the folder. 

I've been die cutting tons of Tim Holtz Sizzix Thinlets Wildflowers #1 and #2 and watercoloring them for use in future projects. I decided that Rusty Hinge Distress Ink would be the color that I would go with for this challenge. I love the color rust. I just watercolored a sheet of watercolor paper, let it dry naturally and die cut the wildflowers. 

For my sentiment I used a sticker from the Small Talk sticker book from Tim Holtz Idea-Ology. I diecut a banner using the Simple Strips Banner Die from Taylored Expressions. 

My card is linked to the two challenges below.


Thanks for stopping by!

Thursday, December 13, 2018

Christmas Cards 2018

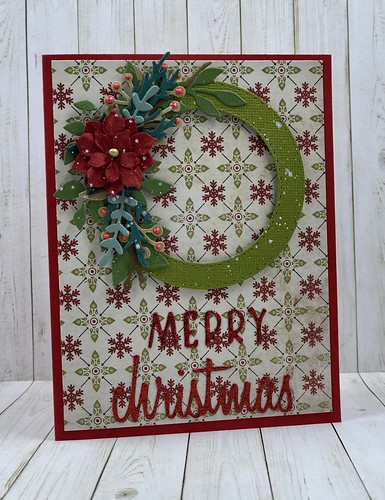
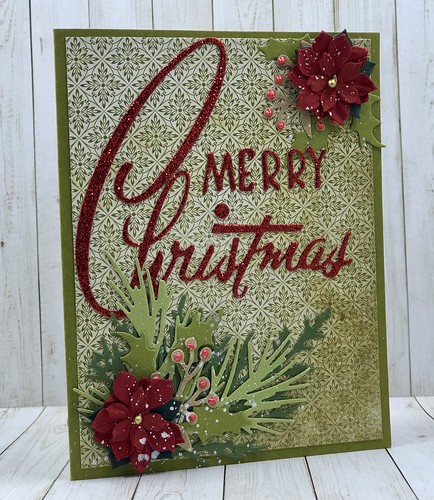
Merry Christmas Wreath

Christmas cards are one of the occasions that I love to create cards for. 

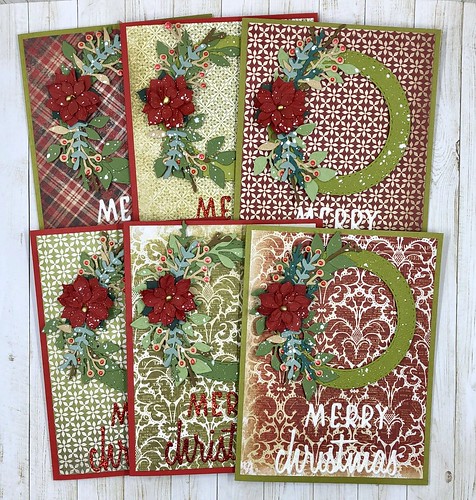
I've downsized my card list considerably. I used to attempt to make every card I sent out different. This year I decided to do something different for me. I created a small amount of one card design and then moved on to another design. 

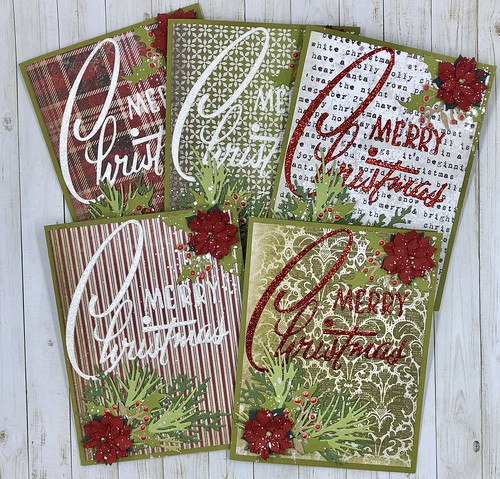
I created these wreaths but changed up the background paper for each card. I didn't purchase any new Christmas cardstock this year. I just used what I had on hand. All of the cards shown below with the exception of the snowflake cards use Tim Holtz Idea-ology Paper Stash Tidings cardstock. I've had it for awhile and I love it. It's pretty much used up. I'll have to see if I can find another pad of it or see what other Christmas cardstock Tim Holtz has available. I love his products because they are so vintage. 

Merry Christmas Wreath

For my wreaths I die cut circles using the Double Stitched Circles from Our Daily Bread. All of the greenery was die cut using Sizzix Thinlits products. I used Tim Holtz Alterations Retro Merry Christmas, Holiday Words: Script - Christmas and Garden Greens. I used some miscellaneous poinsettia's that I picked up last year at Hobby Lobby. 

I did make my own poinsettia's using a Sizzix die. After I had them all together and I had sprinkled some Papericious Frosting Powder on them, I didn't like them. I just set them aside for another project. 

I used glitter cardstock for the sentiments. 

After the wreaths had been assembled I splattered them with Perfect Pearls. This card was my favorite!

Merry Christmas Wreath

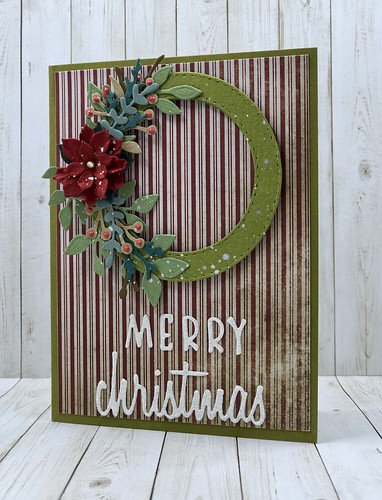
For the next card I used the same paper. 

I heat embossed the sentiments using Hero Arts Gold and Silver embossing powder. 

Merry Christmas

All of the sentiments are from the Stampers Anonymous Tim Holtz Mini Doodle Greetings stamp set.

I bought this set and the larger set last year and this is the first time I've used them!

I added a strip of Tim Holtz Idea-ology gold deco tape to each card. 

Merry Christmas

For the greenery on my cards I used Concord and 9th's Take A Bough Die. 

I used Rangers Tim Holtz Distress collage medium that I spread on with a brush and then sprinkled on frosting powder from Papericious. I first saw this stuff at a stamp show I went to this past summer at the Heartfelt Creations booth. The poinsettia is from Hobby Lobby. 

Merry Christmas

This card again uses the same paper as the two cards shown above.

For the sentiment I diecut Merry Christmas using the Sizzix Tim Holtz Alterations Retro Christmas die. The greenery is Holiday Greens and Garden Greenery. The same dies I used above on the wreath card. For both cards I added Ranger Ruby Red Liquid Pearls to the Kraft colored cardstock. I again spritzed perfect pearls over the greenery. 

Merry Christmas

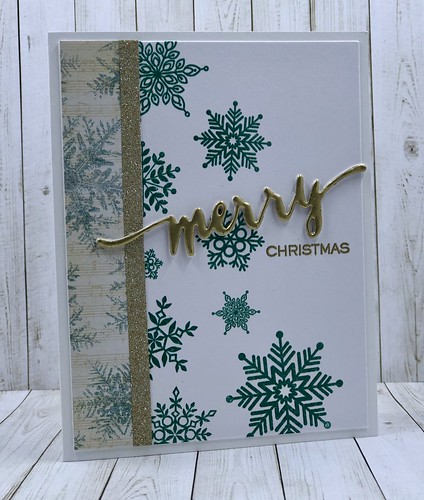
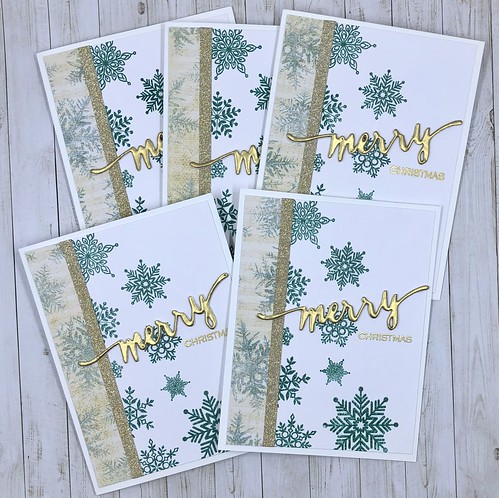
For my snowflake cards I heat embossed snowflakes using the Simon Says Stamp Lots of Snowflakes stamp set. I stamped them with Distress Oxide ink in evergreen bough and then used Hero Arts clear embossing powder. 

I cut a strip of patterned cardstock from a paper pad by The Paper Studio called Old World Winter.

I added a strip of Tim Holtz Idea-ology gold deco tape.

Merry Christmas Snowflakes

The stamp and die are from WPlus9 called Hand Lettered Holiday. 

I cut three Merry die cuts. Using one I added VersaMark several times and kept heat embossing it with Hero Arts gold embossing powder until I was satisfied with how it looked. I then adhered three die cuts together. I then stamped the Christmas sentiment and heat embossed it with gold embossing powder. 

Merry Christmas Snowflakes

I happened to be up in Plymouth last Saturday so I popped into Anchor Paper.

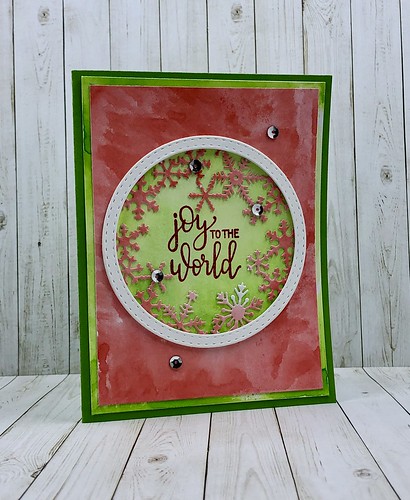
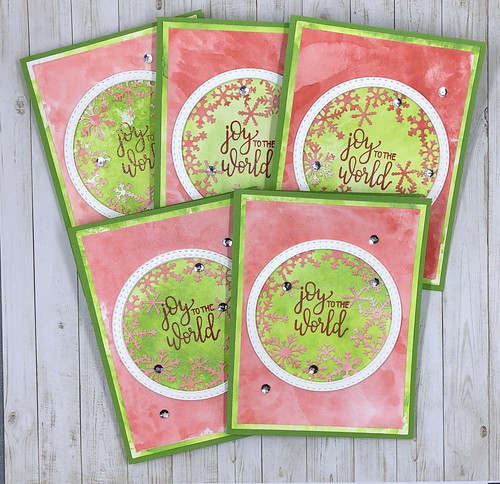
I found this die from Hero Arts called Snowflakes & Ornaments Fancy Die. 

There's another piece to the die so that you can make the snowflake look like an ornament.

I chose not to use that piece for this card. 

I watercolored two pieces of cardstock. One with Distress ink in candied apple and one in mowed lawn for each card. I die cut the circle snowflake out of the candied apple cardstock and then adhered it to the mowed lawn cardstock. 

I then die cut three circles for each card using white cardstock and the double stitched circles die from Our Daily Bread. After adhering them together I added them to the front of the card piece around the snowflakes.

Joy To The World

I added a few silver sequins to the front of each card and they were done!

Joy To The World

I still have a few cards that I'm working on but this is the majority of the cards I made this year. 

I'll post any others I send out in another post. 

Thanks for taking the time to stop by!


Sunday, August 12, 2018

Hand Stamped Sentiments Sketch Challenge #295

Hand Stamped Sentiments Sketch Challenge #295 

I'm sharing a card I created for the Hand Stamped Sentiments challenge.

I'm getting in on this challenge by the skin of my teeth. 


This is a very clean and simple sketch. I like that.

Hand Stamped Sentiments Sketch Challenge #295

I used very minimal supplies for this card.

I used a leftover piece of water colored cardstock from a card I created yesterday. You can see that card here.

Hand Stamped Sentiments Sketch Challenge #295

This card is linked to this challenge:
Hand Stamped Sentiments Sketch Challenge #295

Thanks for stopping by!
Wednesday, September 13, 2017

Atlantic Hearts Sketch Challenge #229

Atlantic Hearts Sketch Challenge


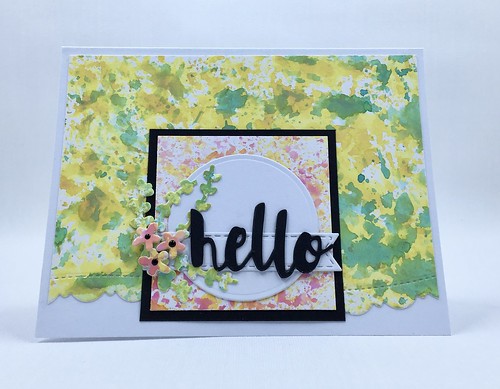
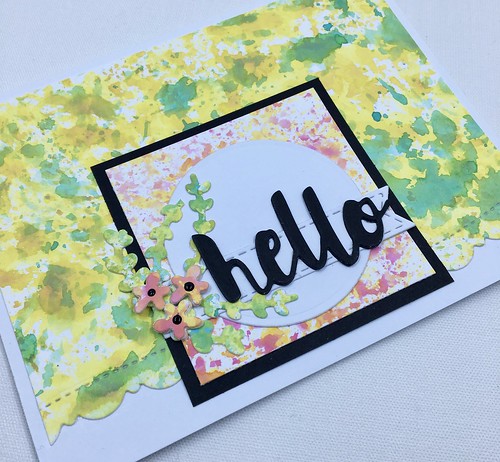
It's hard to believe, but I used five dies for this card! I die cut the circle, the stitched banner, the hello sentiment, the flowers and leaves and the border on my background. All supplies are listed below. 

For my background I used distress oxide inks. I added the ink to my craft mat and spritzed water on it. I then crumpled up some plastic wrap, dipped it into the various inks and then dabbed it onto my card panel. I wasn't quite sure what ink combinations I wanted to use. I looked on my Pinterest board that I  have set up called Color Combinations and decided to use one that I pinned from Simon Says Stamp. Since I don't have mustard seed in distress oxide, I substituted fossilized amber. 

For my flowers and leaves I used a wreath die from Spellbinders. I just cut it apart and used what I wanted. I used the leftover scraps from by background pieces. 

Atlantic Hearts Sketch Challenge

This is my card as a Design Team member for this weeks Atlantic Hearts Sketch Challenge! Stop by and play along if you can, we'd love to have you!

Supplies:
Kat Scrappiness: Fancy Scalloped Stitched Border Dies
Taylored Expressions: Stitched Banner Stacklets Dies
Spellbinders Nestabilities: Standard Circles Small
Spellbinders Shapeabilities: Wreath
Simon Says Stamp: Painted Hello Die
Ranger: Distress Oxide Ink: fossilized amber, spiced marmalade, peacock feathers, picked raspberry
Nuvo Crystal Drops: Ebony Black

Thanks for stopping by!
Sunday, August 6, 2017

Craft Stamper Magazine Challenge: Anything Goes

Life's A Journey

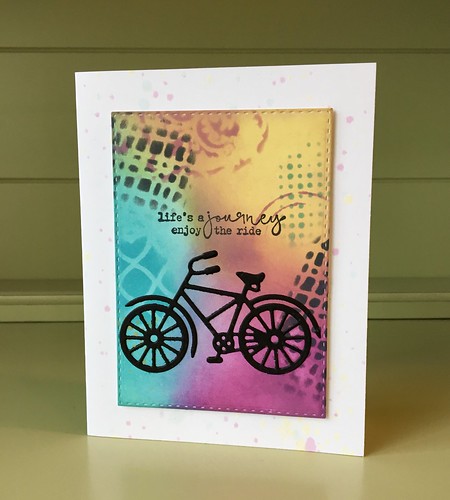
My card today is for the Anything Goes challenge over on the Craft Stamper Magazine Blog. While I love sketch and color challenges, anything goes challenges rate pretty high with me. Sometimes I never know what direction I'm going in or what I'm doing until my project is almost finished.

I had the random rectangle of card stock that I had die cut while working on another card and not wanting to waste it, I started inking and adding different stenciled bits to it. That's how this card evolved.

Life's A Journey 

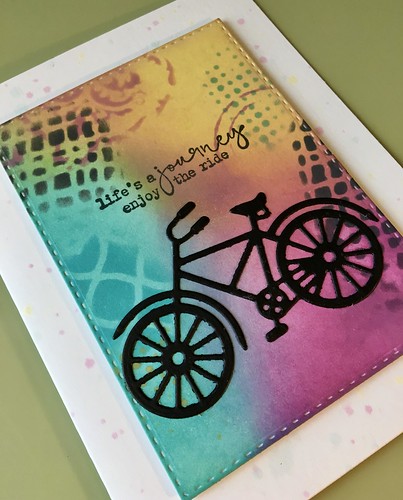
I used five different stencils on my panel. Four from Tim Holtz Stampers Anonymous and one from TCW. Three Distress Oxide inks were blended together on my card panel. I used black to highlight. I took the extra ink left on my craft mat and splattered it onto the card base. All product names are listed below. 

Life's A Journey

After die cutting my bicycle image and stamping the sentiment, I added foam tape to my panel before adding the panel to my card to give it some dimension. 

Supplies:
Cardstock
Stamp - Unity Stamp Co - For The Guys
Versafine Onyx Black Ink
Distress Oxide Ink: peacock feathers, fozzilized amber, black soot, seedless preserves
Stampers Anonymous Tim Holtz Stencils: Dot Fade, Latticwork, Gothic, Burlap
TCW Stencil: Mini Well Rounded
Dies: Our Daily Bread Designs: Double Stitched Rectangles, Ellentina Cutting Dies: Bicycle

Thanks for stopping by!
Saturday, August 5, 2017

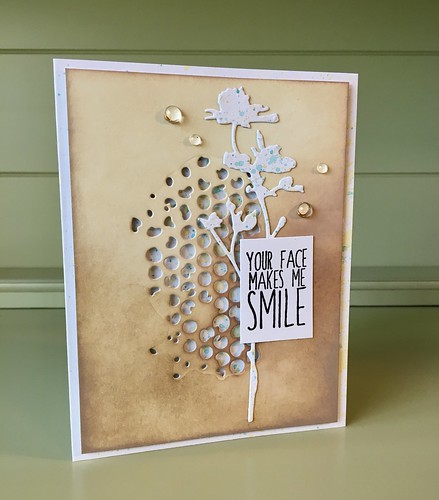
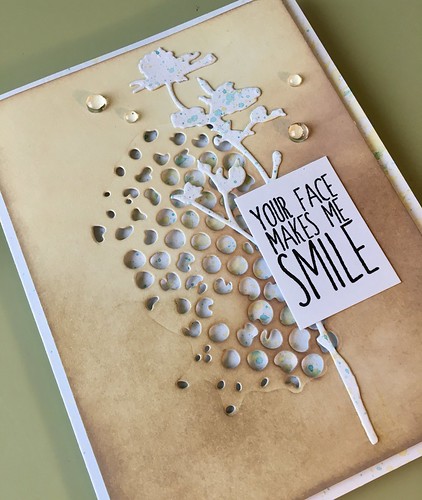
Your Face Makes Me Smile

Your Face....

I created this card for the Design Team Call over at Kat Scrappiness. In order to enter you had to create a new project. I like to combine cards I create with a few other challenges if I find something that is interesting me. Most of the time I just do one or two challenges at a time with one blog post. Today's card is also linked to the Simon Says Wednesday Challenge: Splatter It. The challenge also uses Ranger products and of course splatter on your card. I'm also linking my card to the Simon Says Flickr group challenge.

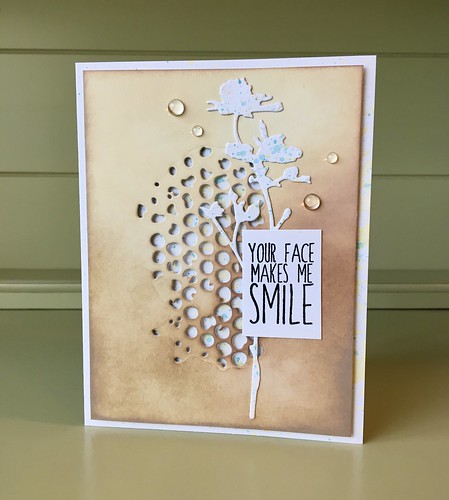
For my Ranger product I used Distress Oxide Inks. Five inks were used. My card base was splattered with peacock feathers and spiced marmalade. Splattering is messy and so much fun! For my card panel I used three inks - frayed burlap, vintage photo and antique linen.
Your Face....

The die I used is the Sizzix Tim Holtz wildflowers. I splattered it with peacock feathers and spiced marmalade. Foam tape was added so that my card panel is popped up. The splatters peek from behind the Sizzix Tim Holtz mixed media die cut that I used on my card panel. Sentiment is from Simon Says Stamp called Choose Happy. The bling I used is called sparkling clear droplets from Kat Scrappiness. All products are listed below.

Your Face....

I just love these clear droplets! They are my new favorite embellishment!


Supplies:
Cardstock
Stamp - Simon Says Stamp - Choose Happy
Versafine Onyx Black Ink
Distress Oxide Ink: spiced marmalade, antique linen, vintage photo, frayed burlap, peacock feathers
Sizzix - Tim Holtz Wildflowers Die, Tim Holtz Mixed Media Die
Bling - 4 & 6mm sparkling clear droplets from Kat Scrappiness

Thanks for stopping by!

Sunday, July 23, 2017

CAS(E) this Sketch #231

Today....

I love clean and simple (CAS) cards. When I first started making cards I added too much stuff. I look back on my first cards and I just cringe. Over time my style has changed dramatically. Below is the sketch my card is based on. 


CAS(E) this sketch!

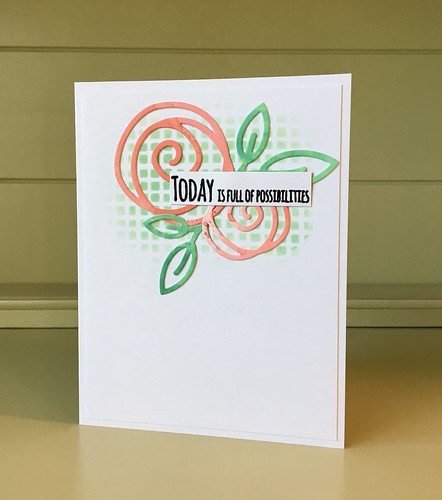
This was such a great sketch to work from! I added some ink to cardstock, dried it and then die cut my flowers and leaves. The background was stenciled using one of the green inks that I used in the leaves. The sentiment was heat embossed. I really like this sketch. I have some more ideas rolling around in my head for other cards to create with it. Supplies used are listed below.

I have also linked this card to the Simon Says Stamp Anything Goes Challenge #76 on Flickr.

Supplies used on this card:
Ranger Distress Oxide Ink: cracked pistachio, candied apple, worn lipstick, lucky clover
Simon Says Stamp: Uplifting Thoughts Stamp Set & Single Roses Die
Ranger Tim Holtz Layering Stencil: Linen
Hero Arts: Clear embossing powder
Ink: versafine - onyx black

Thanks for stopping by!

Wednesday, March 8, 2017

Inspirational Cards

IMG_0434

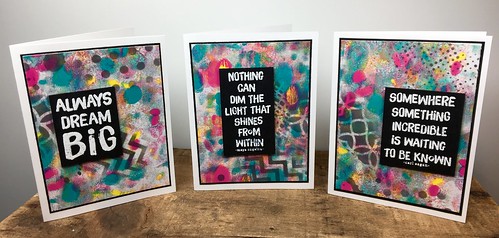
I love creating backgrounds for cards!

When I'm not in the mood to work on anything, I make backgrounds. I have a whole container of them! Every now and then I'll look through my stash and pull something out that inspires me. 

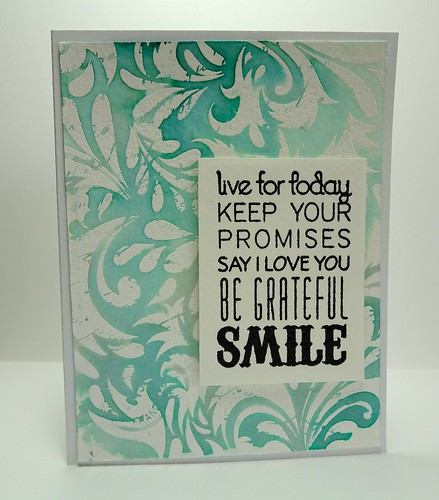
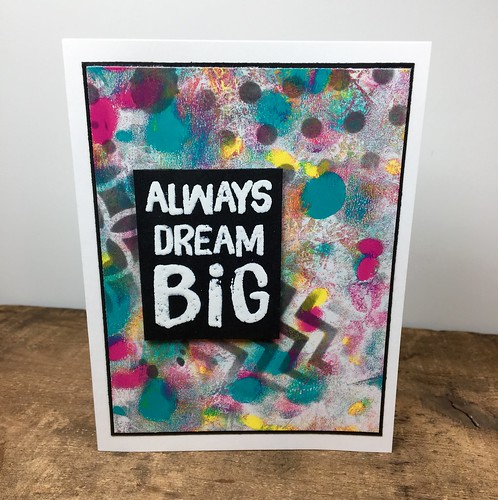
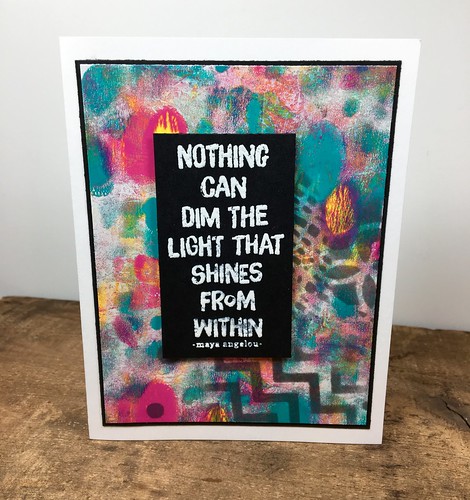
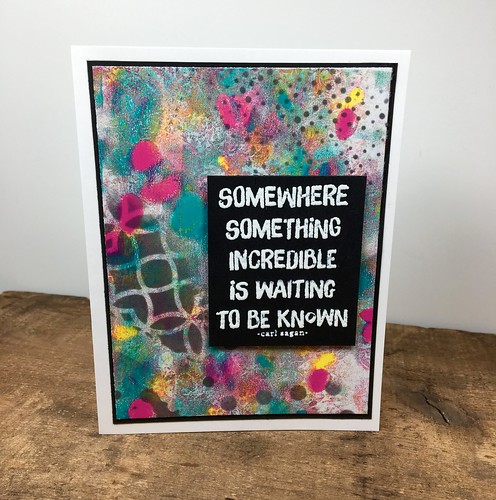
For the backgrounds on these cards I started out with an 8-1/2 x 11 sheet of cardstock, my Gelli Arts plate and some Ranger Ink Dylusions Paint. When I pulled this sheet out of my basket I decided to take some stencils from my stash and added a few patterns here and there. 

Always Dream Big

The sentiments I used on these cards are from Reverse Confetti.

Nothing Can Dim The Light

I love how they turned out.

I heat embossed the sentiments with Hero Arts white embossing powder. I didn't cover the sentiments completely because I like the grungy look of how they melted while only being partially covered.

Something Incredible

Thanks for stopping by!

Saturday, October 8, 2016

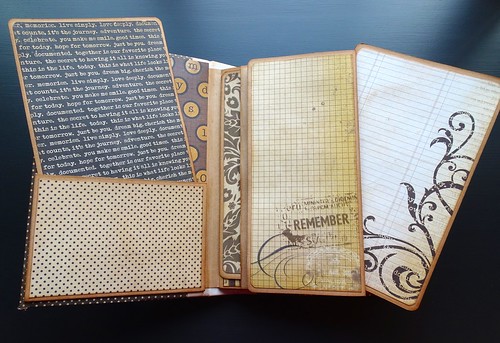
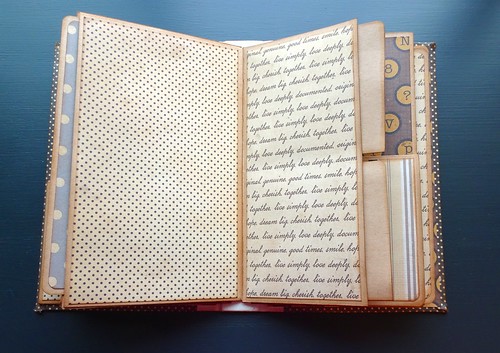
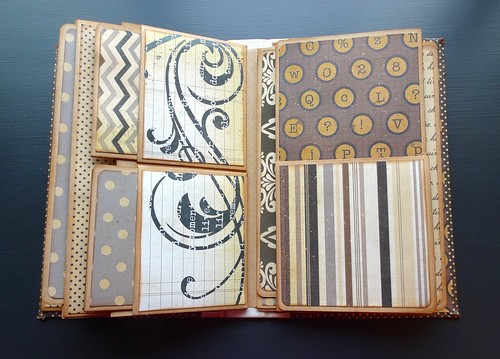
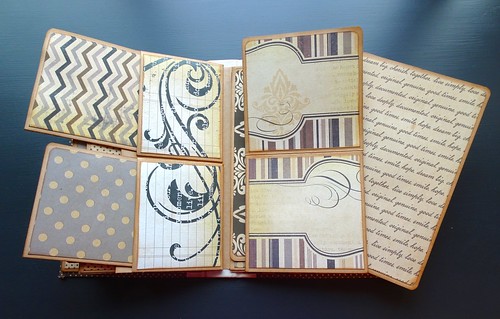
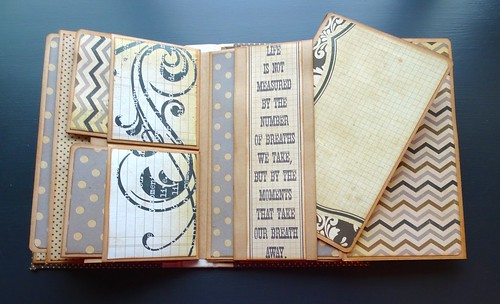
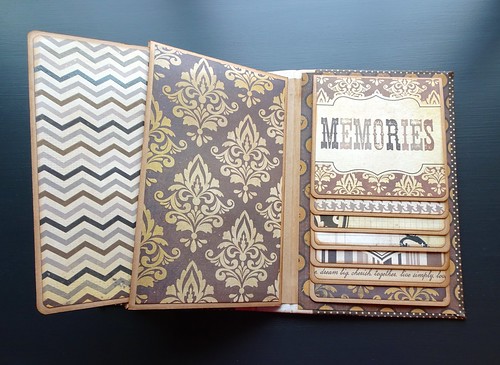
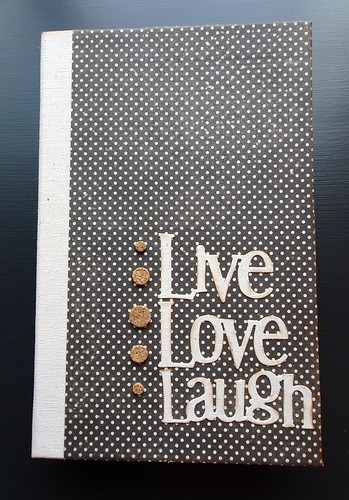
Live Love Laugh Mini Album

Live Love Laugh Album

I finally finished this book I've been working on. I just haven't had time to sit down and get it all done in a timely manner. These books could easily be created in one day.....if you have the time!

This one is just like the other two that I have posted on my blog. I change up a few things on each book. I can't stand making the same thing over and over. I have to make a few changes even if things are basically similar. 

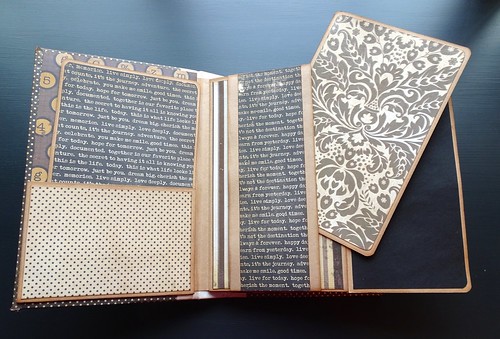
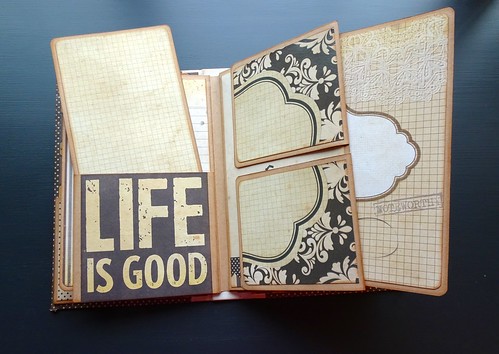
For the cover I used sticky back canvas from Ranger and a word die from Momenta that I picked up at Hobby Lobby. The cork dots are from Recollections. The paper collection is also from Recollections called Memories Documented. I found this paper pad in my stash that I didn't even remember that I had! It's good to shop your own supplies. 

Live Love Laugh Album

Live Love Laugh Album

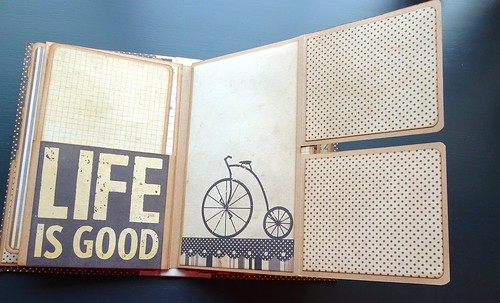
I added belly bands to two pages this time to hold an extra photo mat.

Live Love Laugh Album

Live Love Laugh Album

Live Love Laugh Album

Live Love Laugh Album

Live Love Laugh Album

Live Love Laugh Album

Live Love Laugh Album

I just added one waterfall to the back cover this time. I didn't use a magnet as there is no problem keeping it closed.

I just love this paper and plenty left for one or two more books if I choose to make them.

Thanks for stopping by!

Monday, April 25, 2016

April Swap Cards

Life's Messages

I was a little behind in getting my cards out this month! Instead of mailing them on the 15th, mine didn't go in the mail until the 17th. I'm a poky card maker so I had to step it up a bit to get them finished. Generally I don't wait this long but I started a new job on April 4th and I haven't had a lot of creative time. I've been too exhausted at night to do much. By the time I get home it feels as though my head is going to explode from everything I'm learning during the day. It's going to get better, but for now that's the way it is. 

For the card above I used a Hero Arts Clings stamp called Leaf & Floral background. I heat embossed the design and then watercolored with distress inks. I can't remember which colors I used for this card. The sentiment is a Penny Black slapstick/cling stamp from the Life's Messages set. 

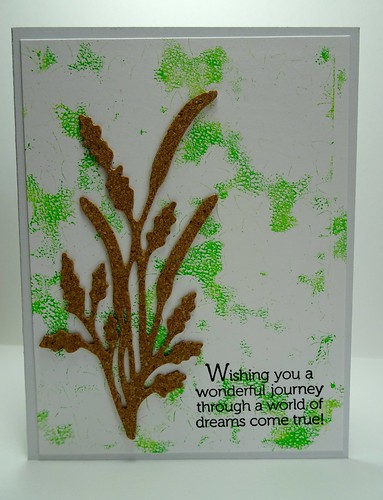
The card below does use a background that I had in my stash that I made a few weeks ago when I had my Gelli Arts plate out. When you are using that it's a good idea to make a lot of backgrounds because it's a messy project. I used Dyan Reaveley Dylusions paint in Cut Grass for the background. I used cork from the DCWV Cork Solids Mat Stack for the field grasses. This die is from Die-Namites. Sentiment is from Stampin' Up called World of Dreams.

World of Dreams

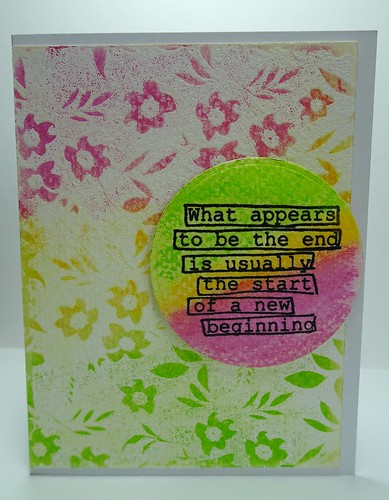
This next card was stamped with a Hero Arts Reversed Flowers & Leaves background and heat embossed with white embossing powder. I then took three distress crayons in picked raspberry, mustard seed and twisted citron and used my finger to rub them in on the background. The sentiment is from The Right Words stamp set from Dylusions. I heat embossed it and then used a Spellbinders die to cut it. 

New Beginning

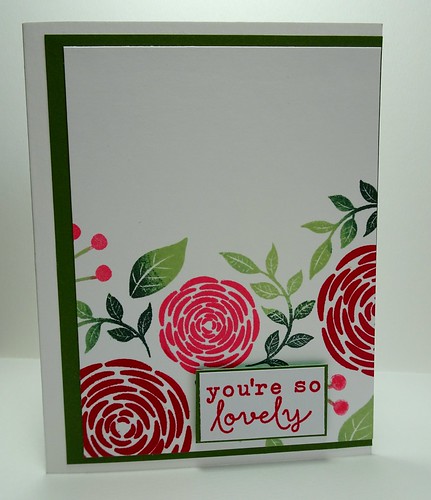
My last card was a little bit of a struggle. I'm still learning how to stamp flowers. I'm getting better, but I'm not where I want to be yet. I used this card by Yana Smakulav as the inspiration for mine. The stamp set is by Hero Arts called You're So Lovely. I used Altenew crisp inks in coral berry, ruby red, frayed leaf and evergreen.

You're So Lovely

I hope my swap partners like the cards I've sent them. Thanks for stopping by!
09 10