Showing posts with label Ribbon. Show all posts

Tuesday, January 13, 2015

Cardabilities Sketch #114

Cardabilities: Sketch #114


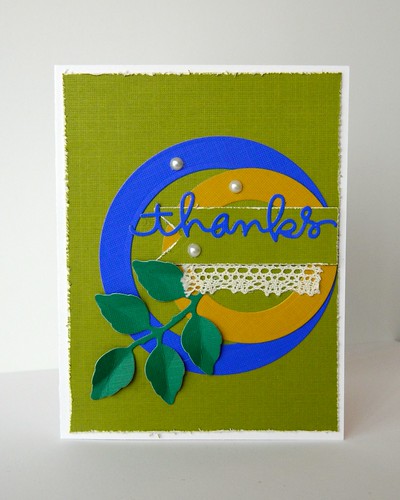
I love the sketches from the Cardabilities blog. I was able to get this one done by the skin of my teeth! I was procrastinating a little because I had too many cards I was working on at once. 

I see so many possibilities with this sketch. I want to create more cards with it. I used PaperTrey Ink cardstock for my base in white. The colored cardstock is from the Jewel Colored Cardstock Mattock by DCWV. Love the texture of this cardstock! I used Nestabilities to cut my circles, the foliage and the pennant. The Thanks sentiment was cut from a die from Simon Says Stamp. The pearl bling is from Hero Arts and the ribbon is just a piece of scrap from my stash.


Stop by and check out the other cards from their design team and other contributors for this challenge. The cards are gorgeous! Have a great day and thanks for stopping by!

Sunday, May 5, 2013

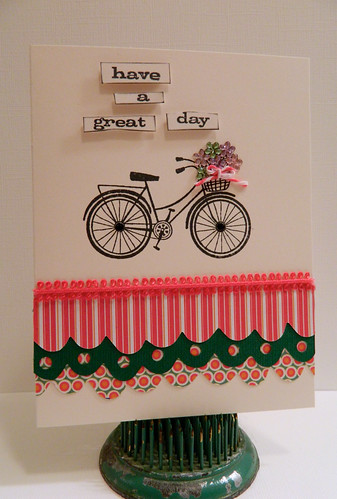
A Basketful Of Flowers

Have A Great Day


I finally used some paper that I received in the Webster's Pages warehouse sale box last December!!! I'm really trying to go through my patterned paper. With the amount of paper that I have it could be years!

Fro my three border strips, I used an On The Edge die called Scallops by Tim Holtz Alterations. I don't use these dies near enough. This patterned paper is from the Petite Papers Sunday Picnic & Everyday Poetry Collection Combo Pack.

I used a Hero Arts rubber stamp called Bicycle for the main image. Black metallic decor was added to the wheels of the bike. Because I'm not one to use any kind of markers etc, I decided to use up some Hero Arts flower gems that I had in my stash. I added enough to make it look like the basket is flowing over with flowers.

For the sentiment I used another Hero Arts stamps set called Find Joy. I stamped the words and then cut them apart and lightly inked the edges.

Perfect card for an almost perfect day. We are getting some sunshine today and the snow is almost completely melted (as well it should be since it's May!).

Products used:
Patterned Paper: Webster's Pages
Bazzill
PTI - Vintage Cream
Ribbon
Hero Arts: Metallic Decor, Flower Gemstones
Stamp: Hero Arts Bicycle F5293, Joy Ride CL481
Tim Holtz One The Edge Die Scallops
Baker's Twine
Memento Ink - Tuxedo Black

This post is linked to these parties:
Bowdabra Crafty Showcase
Think Pink Sunday
Sew Darn Crafty

Thanks for stopping by! Have a great week!


Wednesday, February 13, 2013

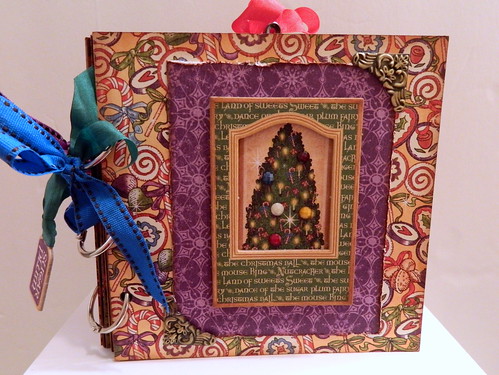
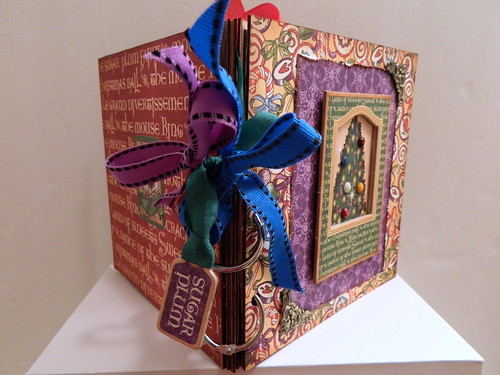
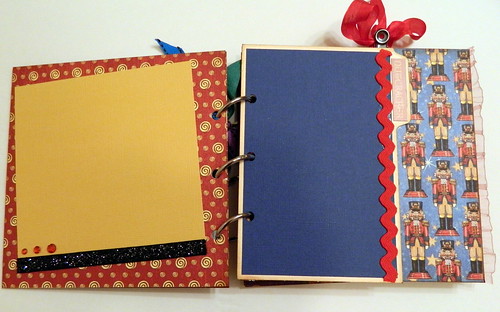
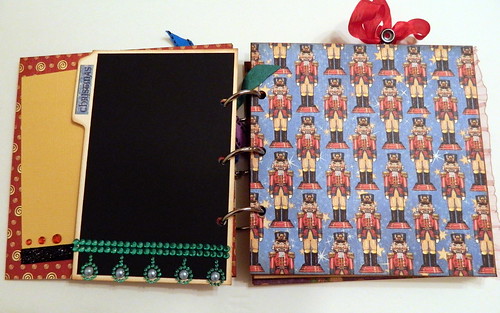
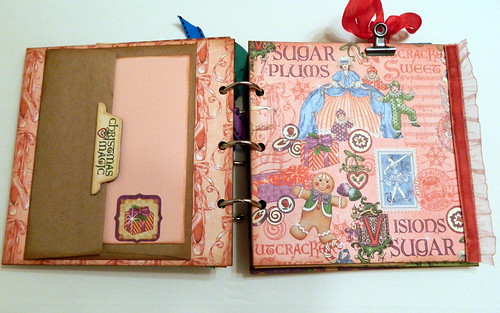
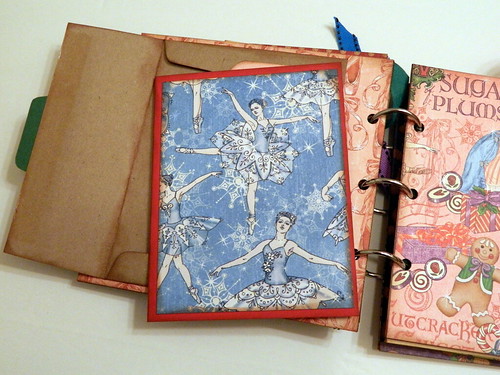
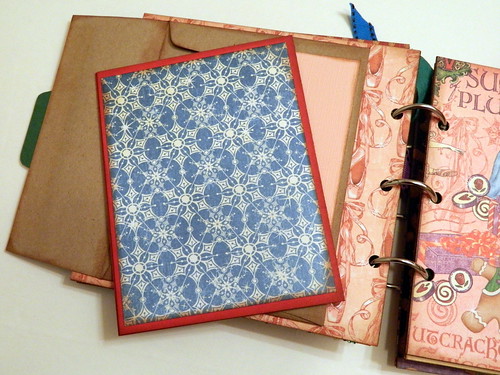
{Another} Graphic 45 Nutcracker Sweet Mini Album!

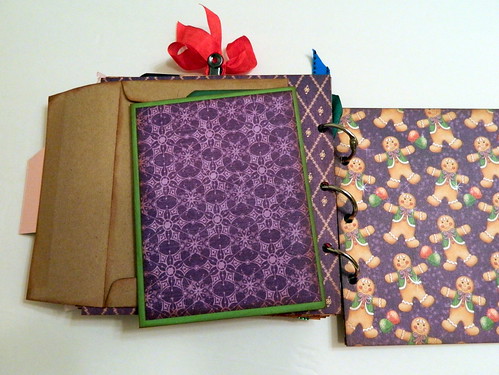
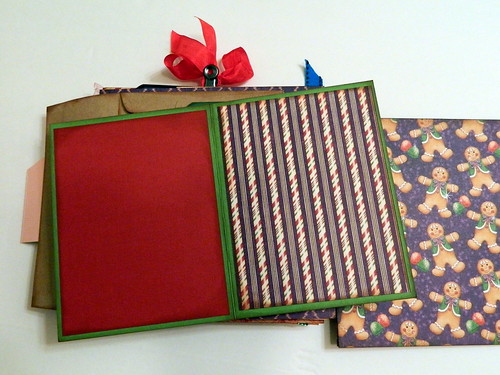
Graphic 45 Ring Bound Nutcracker Sweet Mini Album

Today I'm sharing the photos of the third Nutcracker Sweet Mini Album I created. I think I've used up most of the collection on three 6 x 6 books. Now I'm going to try and use what's left on some smaller books. 

I'm not going to go into detail below each photo because I used all the products for this book that I used on this one. The only differences that you'll see are the chipboard pieces and that I've changed some of the patterns on the pages and some of the photo mats. Otherwise all dimensions are the same. 

Graphic 45 Ring Bound Nutcracker Sweet Mini Album Graphic 45 Ring Bound Nutcracker Sweet Mini Album Graphic 45 Ring Bound Nutcracker Sweet Mini Album Graphic 45 Ring Bound Nutcracker Sweet Mini Album Graphic 45 Ring Bound Nutcracker Sweet Mini Album Graphic 45 Ring Bound Nutcracker Sweet Mini Album Graphic 45 Ring Bound Nutcracker Sweet Mini Album Graphic 45 Ring Bound Nutcracker Sweet Mini Album Graphic 45 Ring Bound Nutcracker Sweet Mini Album Graphic 45 Ring Bound Nutcracker Sweet Mini Album Graphic 45 Ring Bound Nutcracker Sweet Mini Album Graphic 45 Ring Bound Nutcracker Sweet Mini Album Graphic 45 Ring Bound Nutcracker Sweet Mini Album Graphic 45 Ring Bound Nutcracker Sweet Mini Album Graphic 45 Ring Bound Nutcracker Sweet Mini Album

Thanks for taking the time to stop by and take a look! This book will be for sale here if you're interested!

Wednesday, December 5, 2012

Mini Book Swap

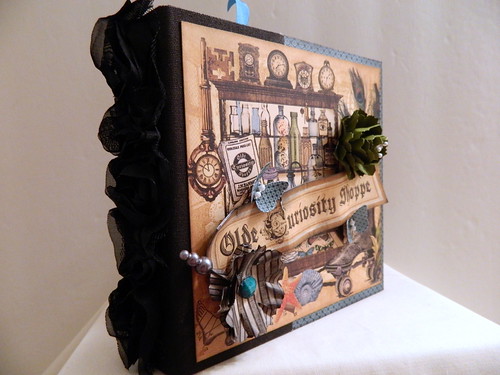
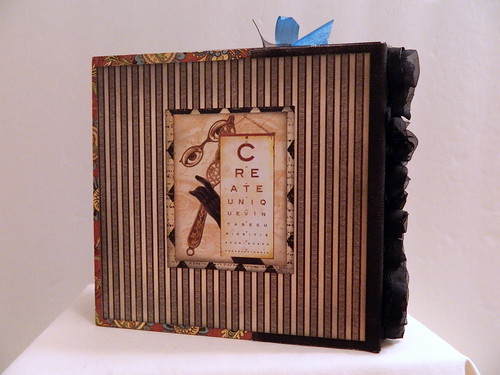
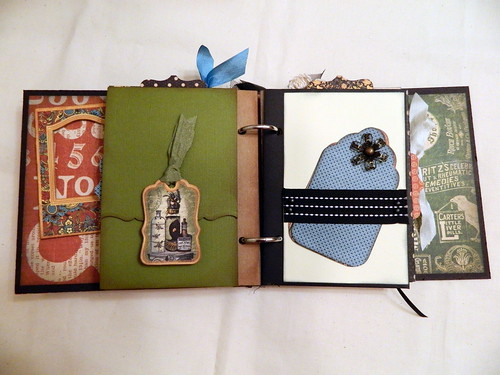
Graphic 45 'Olde Curiosity Shoppe' Mini Book

I joined my first ever mini book swap! It was fun making a book for someone else, but it makes me a wreck not knowing if they'll like it. We were able to say which paper lines we liked and other miscellaneous info. We could also choose to create the book in the style that we normally use or in the way they like. I think my book reflects what I usually gravitate to. I've also noticed that having a deadline makes me so nervous! My crafting style is to just fly by the seat of my pants. I'm very happy to report that I finished way ahead of schedule. I also joined a tag and card swap. I'll post more about them later. I mailed my tags ahead of time and am working on the cards now. 

Serena, the recipient of my book said she likes Graphic 45. I was so happy because this manufacturer is one of my favorites! I chose to use their "Olde Curiosity Shoppe" collection. The covers of the book are 6 -inches by 6 -inches. Before I go any further, I'm going to warn you that this post is very photo heavy.

Graphic 45 'Olde Curiosity Shoppe' Mini Book

On the cover I wanted to add some dimension. I made the two flowers using a Tim Holtz die. For the butterflies I used a Martha Stewart punch. I added Glossy Accents to give them a little more stability.

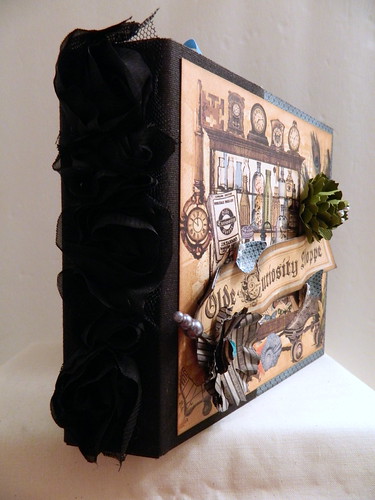
Graphic 45 'Olde Curiosity Shoppe' Mini Book

I used grungepaper behind one of the sentiments that I cut from one of the pieces of cardstock. That made it easier to bend so that I could have it stand out more. On the spine I added some ribbon from American Crafts.

Graphic 45 'Olde Curiosity Shoppe' Mini Book

The back of the cover has an image cut from one of the cardstock sheets.

Graphic 45 'Olde Curiosity Shoppe' Mini Book

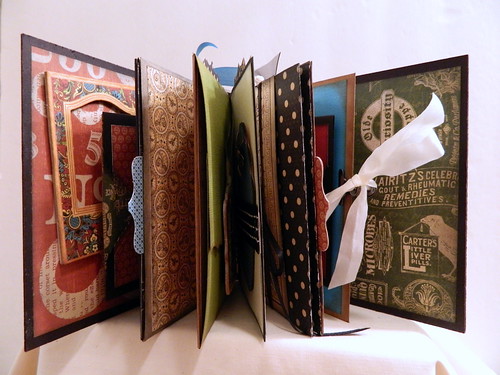
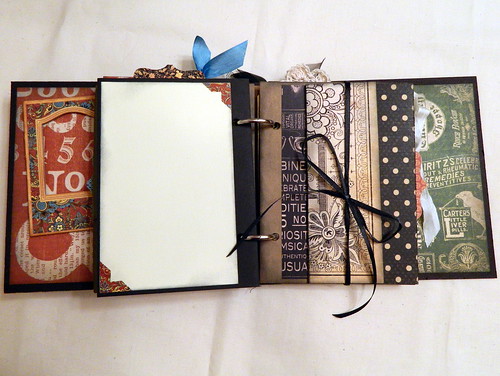
Including the inside front and back cover there are 22 pages. There are also some pages that have pockets and some flaps that fold up or out. The pocket pages hold seven mats that pull out to use for more photos or journaling.

Graphic 45 'Olde Curiosity Shoppe' Mini Book

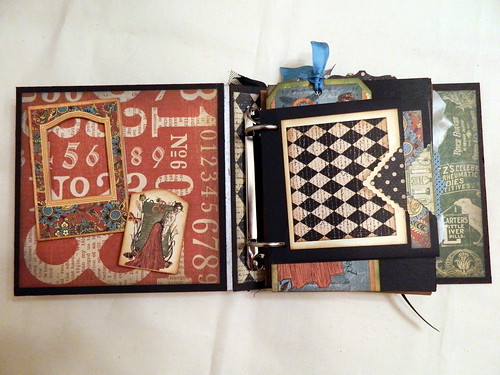
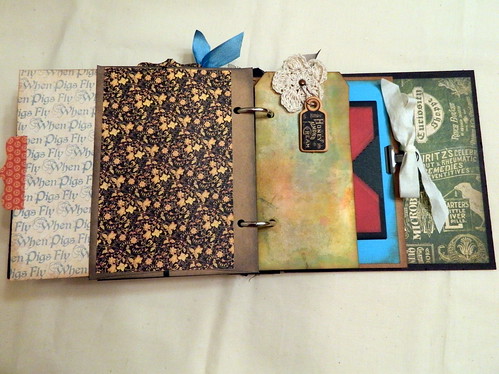
Inside front cover and first page. The chipboard element on the left will hold a photo that is approximately 2 -1/8 inches by 3 -1/4 inches. I used a Tim Holtz two-ring binder for the binding of this book.

Graphic 45 'Olde Curiosity Shoppe' Mini Book

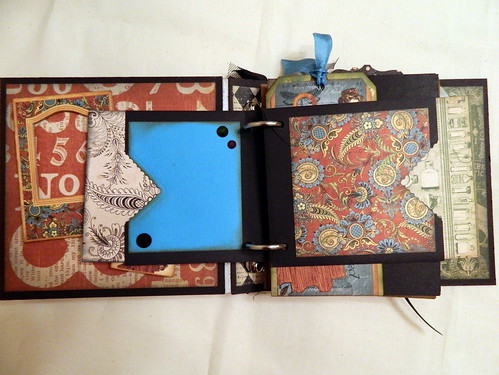
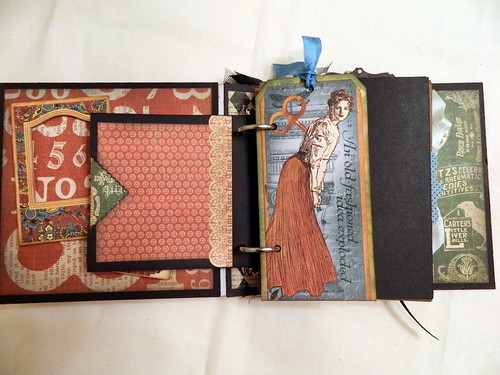
Second and third pages.

Graphic 45 'Olde Curiosity Shoppe' Mini Book

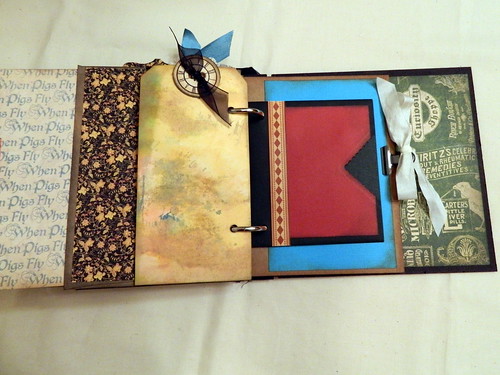
Fourth and fifth pages. I'm counting the tag as a page.

Graphic 45 'Olde Curiosity Shoppe' Mini Book

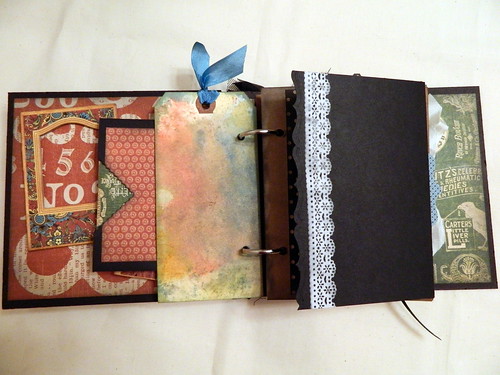
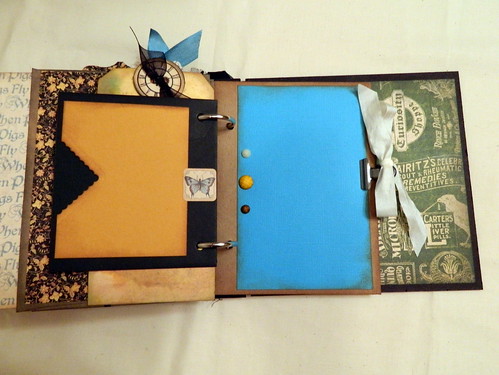
Sixth and seventh page. On the manila tags I used Tim Holtz distress inks.

Graphic 45 'Olde Curiosity Shoppe' Mini Book

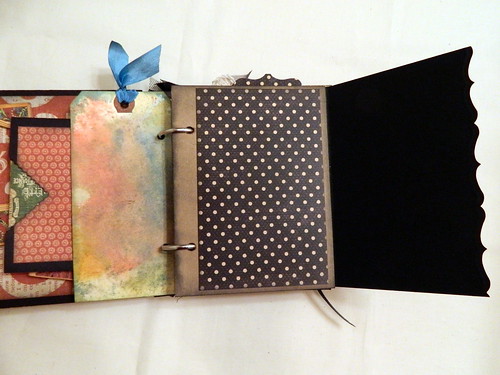
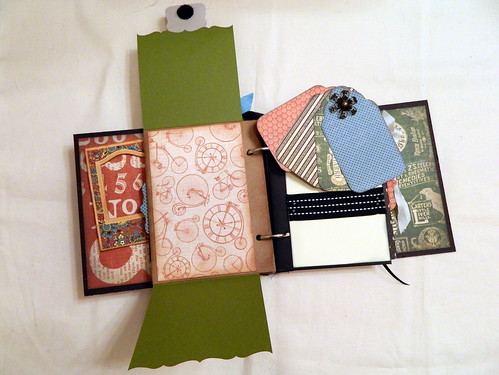
This page holds a flip out and also has a pocket.

Graphic 45 'Olde Curiosity Shoppe' Mini Book

Eighth and ninth pages.

Graphic 45 'Olde Curiosity Shoppe' Mini Book

Pages 10 and 11.

Graphic 45 'Olde Curiosity Shoppe' Mini Book

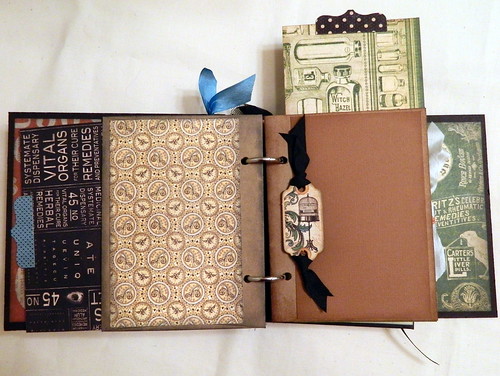
One page opens up and has a velcro closure. The other one has ribbon across it and holds four tags that can be used for journaling or photos.

Graphic 45 'Olde Curiosity Shoppe' Mini Book

Pages 12 and 13.

Graphic 45 'Olde Curiosity Shoppe' Mini Book

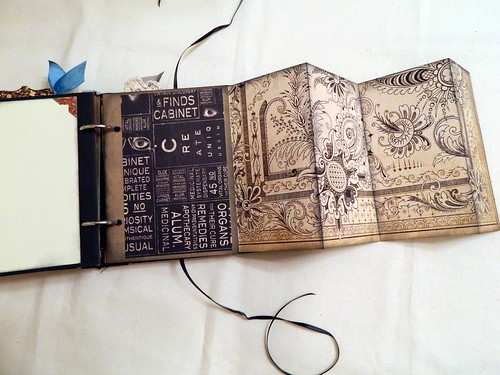
Page 13 has a foldout that will hold photos on both sides.

Graphic 45 'Olde Curiosity Shoppe' Mini Book

Pages 14 and 15.

Graphic 45 'Olde Curiosity Shoppe' Mini Book

Pages 16 and 17.

Graphic 45 'Olde Curiosity Shoppe' Mini Book

Pages 18 and 19.

Graphic 45 'Olde Curiosity Shoppe' Mini Book

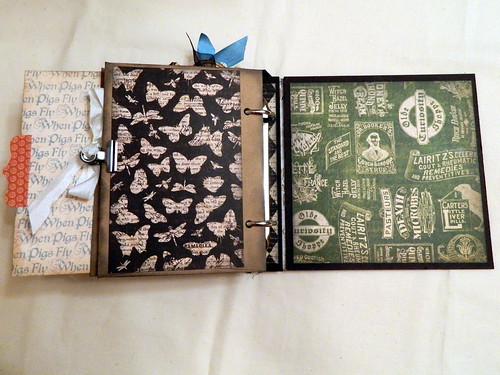
Page 20 and the inside back cover.

I did make a second copy of this book. The only things that are different are some of the chipboard pieces. You can see a video of this book here.

I can't wait to share the book that I receive from my partner Kim!

Thanks for stopping by!

Tuesday, November 20, 2012

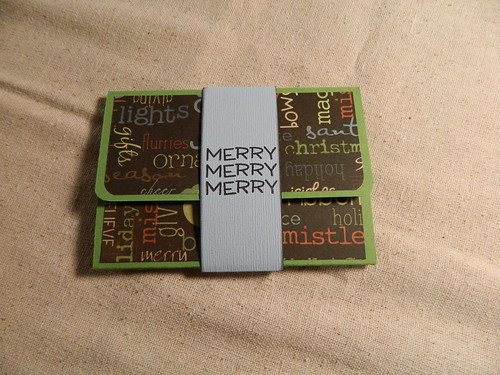
Holiday Gift Card Holders

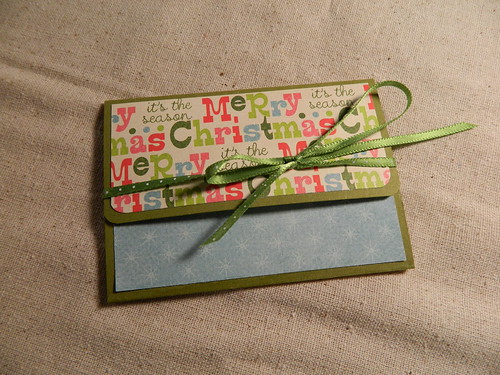
Gift Card Holder

I made some gift card holders this year for my Etsy store. This one has a belly band for the closure.

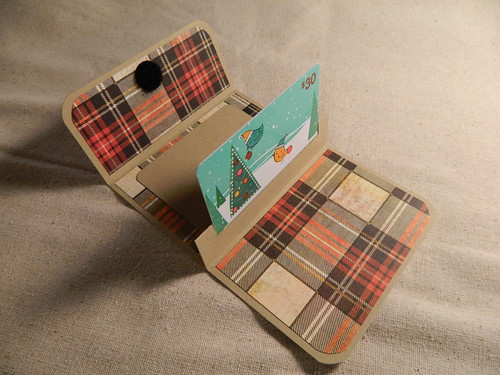
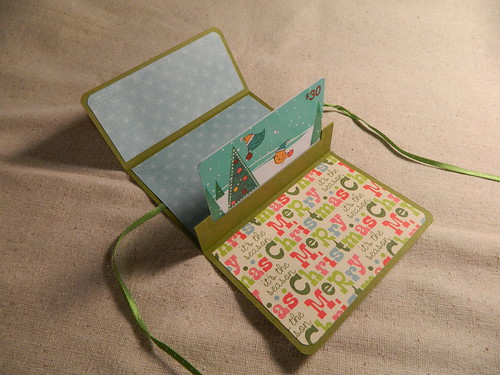
Gift Card Holder

They open up like a wallet. I was able to locate an old gift card that we had laying around to make sure that it fits. Best of all I'm able to use up a lot of the patterned paper that I have. Below are some of the other variations I created.

Gift Card Holder

This was also has a belly band closure.

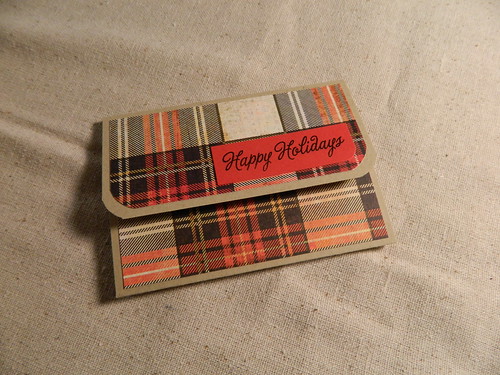
Gift Card Holder

I love plaid! I had used this paper for a project and I had a large quantity left and I've been using it for many items.

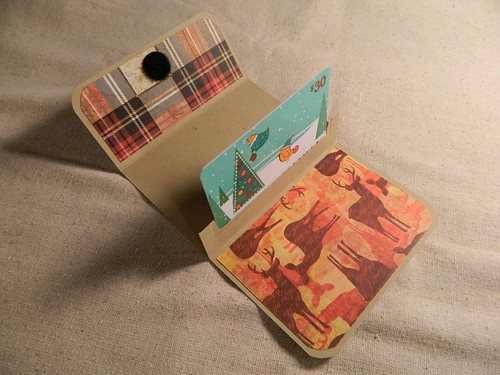
Gift Card Holder

I used a velcro closure for this one.

Gift Card Holder

This one is the same except for the sentiment and the inside is a little different.

Gift Card Holder

The middle section of each holder has space to write a note from the giver to the receiver.

Gift Card Holder

This is the last one. I wish I could remember all the names of the manufacturers for the paper lines I used. Unfortunately I no longer have the strips that get cut off when you first start cutting into paper. This is the only  one that I used a tie closure for.

Gift Card Holder

Thanks for stopping by!

Saturday, March 31, 2012

Wedding Cards

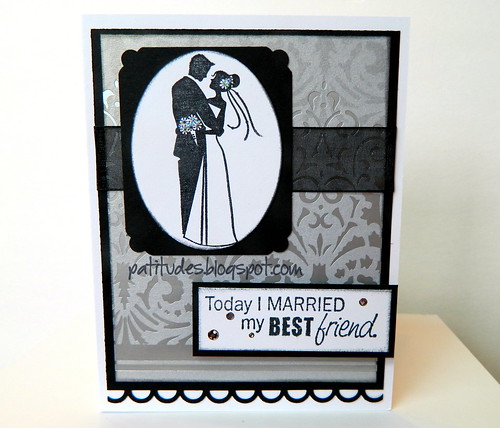
Today I Married.... 

Today I'm going to share two cards I've created for an order I'm working on. The third one I made about a month ago for another order for the same customer. I decided I better take a photo and blog after I make a few. Otherwise I get behind and end up having to do everything all at once.


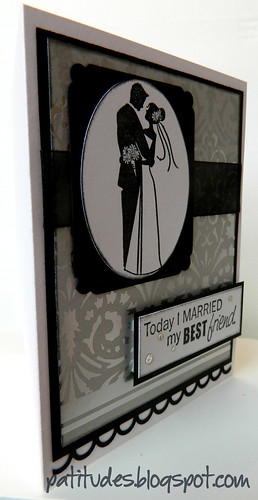
Today I Married..... 

I popped up the sentiment on this one. I love this silver paper from TPC Studio. On the flowers I used some stickles to give them a little sparkle. Below is the sentiment I used on the inside.

inside of Today I Married....


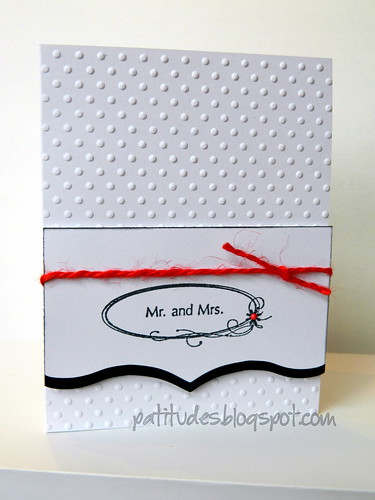
Mr. and Mrs.  

To give this card a little pop I added the red jute and liquid pearls to the center of the flower.

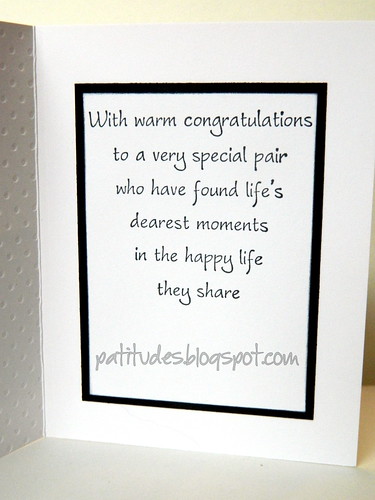
inside of Mr. and Mrs.

On the inside I used a stamp from Verses Rubber Stamps called Warm Congratulations.

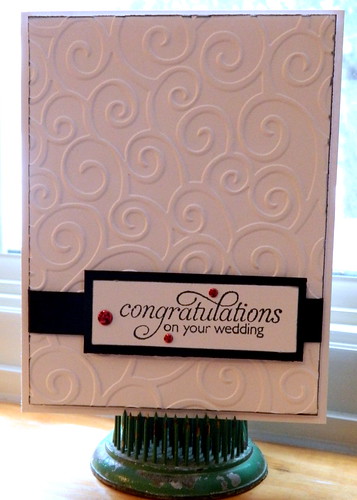
Congratulations.....

I added a little color with the red bling on this one. 

I thought I'd share some of my favorite adhesives. Clockwise below I have my Scotch Advanced Tape Glider, Zip Dry Wet Paper Glue and foam mounting tape.


I'm so happy I decided to break down and buy the Scotch Tape Glider! After years of using inferior tape runners that don't adhere the cardstock to my projects I needed something new. I kept seeing people using them in videos I watch on YouTube. Thanks to my friend Susie over at Creative Cafe, I decided to purchase one. I asked her opinion and she emailed me a 40% off coupon for Michael's. It's a very aggressive adhesive which I love. When I use it, I know that nothing is going to fall off a project. I don't use it alot, but I would never go back to other tape runners that I once used.

My next absolute favorite is Zip Dry. I have other wet glues that I use for various projects, but this is my number one adhesive that I use exclusively. I use it for everything. I use this more than the tape glider.

The foam mounting tape shown in the photo above is something that I buy at the Dollar Store. I saw a video (I can't remember who did the video - sorry!) and the woman said that's what she used instead of buying foam pop up dots. What a fantastic tip! It's so much less expensive and all you have to do is cut it to size. I found it in the hardware section. I will never spend money on the other stuff again!


I was telling my husband I need more table space! The problem is I don't have room. I have one table to work on. The mess above is another table I use to the right of my work table. I like to pull everything out and have it at my fingertips while working. The only thing is, I fill it up so much I can't find anything! I really miss having a six-foot and a four-foot table to use like I did in our house in Minnesota. Now I'm down to two four-foot ones. My only option is to take the sofa out of my room. I can't do that because my furry friends use it. I wouldn't want them to have to lay on the floor!

Products used for these cards include: Cardstock by PTI, Stamps from Inkadinkado, Fiskars, Verses Rubber Stamps and Studio G, Sizzix and Cuttlebug Embossing Folders, Liquid Pearls, Stickles, Jute, Sheer Ribbon, Memento Black Ink, EK Success Edge Punch, Corner Punch from Creative Memories, Patterned Paper from TPC Studio, Stampendous! Dot Sparklers, Metallic Decor from Hero Arts.

I still have quite a few more cards that I'll be sharing as I finish them. Thanks for stopping by!

09 10