

I've finally finished this Gatefold Folio that I started working on the end of April.
I'm so happy with how it turned out! This book for my daughter. I told her I would make a book for her and had planned to make it as Christmas gift. Well, that didn't work out. I knew what paper collection I wanted to use, but I didn't know what type of book I wanted to create.
I purchased this paper collection from Paper Phenomenon called Flight 2715 quite a while before I decided on a project. I finally settled on the Gatefold Folio that Frances Long from Your Book of Memories created.
It probably wouldn't take a normal crafter as long to finish it as it did for me. Working full-time and only maybe getting an hour or so each evening if that to craft isn't much time. I try to get as much done on the weekends as I can, but that doesn't always pan out either. The good news is that I'm not working anymore so hopefully I will have more time for crafting!
I followed the tutorial pretty much exactly as Frances created it, but there were a few things I did a little differently. After making this, I know that next time I may change up a few other things. That's the beauty of her tutorials. You're mind is always thinking of different ways to either add or take away something.
I decided to add a collaged piece to the front. I added magnets so that the whole piece just lifts off.

This is the patterned paper I used of both sides of the spine.
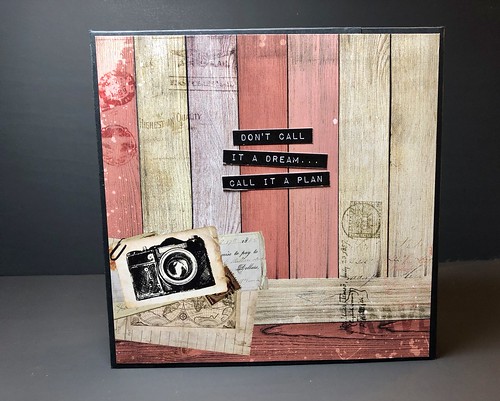
On the back cover I adhered some words I cut apart from the collection.
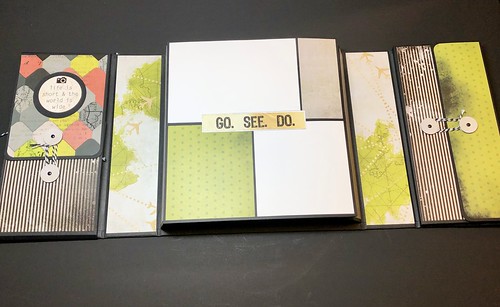
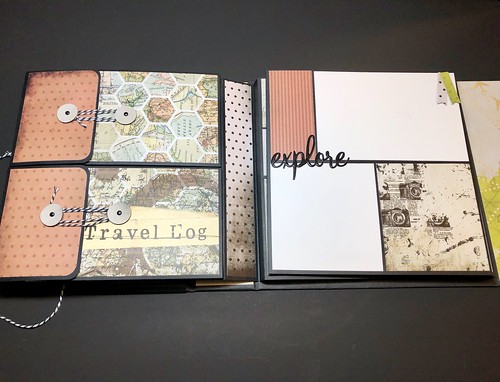
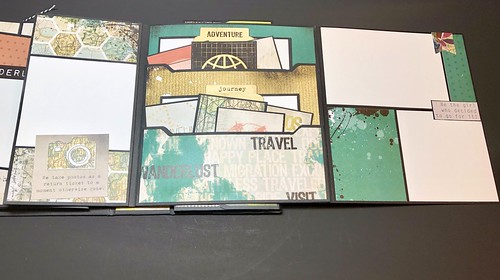
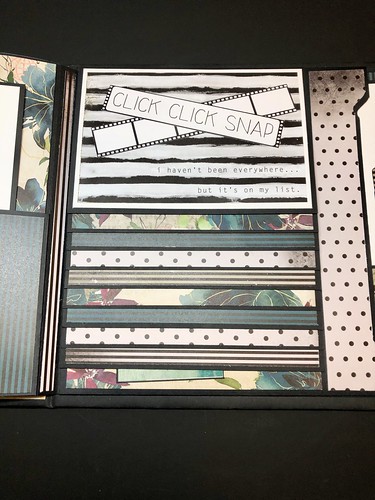
When you open the folio you see each side and the center.

The left side opens to show a vertical waterfall with a pocket on each side that holds a photo mat.
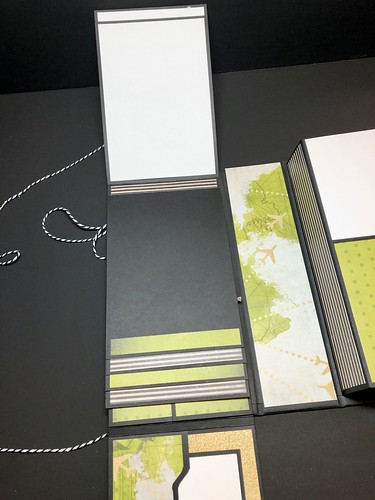
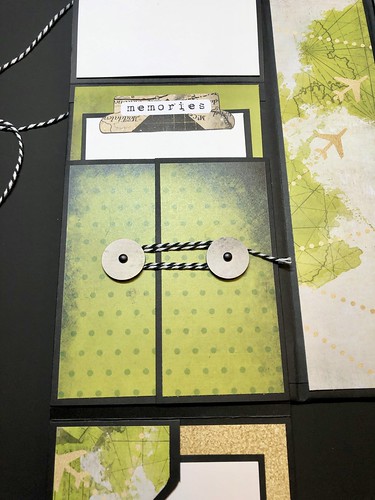
There are two flaps that open to reveal another pocket with a mat and places for journaling.
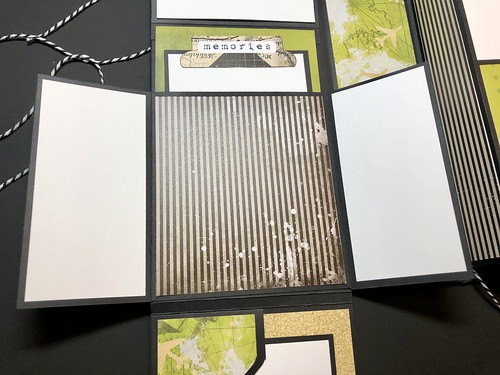
On the right side there's a pocket that opens to reveal a booklet for journaling.

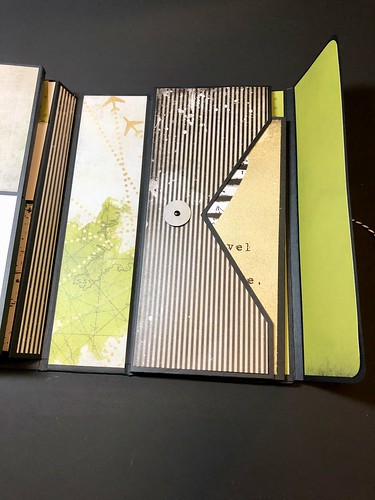
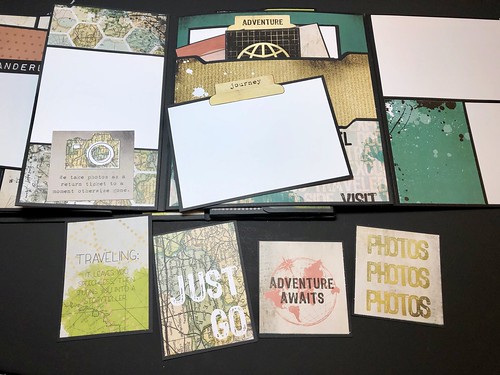
The first flap opens to the right and reveals two expandable pockets that will hold photos or memorabilia.
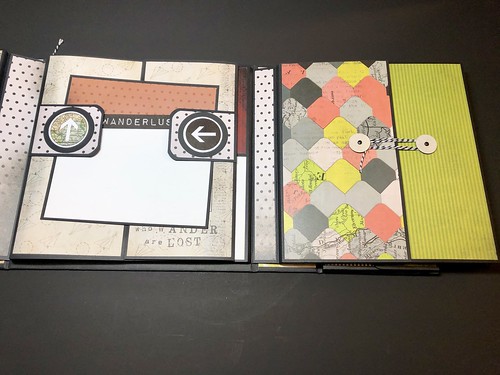
The next flap opens to reveal a page that opens to hold more photos.
The flaps with the arrows hold the photo mat in place to keep the page closed.
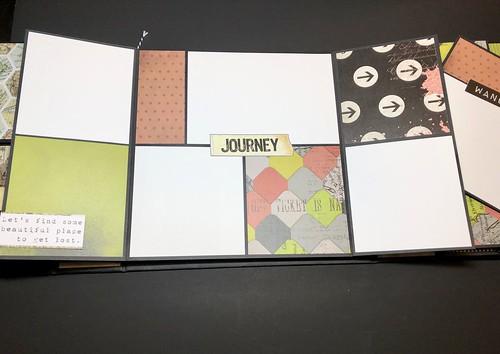
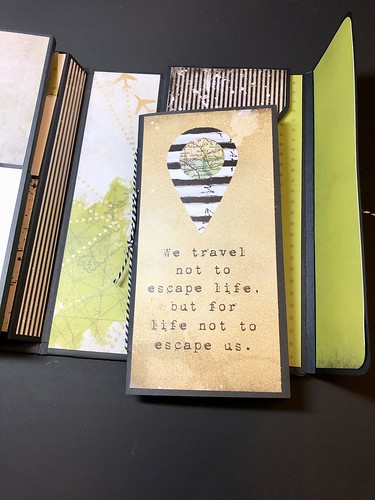
The next flap opens up to reveal more photo spaces.
There are also two stacked pockets with photo mats inside.
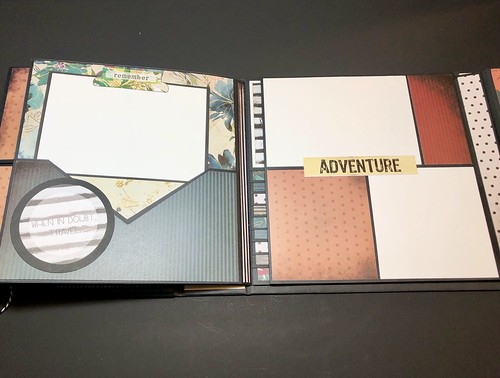
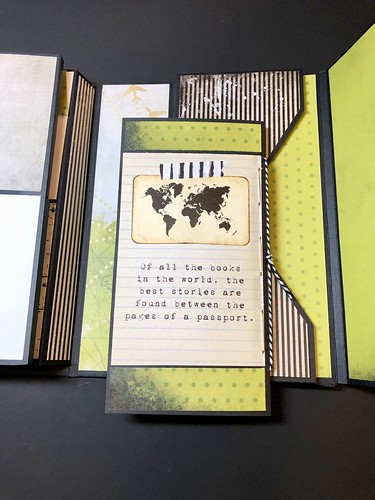
The next flap opens to the right and another one to the left. There is a pocket on each side.
Each pocket holds more photo mats.
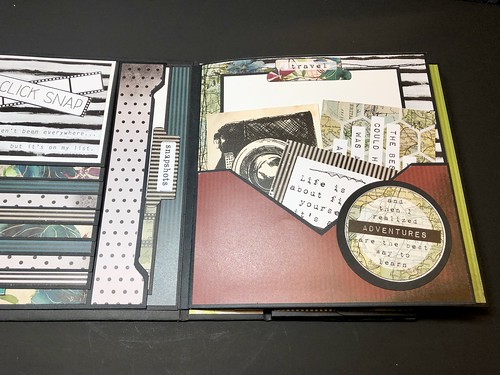


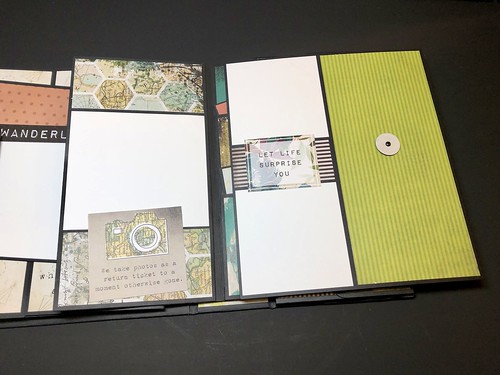
The final page holds a horizontal waterfall.
There's also another pocket to the side that holds a photo mat.


I cut apart one of the sentences on one of the ephemera sheets and adhered it to the back of the waterfall.
I loved making this Gatefold Folio and will definitely make another one. I love Frances Long's tutorials!
I didn't have a lot of ephemera to decorate with. I spent time looking for stickers and other items prior to and while I was working on this. The paper collection didn't come with any stickers or chipboard pieces. I used the few items I fussy cut out of the paper sheets. The rest of the items I used dies that I had in my stash and a few odds and ends that I picked up either at Michaels or Hobby Lobby. Once may daughter adds photos more stickers and ephemera can be added.
I know this post was a little photo heavy but it's the only way to show each page in detail.
Thanks for taking the time to stop by!
No comments:
Post a Comment