Showing posts with label Tutorial. Show all posts

Saturday, October 13, 2012

Cards + A Video Tutorial

Happy Birthday

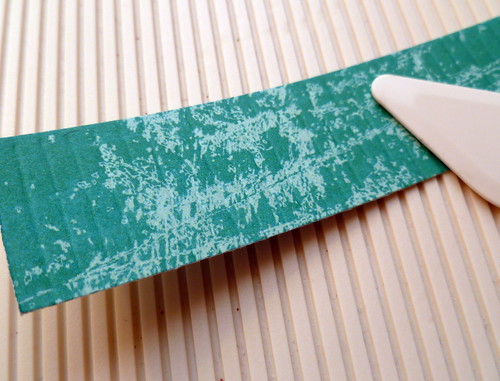
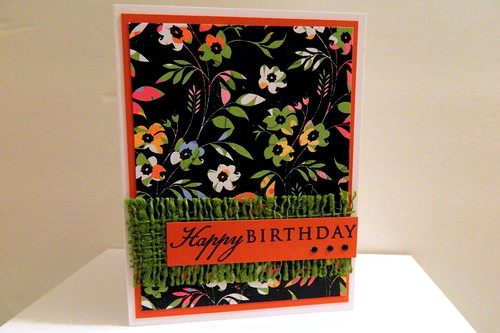
I created some cards using the same stamp but different patterned paper. I really love how they all look different. I added some burlap for texture on this one. I've also added a video tutorial at the end of this post on how to do this technique.

Thinking of You

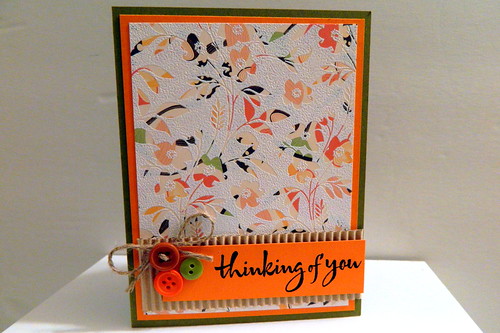
For this one I added some corrugated paper, buttons and a jute bow for added texture. I love how this card reminds me of Fall colors.

Happy Birthday

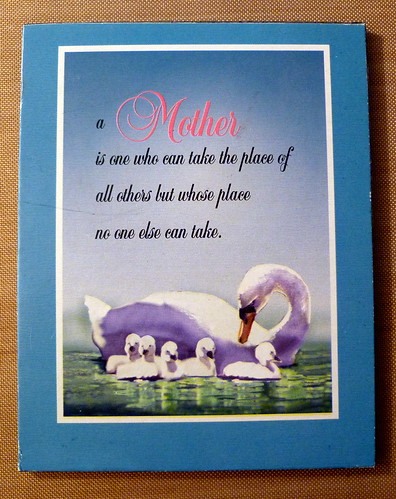
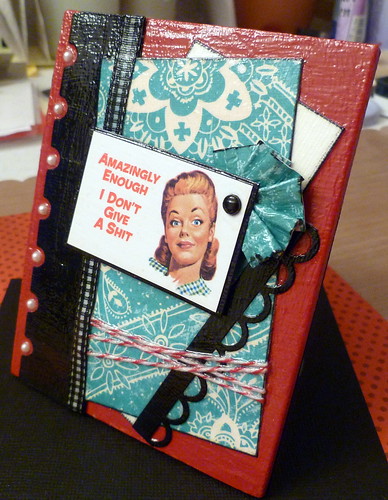
I picked up the background stamp when I went to Scrapfest at the Mall of America in September. I've been looking to add more stamps for this technique to my stamp collection. 

Happy Birthday

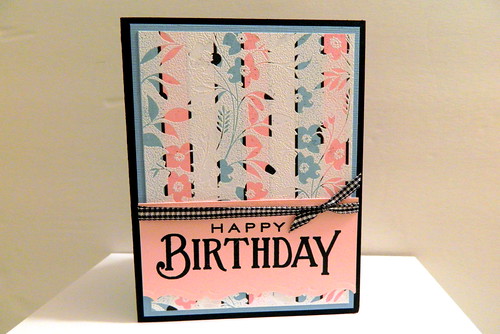
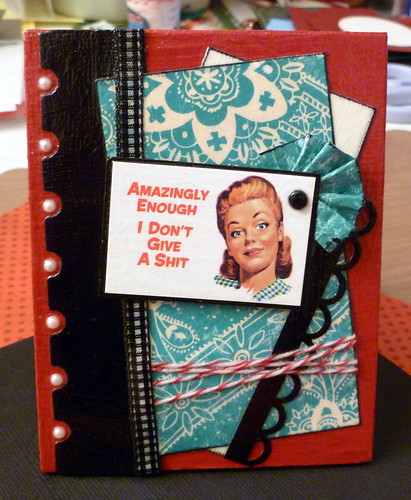
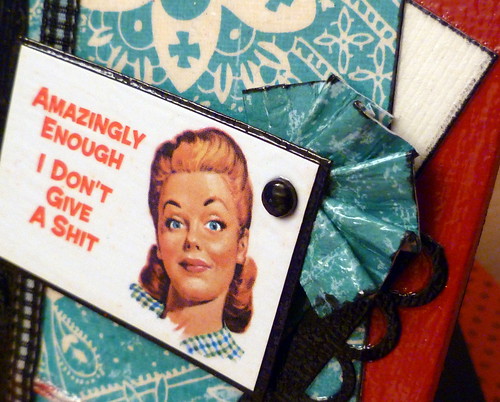
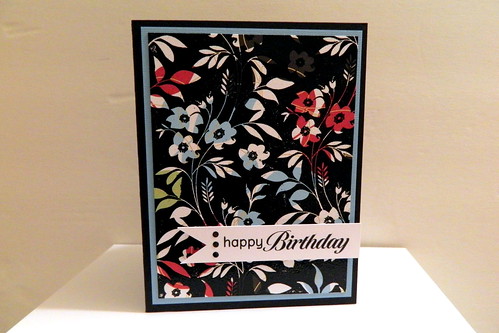
Pink isn't a color I tend to work with very often. When I do I prefer to pair it with black. Black is one of my favorite colors to create with. 

Birthday Wishes

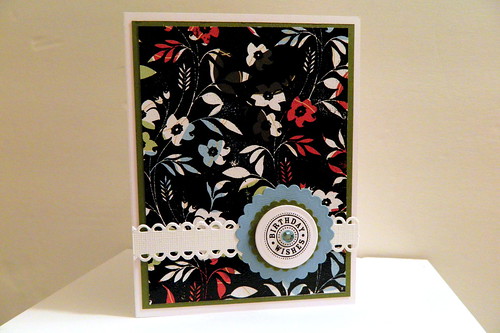
Whenever I make cards, tags or books I always do a lot of inking. I decided to go "ink free" on the edges of all of these cards this time. That was a little challenging for me since it always seems so automatic for me to do. I do like how they all turned out. 

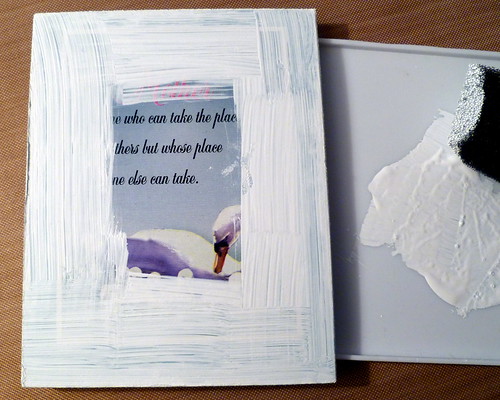
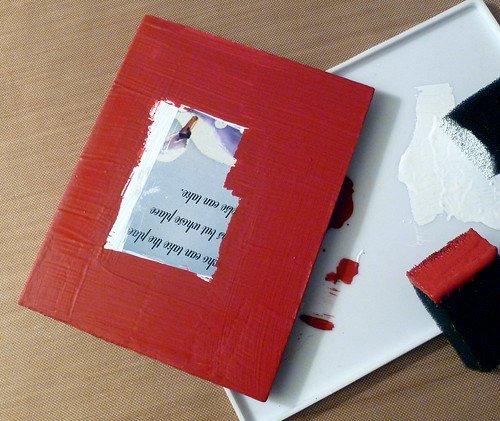
Below is a tutorial on how to make this type of background. I've made videos before but never a tutorial. If you have any questions please email me or leave a comment below or on my YouTube channel.


Below are some of the supplies used for these cards. Thanks for stopping by!

This post is linked to these parties: Sew Darn Crafty, Think Pink Sunday, Saturday Showcase


I selected this post to be featured on my blog’s page at Scrapbooking Blogs.

Friday, January 21, 2011

Another Sassy Project!

I used the sassy stickers my daughter gave me to make something for her. I thought this would be perfect for her to sit on her desk at work. She always uses this photo on her Facebook page.
Mod Podged Plaque
Here are the steps I used to make this plaque.....
Plaque
I picked up a cheap plaque.
Gesso
I lightly sanded around the edges and added a coat of Gesso.
Paint
I painted it with some Making Memories Acrylic Paint. I wasn't using the center so I didn't even bother covering it.
Coat of Mod Podge
After I figured out my design, I used Mod Podge to adhere everything down. This stuff is fantastic!!
Score
I scored a piece of cardstock to use behind the sentiment. I can't even express how much I adore my Martha Stewart Scoreboard!
Close up
I added this piece to the sticker with a brad, added some foam dots and adhered down. I then added a coat of Mod Podge to the sticker. When it was completely dry, I sprayed on a coat of Mod Podge Gloss Clear Acrylic Sealer to protect it.

Another view...
Side
Now I'll finish the other one I'm making for her. I'll share it when I'm done.

Products Used For This Project: Plaque, Gesso, Making Memories Acrylic Paint, Bazzill Cardstock, BoBunny Patterned Paper, Stickers, Tim Holtz Alterations On The Edge Plaque & Postage Die, Martha Stewart Scoreboard, Ribbon, Mod Podge Gloss Lustre & Gloss Acrylic Sealer, Hero Arts Pearls, Brad, Farmer's Market Twine

Thanks for stopping by!

09 10